
Lighting can make or break a food photograph. One simple shift in where the light comes from can transform a flat image into something rich with depth, texture, and atmosphere. In this guide, we’ll explore backlighting — one of the most beautiful and effective lighting techniques in food photography.
Jump to:
The backlight technique holds a special place in the hearts of professional food photographers for good reason. It brings a unique, magical touch to your food images that’s hard to replicate with any other lighting approach. Whether you’re an experienced photographer or just starting out, getting a grip on backlighting can significantly up your food photography game.
Beginners in food photography will benefit from dedicating time to understand the backlighting technique, readying themselves for a learning curve peppered with trial and error. Once you’ve honed this skill, you’ll likely find it becomes a go-to for crafting images that are richly and dramatically illuminated. Let’s explore this fascinating technique together.
What is the Backlight Technique?
Ever been captivated by a food photo that seemed to leap off the page? The backlight technique likely played a starring role. Let’s dive into what makes this technique a game-changer in food photography.
Core Concept
- Positioning is Key: The main light source sits behind the subject, casting a radiant backdrop —and you are shooting towards or into the light., creating a majestic glow that elevates the visual drama.
- More Than Illumination: It’s about infusing depth, dimension, and an ethereal quality into your shots.
- Transformation Magic: Proper backlighting elevates textures, colors, and shapes, turning the ordinary into extraordinary.
Why Embrace Backlighting?
- Emotional Resonance: It stirs feelings, making your food shots more compelling.
- Dramatic Flair: Foods look fresher, more tempting, and utterly irresistible.
- Depth and Dimension: Light and shadow play together, adding a 3D effect to your images.
Visualize This:
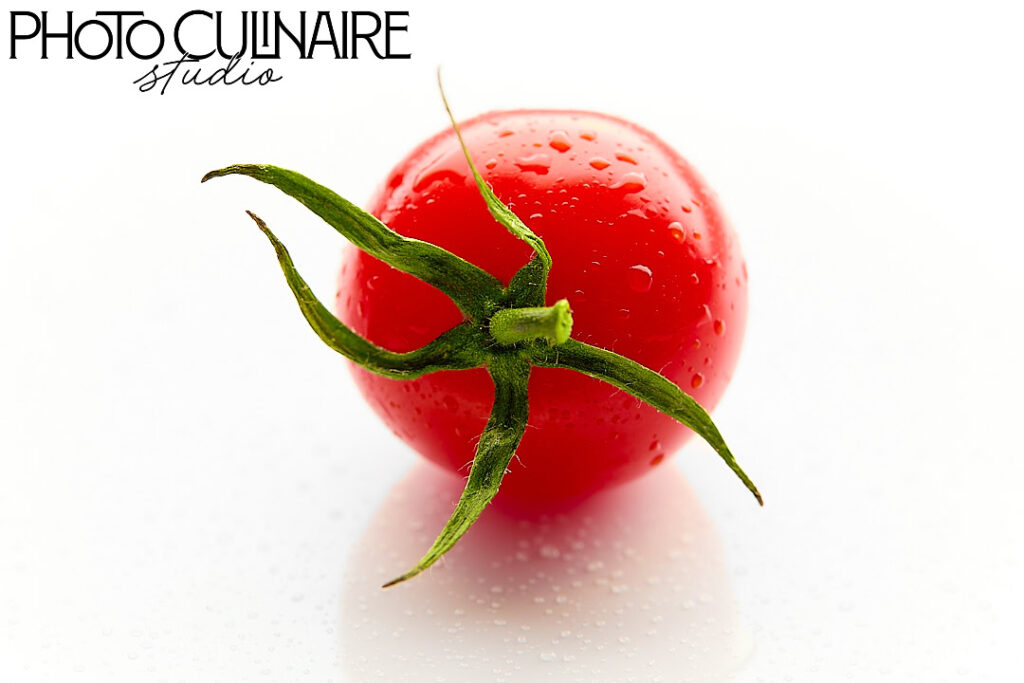
- Glistening cherry tomato in backlight.
- A bowl of soup, its steam dancing in the backlight, creating a scene of warmth and comfort.
These scenarios illustrate the power of backlighting, infusing realism and charm into your food photography. It’s not just about capturing images; it’s about crafting visual stories that resonate and captivate.
Backlighting: How to Position your Light & Subject
Getting your equipment just right can turn a good photo into a great one. Let’s break down the essentials of equipment placement when using the backlight technique in food photography.
Light Source Behind the Subject
- Positioning: Ensure the light (natural or artificial) is directly behind your primary subject.
- Effect: This setup creates a halo or glow around your subject, highlighting its outline and textures.
Camera Alignment
- Your Position: Stand opposite the light source and shoot into the light, with the subject in between.
- Purpose: This alignment allows you to capture the full effect of the backlighting, emphasizing the subject’s details and textures.
Reflectors and Diffusers
- Balance the Light: Use reflectors to bounce light back onto the subject, reducing harsh shadows.
- Soften the Light: Diffusers can soften intense backlight, ensuring the subject is evenly lit without losing the backlight’s impact.
Experiment with Angles
- Try Different Perspectives: Moving your camera around can change how the backlight interacts with your subject, revealing new details or creating different moods.
- Capture the Glow: Find the angle that best captures the backlight’s glow and the subject’s details.
Monitor and Adjust
- Check Your Shots: Regularly review your images to ensure the backlight is creating the desired effect.
- Make Tweaks: Adjust your equipment as needed to enhance the backlighting effect, ensuring your subject is always the star of the show.
Once you learn how to position your equipment properly, backlighting can add beautiful depth, texture, and dimension to your food photography.
Optimal Camera Angles for Backlighting
Finding the perfect camera angle is crucial when working with backlighting in food photography. It’s not just about where the light is, but how you capture its interaction with your subject. Let’s explore how to pinpoint the ideal angles to make your subjects shine.
The Sweet Spot
- Angle Range: Experiment with angles between 20 and 80 degrees as they work best for most images, depending on the subject you are photographing.
- Why It Matters: This range often captures the backlight effectively, illuminating the edges and textures of your food, and emphasizing the shine and texture, making the food look more inviting.
Up-Close and Personal
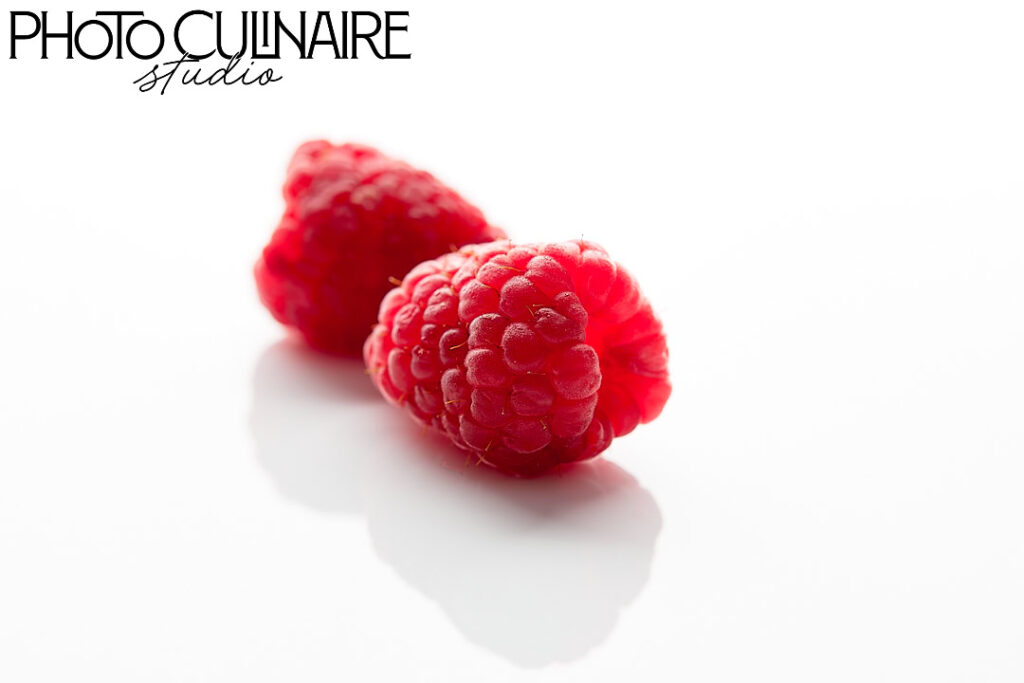
- Macro Shots: Getting close to your subject can reveal the intricate details enhanced by backlighting.
- Use a Macro Lens: This allows you to capture the tiny, often overlooked details that backlighting can accentuate.
Adjusting for Intensity
- Too Bright? If the backlight is too intense, adjust your position or the food’s placement to soften the effect.
- Too Dim? If the backlight isn’t strong enough, consider moving closer or adjusting the light source to increase its impact.
By mastering these camera angles and understanding how they interact with backlighting, you’ll be able to showcase your food in its best light, literally. Each subject has its unique characteristics, and finding the right angle can make all the difference in highlighting its beauty and appeal.
When to Use Backlighting in Food Photography
Knowing when to use backlighting can elevate your food photography from good to exceptional. It’s all about choosing the right moment to harness this technique for maximum impact. Let’s delve into the scenarios where backlighting truly shines.
1. Highlighting Freshness and Vitality
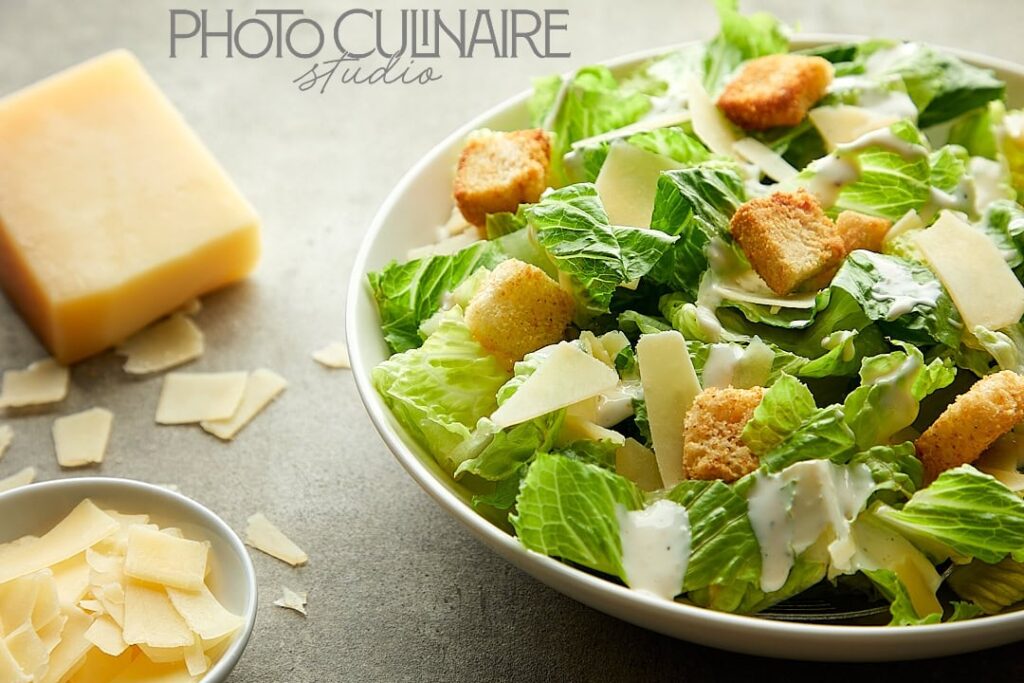
- Use When: You want to emphasize the freshness and natural appeal of ingredients.
- Why It Works: Backlighting enhances the translucent quality of fresh produce, making it look vibrant and full of life.
2. Capturing Steam or Smoke
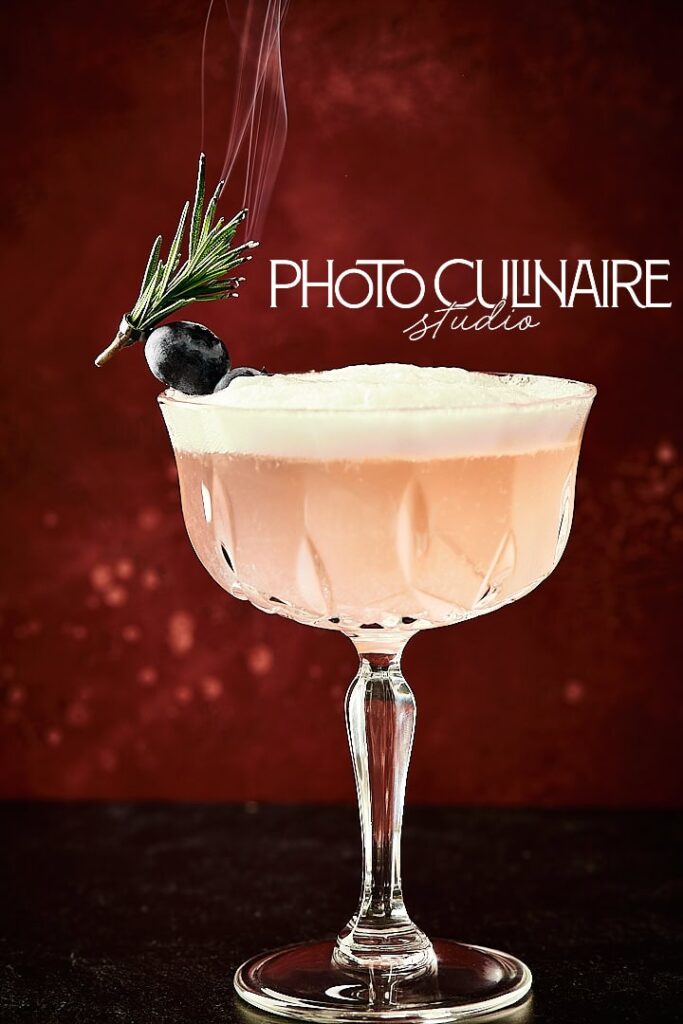
- Ideal For: Subjects where steam or smoke plays a visual role.
- The Effect: Backlighting illuminates the steam or smoke, adding a dynamic and tantalizing element to your shot.
3. Showcasing Transparent and Liquid Elements

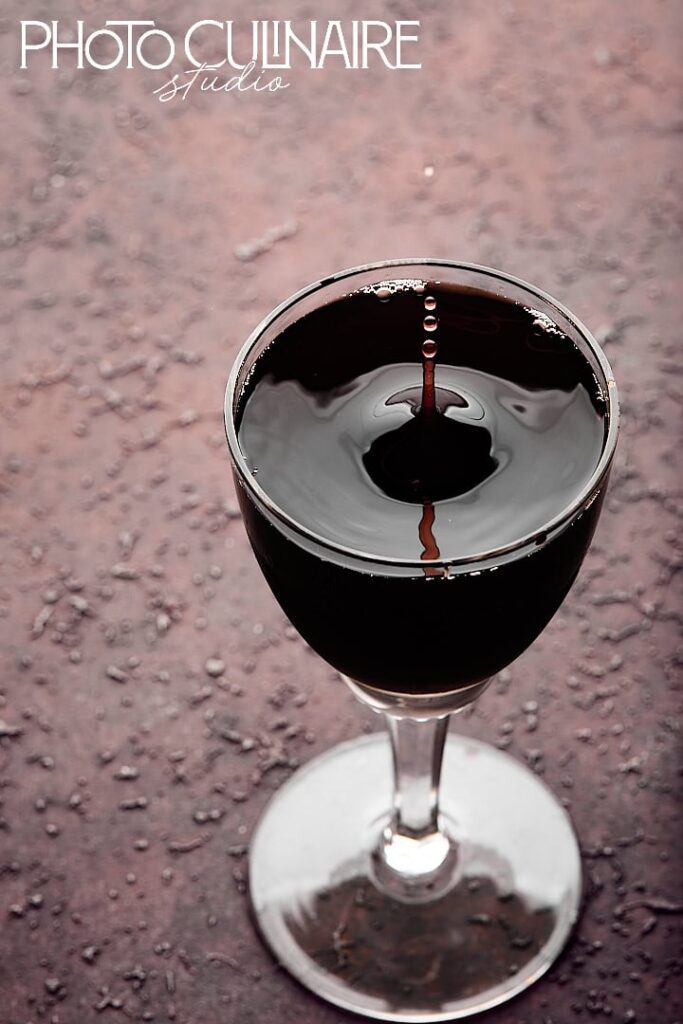
- Perfect For: Soups, broths, or beverages.
- Result: The backlight creates a glow through the liquids, highlighting their clarity and color.
4. Emphasizing Texture and Detail
- When to Use: For subjects where texture is a key feature, like crusty bread or detailed pastries.
- Benefits: Backlighting casts shadows that define textures, making the food more visually appealing.
5. Enhancing Gloss and Shine
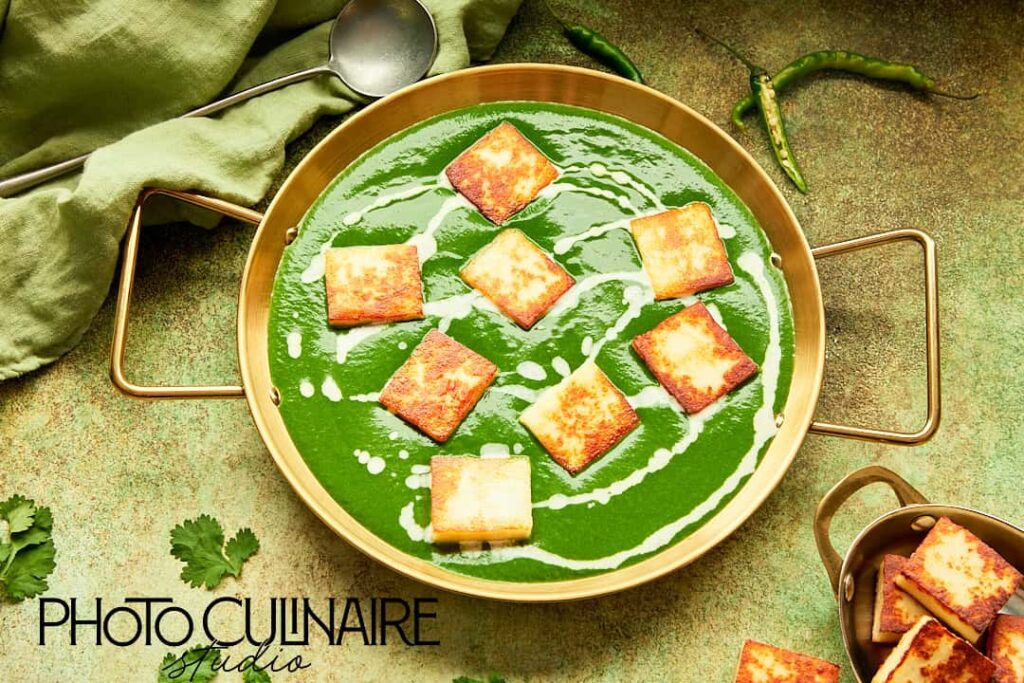
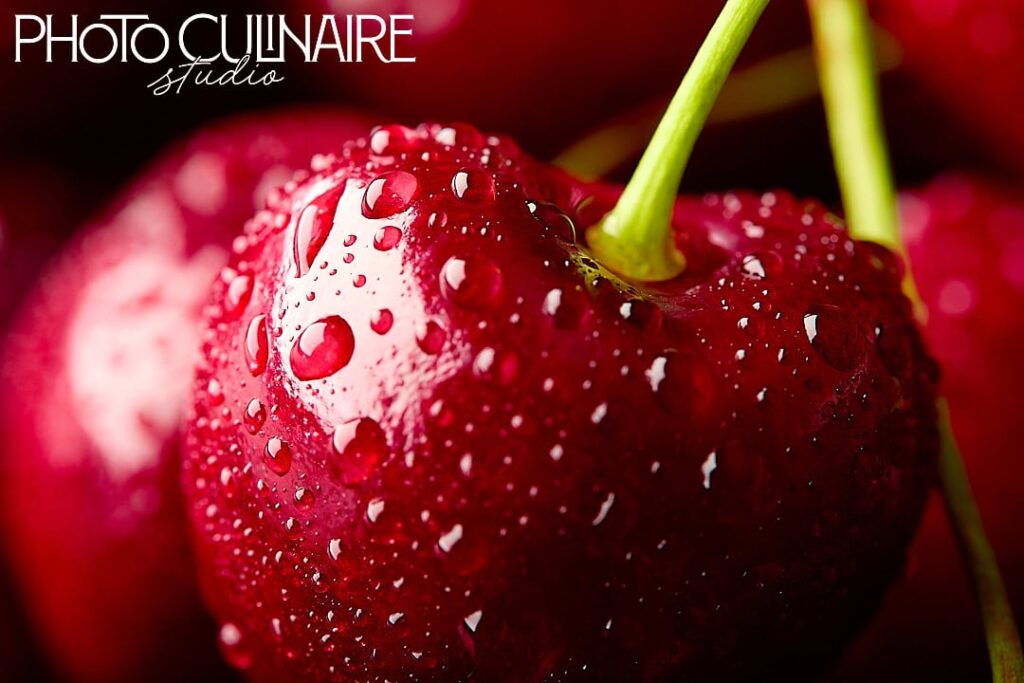

- Ideal Situations: When photographing foods with a natural sheen, like glazed fruits or shiny sauces.
- Impact: The technique accentuates the gloss, making the subject look more enticing.
6. Avoiding Unwanted Reflections
- Use Case: For items that could reflect light, like glassware, metallic surface or cutlery.
- Advantage: Backlighting minimizes reflections that could distract from the main subject.
7. Creating Mood and Atmosphere
- When: You’re aiming for a specific mood, like a cozy, warm feeling or a bright, airy vibe.
- How It Helps: The direction and quality of light can significantly influence the mood of your photograph.
8. Accentuating Specular Highlights on Shiny Foods
- What are Specular Highlights: Specular highlights are those little glimmers that bounce off shiny food surfaces, indicating moisture or warmth, like the sheen on a ripe tomato or the glisten on chocolate ganache. They occur when light hits a glossy surface at a specific angle, reflecting straight back into the lens, adding a layer of texture and visual appeal to the food.
9. Creating Dramatic Contrasts and Effects
- Utilizing backlighting can dramatically enhance the contrast between your subject and the background, lending a bold, dramatic look to your images. This technique is particularly effective in drawing the viewer’s eye directly to the main subject, making your food photographs more striking and memorable.
10. Elevating Macro Food Photography
- In macro food photography, backlighting reveals an enchanting world of detail and luminosity, giving the intricate textures and colors of food the spotlight they deserve. This approach adds an artistic dimension to your shots, transforming simple ingredients into stunning gastronomic art.
By understanding these scenarios, you can strategically choose when to use backlighting to enhance your food photography. It’s not just about following a trend; it’s about using light to tell a story, evoke emotions, and showcase your subjects in their best possible light.
Choosing the Best Subjects for Backlight Technique
Not every subject is a perfect candidate for backlighting. Selecting the right subjects is crucial to making the most of this technique.
Here’s how to identify the best foods to photograph with backlighting:
| Translucent Foods | Perfect for: Thinly sliced fruits, vegetables, or leafy greens. Why: Backlighting enhances their natural colors and textures, making them appear almost luminous. |
| Foods with Steam or Smoke | Perfect For: Hot beverages, soups, or any subject where steam or smoke is present. Why: Backlighting captures the delicate dance of steam or smoke, adding a dynamic and inviting element to your photos. |
| Glossy or Shiny Surfaces | Perfect for: Glazed pastries, frosting, shiny fruits, or drizzled sauces. Why: The backlight emphasizes the sheen, making the food look irresistibly fresh and appetizing. |
| Beverages | Perfect for: Cocktails, juices, or sparkling water, wine, champagne, tea, coffee. Why: The backlight emphasizes the sheen, making the food look irresistibly fresh and appetizing. |
| Textured Foods | Perfect for: Grains, bread, pasta cheese or textured vegetables. Why: The light enhances the texture, giving the food a more tactile and appealing appearance. |
| Foods with Layers | Perfect for: Cakes, sandwiches, or layered desserts. Why: Backlighting can accentuate the layers, adding depth and interest to your composition. |
| Reflective Foods | Perfect for: Foods with natural oils or moisture, like certain fruits and vegetables. Why: These foods can reflect the backlight, creating a subtle glow and highlighting freshness. |
When selecting your subject, consider how the backlight will interact with it. Will it enhance the food’s best features? Will it add depth and dimension? By choosing the right subjects, you ensure that your backlighting technique doesn’t just illuminate your food but also elevates it, making every shot a feast for the eyes.
Remember
Backlight highlights every imperfection in your scene. If your subject doesn’t look perfect, the backlight will magnify the flaw.
15 Essential Components and Tips for a Successful Backlight Food Photoshoot
Mastering the art of backlighting in food photography is like unlocking a new level in your visual storytelling. It’s not just about capturing the subject, but making it glow, making it irresistible. Here’s how you can elevate your food photography with 15 essential components and tips:
- Follow the Backlight Rule: Position the light source directly behind your subject. This isn’t just about illumination; it’s about creating a halo effect that makes your food pop. It’s the difference between a good photo and a mouth-watering masterpiece. Any other angle will not give you a great backlight at all. This is the most basic of the tips and tricks. If you do not follow this, then you better not aim for backlighting.
- Shoot in RAW: RAW format is your best friend in the world of backlighting. It’s like having a safety net, giving you the freedom to adjust exposure, and bring out the best in your backlit shots during post-processing.
- Manual Mode Mastery: Dive into Manual Mode. Backlighting comes with its set of challenges, and Auto Mode just won’t cut it. Control your settings to capture the perfect balance of light and shadow.
- Backlight with Natural Light: The time of the day, weather conditions, and the nature of the window in natural light — all influence the backlight. The hours of early morning or late afternoon offer a soft, diffused backlight. It’s nature’s gift to photographers. Use it to add a warm, natural glow to your food shots.
- Backlight with Artificial Light: When shooting with artificial light, position your softbox behind your subject for a consistent and controlled backlight effect.
- Reflectors to the Rescue: Shadows can be a challenge in backlighting. Reflectors bounce light back onto the subject, illuminating details and reducing harsh shadows for a more balanced shot.
- Diffusers for Softness: Intense backlight can overwhelm your subject. A diffuser softens this light, ensuring your primary subject remains the star of the show without harsh highlights or lost details.
- Blocking Overpowering Light: Sometimes, less is more. If the backlight is too strong, strategically block parts of it to maintain the perfect light balance and keep your subject well-defined.
- Spot Metering for Accurately Measuring Exposure: Spot metering allows you to focus on getting the exposure just right for your subject. The spot meter is normally used to make dark areas achieve the right exposure.
- Back-Button Focus: This technique separates focusing from the shutter release, giving you more control and precision, especially in the ever-changing conditions of backlighting.
- Lens Flare Awareness: While sometimes desirable, lens flare can also distract. Choose lenses known for good flare control, or use lens hoods to keep those unexpected light artifacts in check.
- Camera Settings Balance: Combat the brightness of backlight with a smaller Aperture, faster Shutter Speed, and lower ISO. This trio is your recipe for capturing detailed and well-exposed backlit images.
- Clipping Indicators: Use Clipping Indicators in Lightroom or Capture One to see if the image is overexposed. They’re telling you where you’re losing detail, so you can adjust accordingly.
- Post-Processing Polish: Here’s where you can fine-tune contrast, sharpness, and saturation to bring out the true beauty of your backlit shots. It’s your chance to enhance the story your image tells.
- Embrace Imperfections: Sometimes, it’s the slight overexposure or the unexpected flare that adds character and mood to your image. Don’t be afraid of imperfections; they can transform a good photo into a great one.
With these tips in mind, backlighting can become one of your most powerful tools in food photography. Experiment with it, observe how it shapes the food, and watch your images come to life.
Conclusion
Backlighting can take a little practice, but once you understand how it works, it can completely transform your food photos. The beautiful glow, added depth, and subtle texture it creates can make even simple scenes feel more compelling. Try experimenting with light placed behind your subject and observe how it changes the mood of your image. With time and practice, backlighting may become one of your favorite lighting techniques.
If you’re curious about more creative ways this lighting technique can transform images, explore these 10 reasons to use backlighting in food photography.
If you’re exploring different lighting directions, you might also want to learn how side lighting in food photography works, since its another power technique for creating depth and texture.
So, don’t hold back. Experiment wildly, push those boundaries, and let your creativity soar. The insights we’ve shared? They’re your toolkit, your starting point. But the real magic? That’s all you!
Have you ventured into the backlighting territory yet? Share your backlight experiment stories and challenges you encountered, I would love to hear from you.
. . . . .