Ever feel like your food photos almost hit the mark, but something’s just… off? You meticulously set up the shot, nail the lighting, yet the final image on your camera’s tiny screen doesn’t quite match what you envisioned. I’ve been there.
Jump to:
I remember spending days shooting for client, only to find imperfections after transferring images to my computer. It was frustrating. I needed a better way to see what I was capturing in real time. That’s when I discovered tethering, and it completely changed my workflow.
Tethering isn’t just a fancy term; it’s a game-changer! Tethered shooting in food photography allows you to instantly view high-resolution images on a larger screen as you shoot. This lets you catch those pesky details — a stray crumb, a slight reflection — immediately. No more surprises later.
What is Tethering?

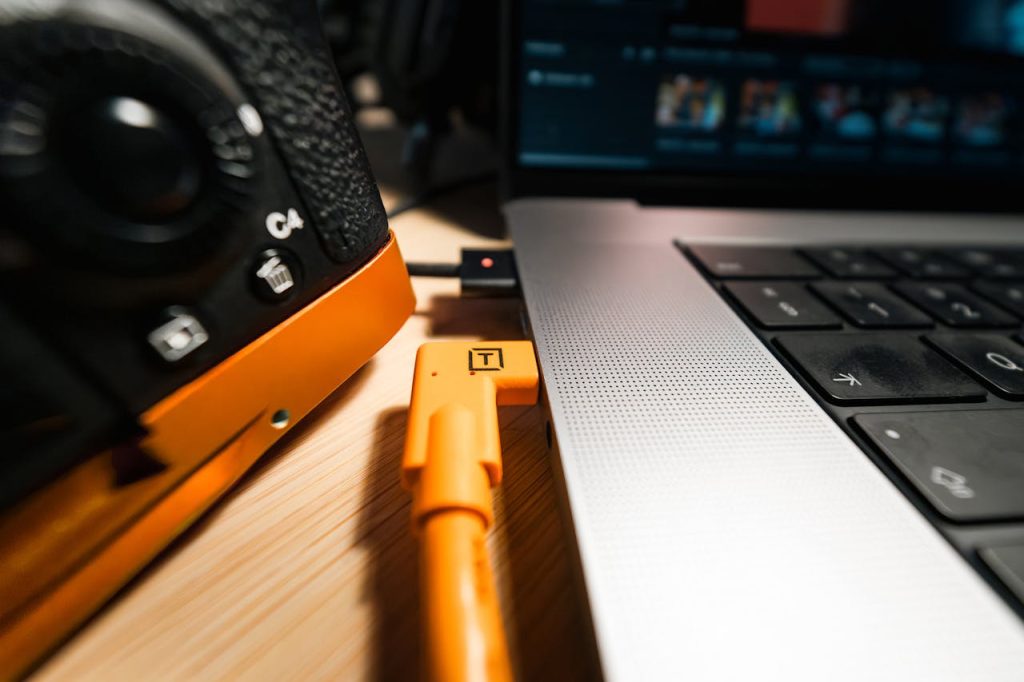
The word “tether” means to tie or connect something. In photography, tethering means connecting your camera (DSLR or mirrorless) directly to a computer, tablet, or even a smartphone. Think of it as creating a live connection. When you snap a photo, it instantly appears on the larger screen. Poof — there it is!
This isn’t some niche technique. You’ve probably seen it in behind-the-scenes videos of professional photoshoots. It’s a staple in studios for a reason. Imagine trying to show a client tiny previews on your camera’s LCD. Awkward, right? Tethering eliminates that problem. It lets everyone see the image in high resolution immediately.
- Wired Tethering: This involves a physical cable connecting your camera to your device. It’s the most reliable method, offering a stable and fast connection. Think of it as the reliable workhorse of tethering.
- Wireless Tethering: This uses Wi-Fi or Bluetooth. It offers more freedom of movement, obviously, but can sometimes be less reliable due to signal interference. It’s like the free spirit of tethering.
As a professional, especially in a studio, tethering isn’t just a good idea — it’s expected. Imagine downloading images from memory cards while your client waits. It’s unprofessional and disrupts the flow. Tethering streamlines your workflow and lets you catch mistakes in real-time. This means you can correct issues on the spot, saving time and headaches later. It’s a win-win. In fact, I’d argue it’s essential.
Tethering becomes even more powerful when you shoot food photography in Manual Mode, since you can immediately review how changes to Aperture, Shutter Speed and ISO affect your image.
The Evolution of Tethered Photography
Tethering has come a long way. In the early days, it was a complex and expensive setup reserved for big-budget studios. Think bulky hardware, specialized software, and a steep learning curve. It was a world away from the user-friendly experience we have today. It was a bit like comparing a horse and a buggy to a sports car.
But things changed. Dramatically. The development of dedicated tethering software, like Capture One and Lightroom, revolutionized the process. These tools simplified the connection, image transfer, and management. Now, photographers of all skill levels can easily incorporate tethering into their workflow. It’s become accessible. It’s become mainstream.
This accessibility isn’t just about convenience. It’s about empowering photographers to create better work. By seeing images instantly on a larger screen, we can make more informed decisions about lighting, composition, and styling. This level of real-time feedback was unimaginable in the early days of tethering. It’s a testament to how technology has democratized professional photography tools.
What Tools and Equipment Do You Need for Tethering?
Think tethering is complicated? Think again. Setting it up is often as simple as plugging a cable into your camera and computer. Really. But to get started, you’ll need a few key pieces of equipment. Let’s break it down.
Here’s your tethering toolkit:
- A Compatible Camera: Most modern cameras support tethering, but always check your camera’s manual to confirm compatibility and the types of files (JPEG, RAW, or both) you can transfer. This is crucial. Don’t skip this step.
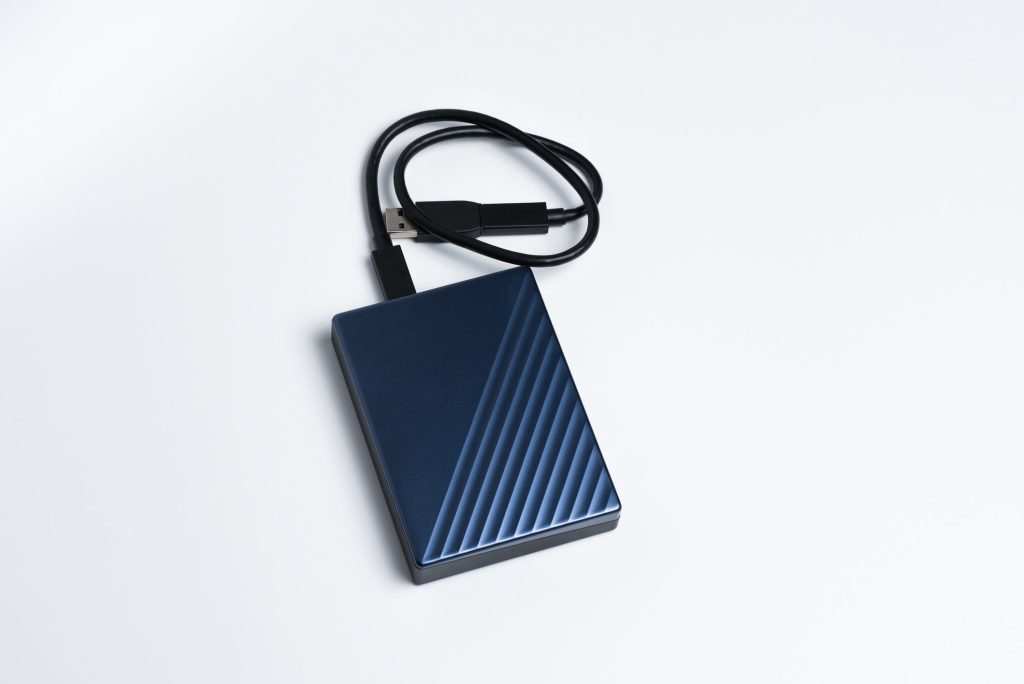
- The Right Tethering Cable: This is not just any USB cable. You need one specifically designed for your camera model and with the correct port for your computer (USB-A, USB-C, etc.). Tether Tools offers excellent, high-quality cables built to the latest USB specifications for fast and reliable transfers. I highly recommend them.
- A Computer, Laptop, or iPad: This is your display and processing hub. If you’re in a studio, a large monitor can be beneficial for detailed viewing. For location shoots, a laptop is essential.
- A Tripod: Stability is key in tethered shooting. A tripod ensures consistent framing, focus, and sharpness, while experimenting with different camera angles for food photography, especially in low light or when making small adjustments. This is not optional.
- Precise Framing: A tripod keeps your camera steady while you adjust composition on your computer.Sharpness in Low Light: It prevents camera shake during longer exposures.Consistent Focus: It maintains the focus plane between shots.
- Efficient Workflow: It streamlines the review and adjustment process.
- An External Hard Drive: With large RAW files transferring directly from your camera, you’ll need ample storage.
- An external hard drive provides this space, and acts as an immediate backup. This is a must for peace of mind.
- Large File Storage: RAW files take up a lot of space.
- Backup Redundancy: An external drive provides real-time backup, protecting your valuable images.
- Tethering Software: This is the bridge between your camera and computer. Some cameras come with basic tethering software, but dedicated programs like Capture One and Lightroom offer advanced features and better workflow integration. These are the industry standards for a reason.
- A Laptop Stand (Good to Have): A laptop stand improves ergonomics, preventing neck strain during long shoots. It also provides better visibility of your screen. This is a small investment that makes a big difference in comfort and workflow.
- A Tether Block (Good to Have): This small device secures your tethering cable to your camera, protecting the delicate ports from damage if the cable is pulled or tripped over.
- I highly recommend a TetherBlock (Tether Tools makes great ones) for preventing costly repairs. It’s a small price to pay for big protection. It’s my personal favorite cable management solution.
With the right tools, tethering becomes a seamless and efficient part of your workflow. It’s about more than just seeing your images on a bigger screen; it’s about taking control of your creative process.
Lightroom or Capture One — Who’s the Winner?
When it comes to tethering, the two heavy hitters are Lightroom and Capture One. I’ll be blunt: I strongly prefer Capture One. Any day. It’s simply more stable. It crashes and stalls far less than Lightroom. Trust me on this.
Capture One generally outperforms Lightroom for tethering due to its more advanced features, faster performance, greater camera control, and highly customizable workspace. This makes it ideal for professionals who demand a reliable and efficient workflow, especially in high-pressure studio environments.
Lightroom offers a simpler tethering experience, but it lacks the depth of control and speed that Capture One provides. It’s a bit like comparing a bicycle to a motorcycle. Both get you there, but one is clearly built for speed and performance.
Here’s why Capture One has the edge:
| Superior Tethering Stability and Responsiveness | Capture One offers a rock-solid connection with minimal lag or glitches, even with large image files. This is essential for a smooth workflow. Lightroom can sometimes be… temperamental. |
| Extensive Camera Control | Capture One provides in-depth control over camera settings directly within the software, including focus peaking, exposure adjustments, and precise control over shooting parameters. This level of control is unparalleled. |
| Customizable Workspaces | You can tailor your Capture One interface to perfectly suit your tethering needs with personalized layouts and toolsets. This level of customization is invaluable for optimizing your workflow. |
| Advanced Live View Functionality | Capture One offers a highly detailed live view with real-time image preview and adjustments, allowing you to fine-tune your composition before capturing the shot. This is a game-changer for precision. |
| Session-Based Workflow | Capture One uses Sessions, which are more efficient for managing tethered shoots by creating separate project folders for each session. This keeps your files organized and easy to manage. Lightroom’s catalog system can become cumbersome for tethered workflows. |
So, when might Lightroom be a better choice for tethering?
| Simple Needs | If you only need basic tethering features like Live View and a simple image Preview, Lightroom might suffice. But why settle for basic when you can have powerful? |
| Integration with the Adobe Ecosystem | If you’re heavily invested in other Adobe software, Lightroom might offer a more convenient, unified workflow. However, this convenience comes at the cost of performance and control. |
For serious food photographers, especially those working in a studio environment, Capture One is the clear winner. It’s an investment in your workflow, your efficiency, and, ultimately, the quality of your work.
Why Capture One is a Better Choice specifically for Food Photography?
When it comes to food photography, Capture One truly excels. It outperforms Lightroom in several key areas crucial for capturing those mouthwatering details. Its superior live view, faster performance, precise color control, and stable tethering connection make it the ideal choice for accurately monitoring and adjusting shots in real time. In food photography, every detail, every highlight, every texture matters. Capture One helps you capture it all.
Here’s why Capture One excels for tethered food photography:
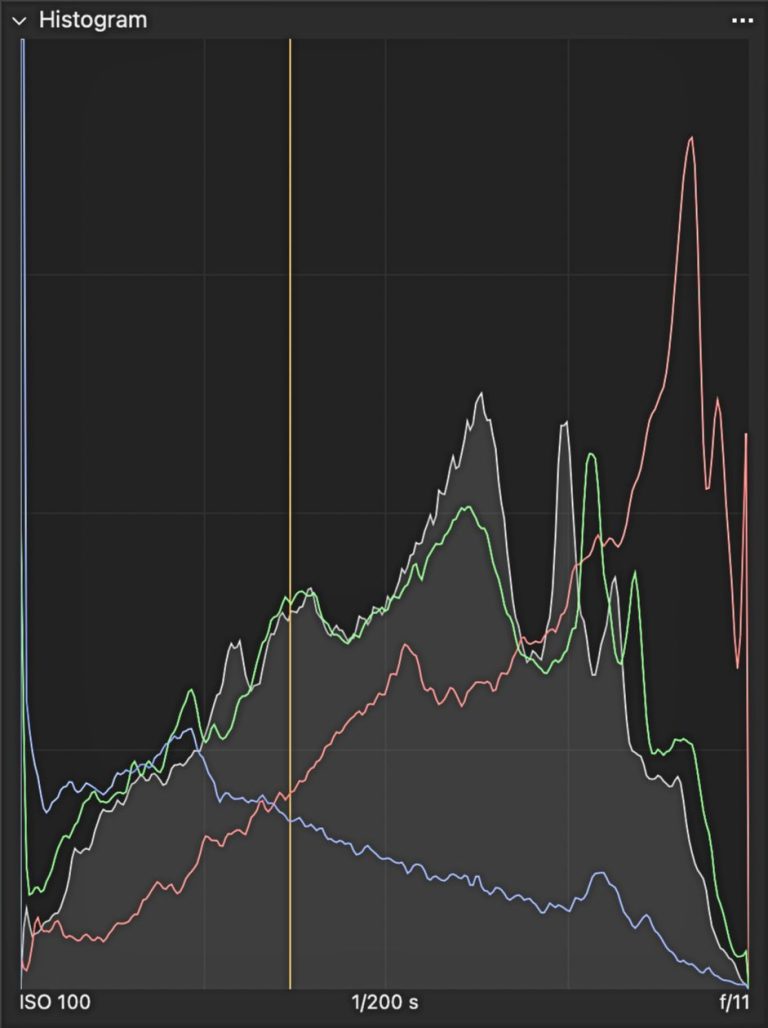
| Advanced Live View | Capture One’s highly responsive live view provides detailed image previews, allowing for precise adjustments to composition and lighting in real-time. And also makes it easier to monitor exposure using tools like histogram. This is essential for food photography, where even the smallest adjustments can make a huge difference. You can see exactly how the light is playing on the food, allowing you to fine-tune your setup before you even take the shot. |
| Precise Color Control | Capture One is renowned for its superior color rendition and fine-tuned color adjustments. This allows you to accurately capture the subtle nuances of food colors and maintain proper white balance, from the rich reds of a ripe tomato to the vibrant greens of fresh herbs. Color is everything in food photography, and Capture One gives you the tools to master it. |
| Camera-Specific Profiles | Capture One often offers camera-specific profiles that optimize image quality straight from the camera. This is especially beneficial for achieving accurate color representation in food photography. These profiles are designed to get the best out of your specific camera model. |
Capture One’s editing capabilities are extensive, particularly for those who shoot in RAW. The software is specifically optimized for RAW files, with custom profiles created for over 500 supported cameras. This ensures the best possible results. If you’re serious about preserving or fine-tuning color, Capture One has you covered.
Like Lightroom, Capture One offers a variety of premade presets, or you can create your own. When tethering, you can choose to instantly apply edits, or simply view your shots and make edits later. This flexibility streamlines your workflow, and lets you focus on capturing the perfect image. It’s about control, precision, and efficiency. And that’s what makes Capture One the clear winner for tethered food photography.
Ready to Unleash Your Inner Food Photographer with Tethering?
Tethering is more than just a workflow enhancement; it’s a way to elevate your food photography to new heights. It empowers you to see, adjust, and refine your images in real time, ensuring every detail is perfect. It’s about working smarter, not harder.
Here are the key takeaways:
- Tethering connects your camera directly to a larger screen for instant image review.
- The right tools — cable, tripod, software — are essential for a smooth tethered workflow.
- Capture One offers significant advantages over Lightroom for tethering, especially in food photography.
- Precise color control and advanced live view are crucial for capturing stunning food images.
Still wondering if tethering is really worth adding to your workflow? Take a look at these 20 reasons why tethering in food photography is a game changer, and see how it can dramatically improve your shooting process.
Tethering is an investment that pays off in improved workflow, higher-quality images, and happier clients. Don’t just take my word for it — give tethering a try and see the difference for yourself. Explore the world of tethering today and unlock your full creative potential. Is tethered shooting a standard part of your food photography process? If not, has this inspired you to give it a go?
. . . . .