Tired of blurry, dark, under-exposed shots? Understanding ISO is the key to sharp, well-exposed images. Jumping into food photography, I quickly learned ISO is like the secret sauce for nailing those stunning, drool-worthy images.
Jump to:
Well, I’m here to break it down for you, to take the fear out of ISO, and show you how it can actually be your best friend in food photography. Let’s explore how to make your food photos stand out.
Let’s demystify ISO in food photography together — it’s easier than you think.
What is ISO?

Have you ever scratched your head at the term ISO in your photography journey? Trust me, I’ve been there. It felt like a secret language meant only for the photography elite. But, as I discovered, becoming besties with ISO is a game-changer for anyone looking to capture food in its most drool-worthy state. So, what’s the scoop on ISO?
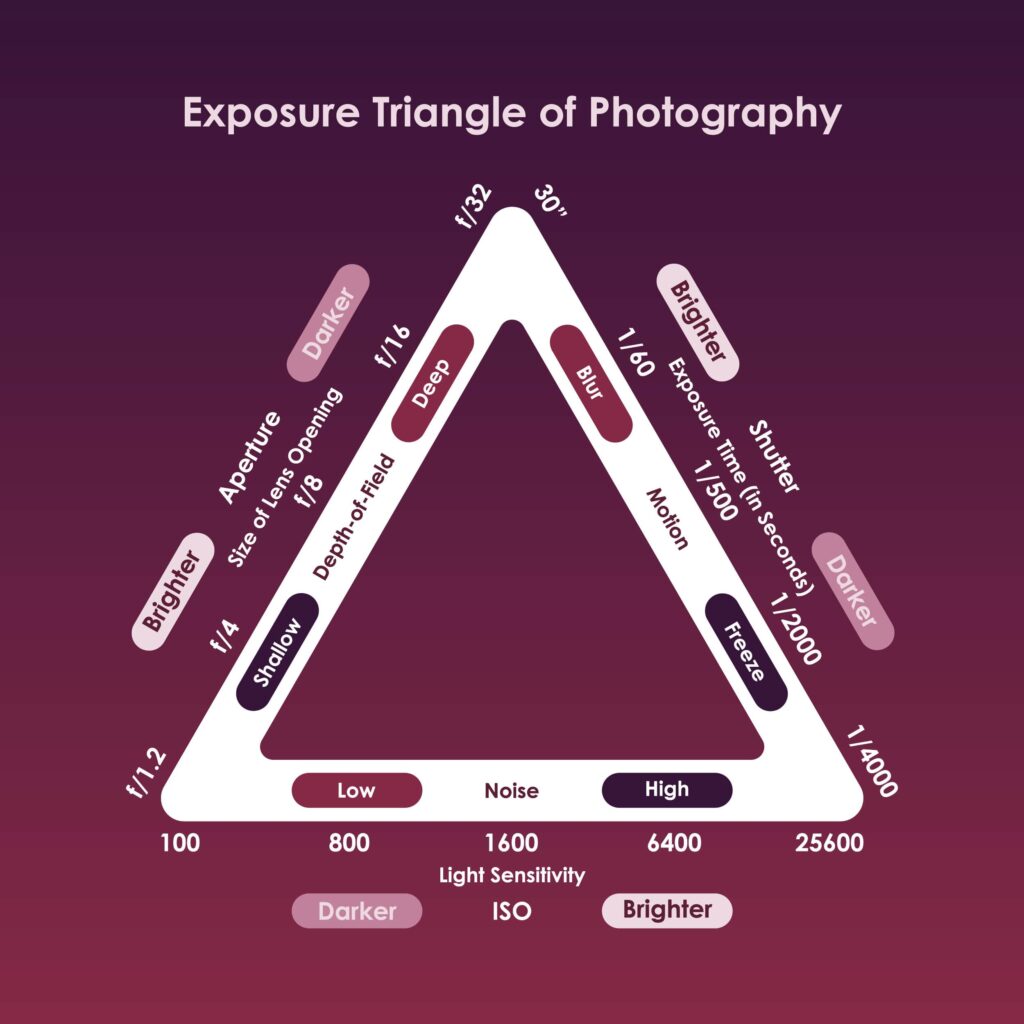
- ISO 101: In photography, ISO is all about measuring your camera sensor’s sensitivity to light. But what does it really mean? ISO determines how much light your camera captures, affecting your image’s brightness. It measures your camera sensor’s sensitivity to light. The higher your ISO number, the more your camera sees in the dark. But beware, with great power comes great responsibility (and sometimes, grainy photos).
- The Exposure Triangle Dance: ISO is your key to achieving the perfect exposure. ISO, along with Aperture and Shutter Speed — collectively called the Exposure Triangle — controls the overall brightness of your image. Master this trio, and you can capture anything from airy, light-filled scenes to moody, dramatic shots. So what does ISO do? It’s the peacemaker, stepping in to adjust the light, and ensure you don’t lose any important detail when you tweak your shutter speed and aperture.
Pro Tip
Keep your ISO as low as possible to maintain clean, detailed, sharp images. Raising it too high can introduce noise and reduce image quality.
How ISO is Measured
Understanding this will seriously level up your photography game, especially when you’re new to food photography. ISO values aren’t just random numbers; they’re a key part of the photography puzzle.

- Base ISO: This is your starting line or the lowest value of the ISO range, the ISO setting that gives you the sharpest image with the least or no noise. Most cameras usually set this at ISO 100. For the sharpest, cleanest images, always aim to use your camera’s base ISO.
- Range of ISO Values: After your base ISO 100, things start doubling up — 200, 400, 800, 1600, and so on. Each increase in ISO doubles your camera sensor’s sensitivity to light, resulting in a brighter image. Each jump doubles the sensor’s sensitivity to light, allowing you to shoot in dimmer conditions without slowing down your Shutter Speed too much.
Best ISO for Food Photography in Natural Light
This is where the magic happens, where the natural glow makes every subject look like a masterpiece. When you’re blessed with a bounty of natural light, the rule of thumb is to keep your ISO as low as possible. This means setting your camera to its base ISO, typically around 100 or 200.
ISO — Why Lower the Better?
At base ISO, your camera captures the highest quality images with the least amount of noise. We’re talking crisp edges, vibrant colors, and all those mouth-watering details you can almost taste.
Here’s a simple breakdown on what ISO settings to use in natural light environment:
- ISO 100-200: Perfect for those shoots where light is abundant.
- ISO 400-800: Great for cloudy or overcast days, balancing the need for more light without compromising too much on quality.
- ISO 1600+: This is where you venture when there isn’t enough light. Ideal for dim lit environments.
- The Trade-Off: Remember, increasing your ISO comes with a caveat — the higher you go, the more noise you invite into your photos.
In food photography, you want your subject to look inviting, and introducing noise in your images does the exact opposite. It is key to keep an eye on your ISO, and understand how to adjust it based on your lighting conditions. You’re not just taking photos; you’re telling the story of the food, and how you measure and adjust your ISO plays a significant role in that narrative. Please remember, in food photography, light is everything.
ISO When Working with Flash
Working with Flash might seem like stepping into a whole new world, but it’s not as daunting as it seems.
- The Flash Advantage: Flash lighting is a powerful tool. It can illuminate your subject, eliminate unwanted shadows, and even mimic natural light, if used correctly. But here’s how: when you introduce Flash into the mix, you’ve got more room to play with your ISO settings.
- Flash Allows Low ISO: Flash eliminates the need to worry about high ISO. With the extra light it provides, you can shoot at your camera’s base ISO (usually ISO 100) for the sharpest images and best dynamic range. When you’re working with flash, you often have the flexibility to use a lower ISO because the flash itself compensates for the lack of light.
Understanding Noise In Food Photography
Think of noise like the uninvited guest at your photoshoot — it can sneak into your images, especially as you bump up the ISO. But why does it show up, and what can you do about it? And what exactly is noise?
Noise, in photography, is essentially visual distortion. It’s those grainy specks that appear in your image, often making it look less sharp and sometimes downright messy. Here’s the takeaway:
- Why Noise Happens: When you increase your ISO, you’re making your camera’s sensor more sensitive to light. This is great for low-light situations, but comes with a side effect: more sensitivity can lead to inaccuracies in how the sensor reads the light. This, my friends, is what shows up as noise.
- Low Light, High ISO, More Noise: It’s a common scenario. You’re shooting in a dimly lit natural light environment, and you don’t want your image to look underexposed. So, you bump up the ISO. The result? Your camera captures the scene, but with visible noise. It’s a trade-off — more light for more noise.
- The Impact of Noise on Food Photography: Let’s be real. A grainy photo can make the most delectable food look unappetizing. The textures get lost, the colors aren’t as vibrant, and the overall appeal takes a hit. Noise detracts from the clean, crisp look we aim for in food photography.
- Combating Noise:
- Keep ISO Low: The lower your ISO, the lesser the noise. Simple, right? Aim to use the lowest ISO you can get away with, given your lighting conditions.
- Use a Tripod: A tripod lets you use slower Shutter Speeds without the blur. This means you can keep your ISO low, even in low light.
- Post-Processing: Modern editing software comes with noise reduction tools. They can be lifesavers, smoothing out noise while preserving detail. But beware, overuse can lead to a plastic, unnatural look.


When to Embrace the Grain: Sometimes, a little bit of noise isn’t a deal-breaker. It can add character and mood to certain shots. While noise is often avoided, especially in food photography, it can be used creatively in some situations. A touch of grain can add a vintage or gritty feel to your images. The key is to use noise intentionally — food photography should still look delicious!
Understanding noise and how to manage it gives you control over your images. It means you can push your food photography further, experimenting with light and shadow without fear. Because, at the end of the day, knowing how to handle noise means your subjects will always look as good as they taste, no matter the lighting conditions.
When (if ever) to Use High ISO in Food Photography
Venturing into high ISO territory can feel like walking a tightrope. But there are moments in food photography when bumping up that ISO is exactly what you need. Here’s when to dial it up:
- Dimly Lit Natural Light Environments: That cozy, ambient restaurant or the evening outdoor BBQ scene often lacks sufficient light. High ISO becomes your ally, allowing you to capture the ambiance without introducing blur from a slow Shutter Speed.
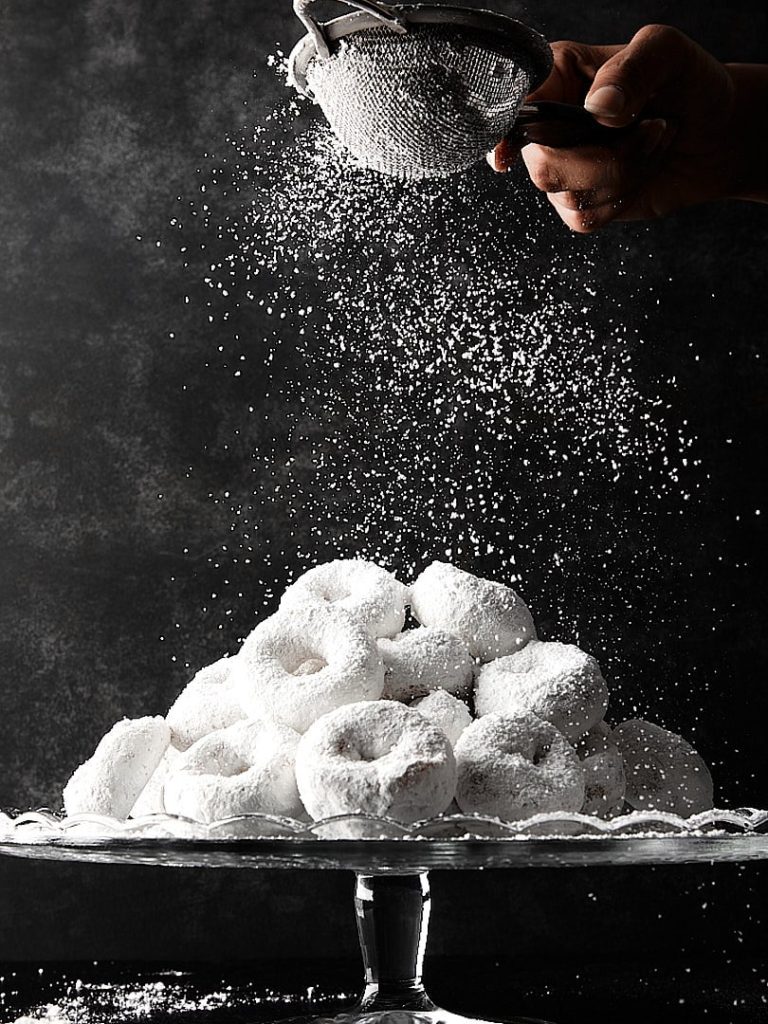
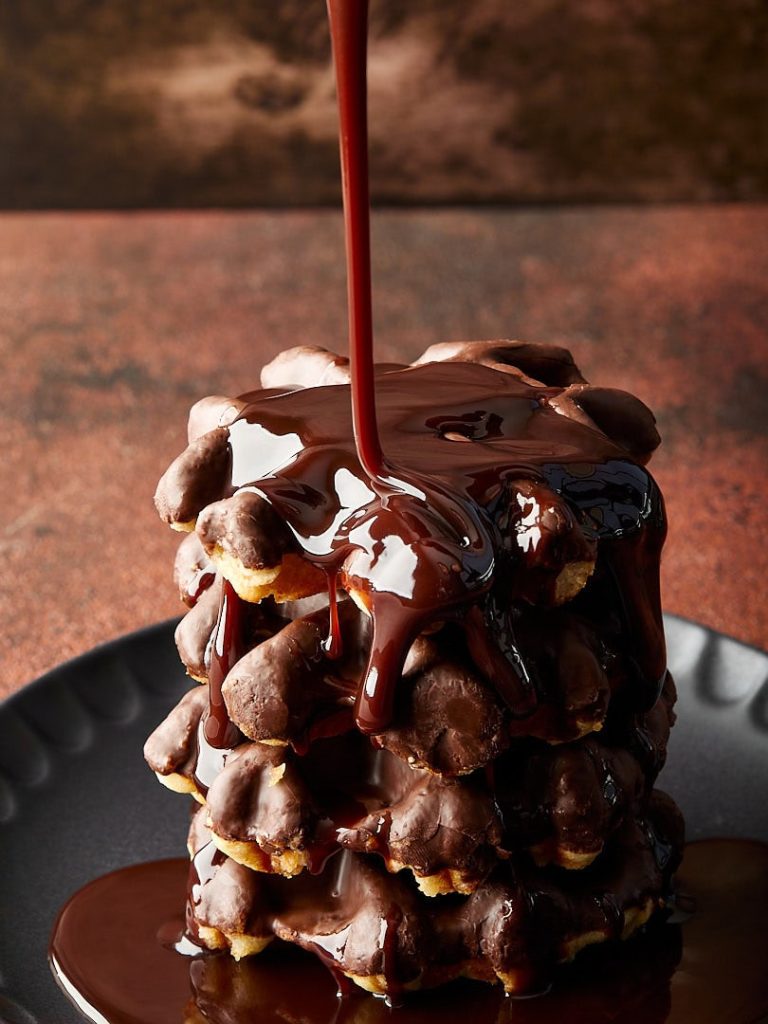
- Capturing Action: Ever tried photographing the dynamic action shots, like pours and drizzles? To freeze fast-moving subjects, you need a faster Shutter Speed. Photographing a honey drizzle? You might need 1/500s or even 1/1000s. But fast Shutter Speeds can make your image too dark, unless you also increase your ISO. Remember, a slightly noisy image is better than a blurry one. Don’t be afraid to crank up your ISO when capturing action.
- Without a Tripod: Hand holding your camera in low light? A higher ISO can compensate for the lack of stability, reducing the risk of motion blur without sacrificing the spontaneity of your shot.
- Depth of Field Control: Want that creamy bokeh with your subject in tack sharp focus? A higher ISO allows for narrower Apertures without losing light, accentuating your subject against a soft, dreamy backdrop.
Remember
Camera quality matters!
Newer, higher-end cameras typically handle high ISO settings better than older or entry-level models. While some full-frame DSLRs perform well with high ISO, it’s still best to avoid pushing ISO too far, as it will inevitably introduce noise into your photos.
ISO Tips & Tricks
Now that we’ve understood ISO well, let’s make sure we’re wielding this powerful tool with finesse. Here are some tips and tricks to elevate your food photography with ISO:
- Know Your Camera: Each camera handles noise differently. Spend time with yours. Push the ISO. See how high you can go before noise becomes intrusive. This knowledge is power.
- Shoot in RAW: RAW files retain more information than JPEGs, giving you greater flexibility in post-processing. This means you can more effectively reduce noise, and adjust exposure without sacrificing image quality.
- When using Natural Light: When you are just starting out in food photography, you will mostly rely on natural light. It’s flattering, free, and reduces the need for high ISO settings if the right tricks are up your sleeve. For example — reflectors can also help bounce light, brightening shadows without additional noise.
- Invest in Fast Lenses: Lenses with wider apertures (lower f-numbers) let in more light, allowing you to lower your ISO. A prime lens, like a 50mm f/1.8, can be a game-changer in low light conditions.
- Embrace the Mood: High ISO can introduce a gritty, realistic texture to your photos. Used creatively, this can add atmosphere and mood to your shots, turning a limitation into a stylistic choice.
- Post-Processing is Key: Get familiar with the noise reduction tools in your favorite editing software. Apply noise reduction sparingly to maintain texture and detail, especially in those luscious food close-ups. When you want to review noise and sharpness more carefully while shooting, tethering in food photography can make that process much easier.
By understanding when and how to adjust your ISO, you’re unlocking new levels of creativity in your food photography. High ISO isn’t just a last resort — it’s a deliberate choice that, when used wisely, can lead to stunning, dynamic images.
Final Thoughts
As we wrap up this journey through the world of ISO in food photography, it’s clear that mastering ISO is less about following strict rules and more about embracing flexibility and creativity.
Remember, the best subject in the world won’t matter if it’s not captured with the right technique. By balancing ISO with the other elements of the Exposure Triangle, you ensure your photos do justice to your subjects.
Your journey in food photography is just beginning. I encourage you to grab your camera, play with ISO settings, and see how they affect your images in different lighting conditions. Experiment, make mistakes, learn, and, most importantly, enjoy the process.
. . . . .