Stepping into the world of food photography, I quickly realized it’s not about the most expensive gear or the perfect subject. The real game-changer? Mastering the Exposure Triangle! All photographers, especially beginners, need to understand the purpose and value of exposure, especially if they are serious about developing their craft.
Jump to:
Imagine being in control! Understanding Aperture, Shutter Speed, and ISO puts you in the driver’s seat when it comes to exposure. If you’re curious about turning your food photos into professional-grade photos, you’ve landed in the perfect place. You can’t create truly exceptional photographs without mastering the Exposure Triangle. It’s the fundamental language of how your camera captures light.
So, let’s get started.
What is the Exposure Triangle in Photography?
When I first dipped my toes into food photography, the term ‘Exposure Triangle’ sounded like some mystical concept meant only for the pros. But as I dove deeper, I realized it’s the backbone of not just food photography, but all photography. So, what exactly is this pivotal concept?
The Exposure Triangle is a fundamental photography principle that balances three critical settings — Aperture, Shutter Speed, and ISO. Together, these elements control the amount of light that reaches your camera’s sensor — a harmonious blend that dictates the brightness, depth of field, blurring or freezing action, and sharpness of your images.
Think of the Exposure Triangle as your culinary trio. Just as salt, fat, and acid work together to create a perfect dish, Aperture, Shutter Speed, and ISO collaborate to produce a stunning photograph. Missing one element? The whole balance is off. Too much or too little of another? Your photo won’t turn out as expected.
- Aperture is like the heart of your lens, deciding how much light gets in. It also affects the depth of field — that beautiful blur in the background of so many mouth-watering food shots.
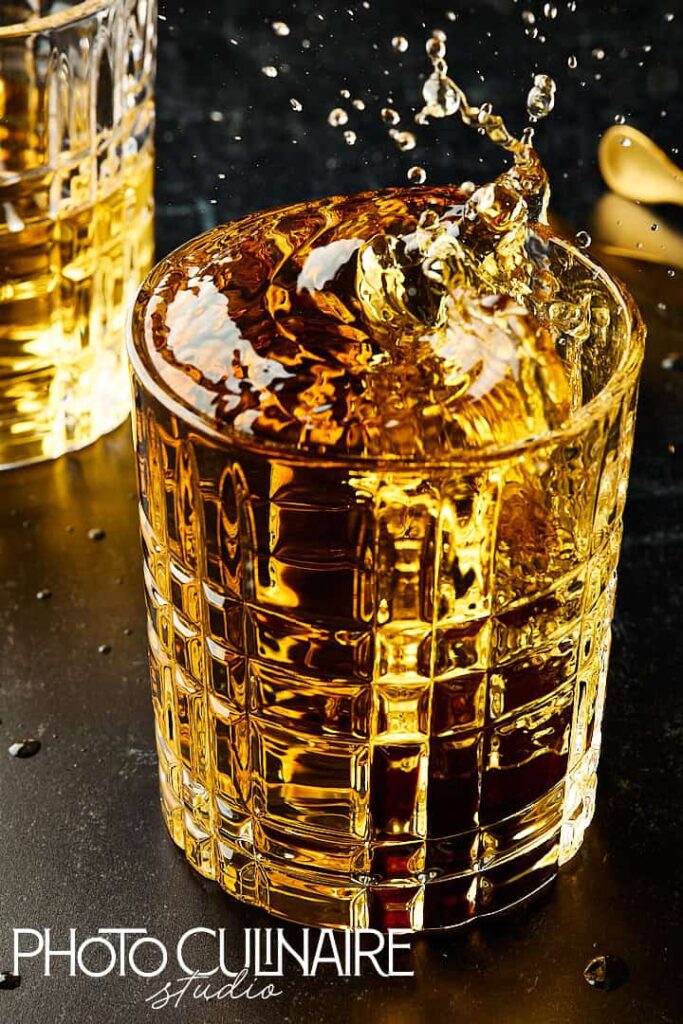
- Shutter Speed controls the duration your camera’s shutter stays open. It’s crucial for capturing those crisp, freeze-frame moments where every detail of a splash or a sprinkle stands out.
- ISO measures your camera sensor’s sensitivity to light. Higher ISO can brighten your shots, but be wary; it can also introduce noise.
Understanding and manipulating these three elements allows you to capture images that truly resonate. Whether it’s the steam rising from a hot bowl of soup, or the vibrant colors of a fresh salad, mastering the Exposure Triangle is your first step to breathtaking food photography. Let’s break down these components one by one, shall we?
How Do the 3 Settings of the Exposure Triangle Work?
Diving deeper into the Exposure Triangle, let’s unravel the mysteries of Aperture, Shutter Speed, and ISO. These settings are your best friends in food photography — letting you play with light and shadows to bring out the textures and colors of your subject.

Ready to see how each component plays its part?
Aperture
In photography, the term ‘Aperture’ refers to the opening within a lens that controls the amount of light passing through. Think of it like the pupil of an eye, widening or narrowing to let in more or less light. In food photography, Aperture does double duty. Not only does it control brightness, but it also affects your depth of field. We will get to what depth of field is in just a moment.
How is Aperture Measured?
Aperture is measured using f-numbers or f-stops, like f/1.4, f/2, f/2.8, f/4 f/8, f/12, f/16, etc. Each lens offers a specific range of available f-stops.

Here’s the tricky part: a lower f-number means a wider lens opening and more light entering the camera. Conversely, a higher f-number means a narrower opening and less light. So, f/1.4 lets in more light than f/16.

Why the Confusing Numbers? An f-stop is a ratio of your lens’s focal length to the diameter of the Aperture opening. While the math can get technical, focusing on this relationship between opening size and light is key.
As you experiment with different Apertures, the concept of f-stops will start to click!
Now, coming back to Understanding Depth of Field (DoF). What does it really mean?
Aperture controls how much of your image is in focus, and this phenomenon is called depth of field (DoF).
A wide Aperture (a lower f-number) blurs your background, making your subject stand out dramatically — basically throwing the background (or foreground) out of focus, drawing the eye to your main subject. This is called Shallow Depth of Field. While it’s called a shallow depth of field, this technique creates a powerful sense of depth that makes your images pop.
On the flip side, a narrow Aperture (a higher f-number) keeps a greater amount of scene or entire scene in focus — things that are close to the camera as well as things that are farther away. This is called Deep Depth of Field. This keeps your entire scene in focus, emphasizing every detail in the scene. This is particularly effective if every element in your frame has an important role.

3 Factors That Affect Depth of Field:
| F-number | Lower f-number (f/2) = Shallow Depth of Field Higher f-number (f/16) = Deep Depth of Field |
| Lens Type | Wider Lenses (e.g., 35mm) = Deeper Depth of Field Telephoto Lenses (e.g., 100mm) = Shallower Depth of Field |
| Subject Distance | Closer to subject = Shallower Depth of Field Further from subject = Deeper Depth of Field |
Your Creative Toolkit: Understanding depth of field gives you immense control. Choose to isolate subjects, guide the viewer’s eye, or capture every element with clarity.
Shutter Speed
That clicking sound every time you take a picture? That’s your camera’s shutter at work, opening and closing to let the light in. It’s like a tiny window controlling how long your camera’s sensor sees the scene. Think of it this way: Aperture determines how wide the window opens, while Shutter Speed determines how long it stays open.
Shutter Speed helps in freezing action (fast Shutter Speed) or motion blur (slow Shutter Speed).
Freezing Action


Fast Shutter Speeds are your key to capturing fast movements — enabling the viewer to see incredible details that a human eye wouldn’t be able to catch. Capturing steam, smoke, falling grated cheese, or the sprinkle of powdered sugar — the possibilities are endless. But freezing action is an amalgamation of skill, patience and luck. It takes practice, but the results are worth the effort.
Note
The faster the Shutter Speed, the greater the sharpness.
Motion Blur
Slow Shutter Speeds transform movement into a mesmerizing blur — lending a living sense to your images. Motion blur happens when something in your frame moves in between the time the shutter opens and closes. Think of cascading waterfalls, or the streaks of car lights at night. A slow Shutter Speed allows the moving subject to leave a trace across the sensor. A tripod is essential for keeping your camera perfectly still and capturing a crisp blur.
In food photography, you might use a fast Shutter Speed to capture droplets of sauce mid-air, or a slow Shutter Speed to soften the pour of champagne to make it look alive. The key is to experiment with different Shutter Speeds to capture your food in motion or perfectly still, depending on the story you want to tell.
Note
The slower the Shutter Speed, the greater the blur.
How is Shutter Speed Measured?
Shutter speed is measured in seconds or fractions of a second. For instance, a Shutter Speed of 1/60 means the shutter stays open for one-sixtieth of a second. If you see a double quotation mark after a number (like 1″), it indicates a whole-second exposure — a very slow speed in photography.
Shutter Speed and Light
A faster Shutter Speed lets in less light, making it ideal for bright environments. Conversely, a slower Shutter Speed lets in more light, perfect for low-light situations. However, slower speeds require a tripod to prevent blur from any camera movement during the longer exposure.
Low-Light Photography: Your Shutter Speed Strategy
Prioritize Image Sharpness: For the sharpest still life food images in low light, keep your ISO low (100-200) and use a slow Shutter Speed. A tripod and remote trigger are essential to prevent camera shake during the longer exposure.
Freezing Movement: When your subject is moving, you’ll need a faster Shutter Speed. To compensate for less light, open your Aperture as wide as possible (low f-number). If you need the entire scene in focus (deep depth of field), a higher ISO may be unavoidable, but try to stay below ISO 1600 for the best quality.
Key Points:
- Tripod and Remote Trigger are your best friends for long exposures in low light;
- Open your Aperture wide (low f-number) when you need a faster Shutter Speed;
- Prioritize low ISO settings, but increase it, if necessary for subject sharpness or depth of field.
ISO
The third pillar of the Exposure Triangle, ISO measures your camera sensor’s sensitivity to light. In well-lit settings, a low ISO keeps your images crisp and clear. But as light dims, you might need to bump up the ISO to capture the scene, without introducing motion blur from a slower Shutter Speed or the drawbacks of a wider Aperture.
The Price of High ISO: Sure, boosting your ISO brightens a dark shot, but it comes with a trade-off — noise. In photography, noise is essentially visual distortion. In simple terms, think of noise as those grainy flecks that make your image look less sharp, almost like it’s sprinkled with dirt.
Why Noise Happens? When you crank up the ISO, your camera’s sensor works harder to capture light. This extra effort can lead to the sensor reading the light inaccurately, creating those visual distortions we call noise. It’s all about finding that sweet spot, especially in the varied lighting conditions food photography often entails.
How is ISO Measured?

- Base ISO: The Sweet Spot. This is your camera’s lowest base ISO setting (usually ISO 100), offering the sharpest images with the least or no noise. Always aim to shoot at base ISO whenever possible, for the best quality.
- ISO Range: Doubling Up for Brightness. Beyond base ISO, values typically double: 200, 400, 800, 1600, etc. Each increase doubles your camera sensor’s sensitivity to light, letting you shoot in darker environments.
Know Your Camera’s Limits
Experiment in low light! Shoot the same subject with increasing ISO values. This helps you discover when your specific camera starts producing unacceptable noise, and how much you can correct in post-processing software. This knowledge empowers you to push the limits of your gear.
ISO as a Creative Tool
Understanding ISO lets you express yourself in various ways. You become comfortable shooting in diverse lighting conditions, and can even embrace noise for an artistic effect.
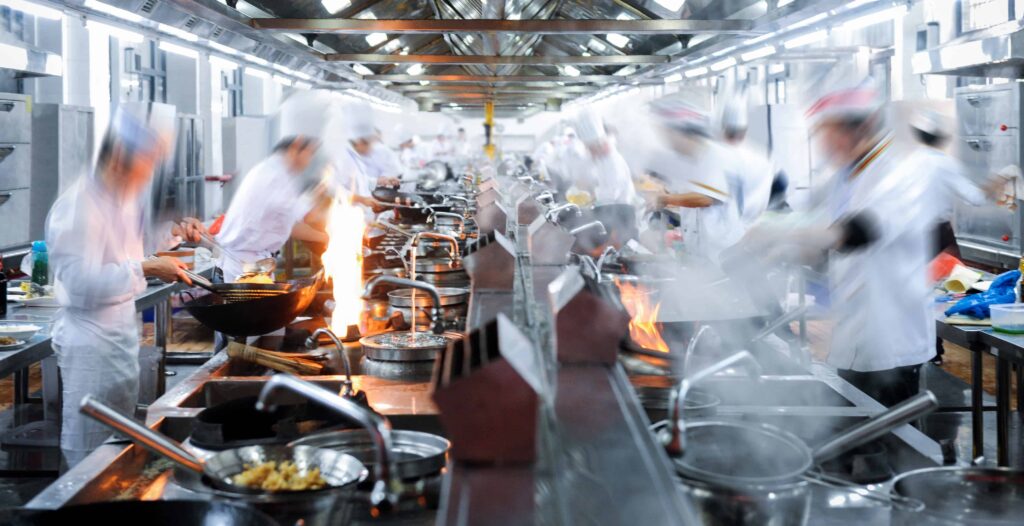
By understanding and adjusting these settings, you create not just images, but stories. Stories of warmth, of cool mornings, of the heat of a kitchen, or the calm of a staged setup. Each setting of the Exposure Triangle offers a different path to capturing the essence of your subjects.
How to Put Exposure Triangle into Practice
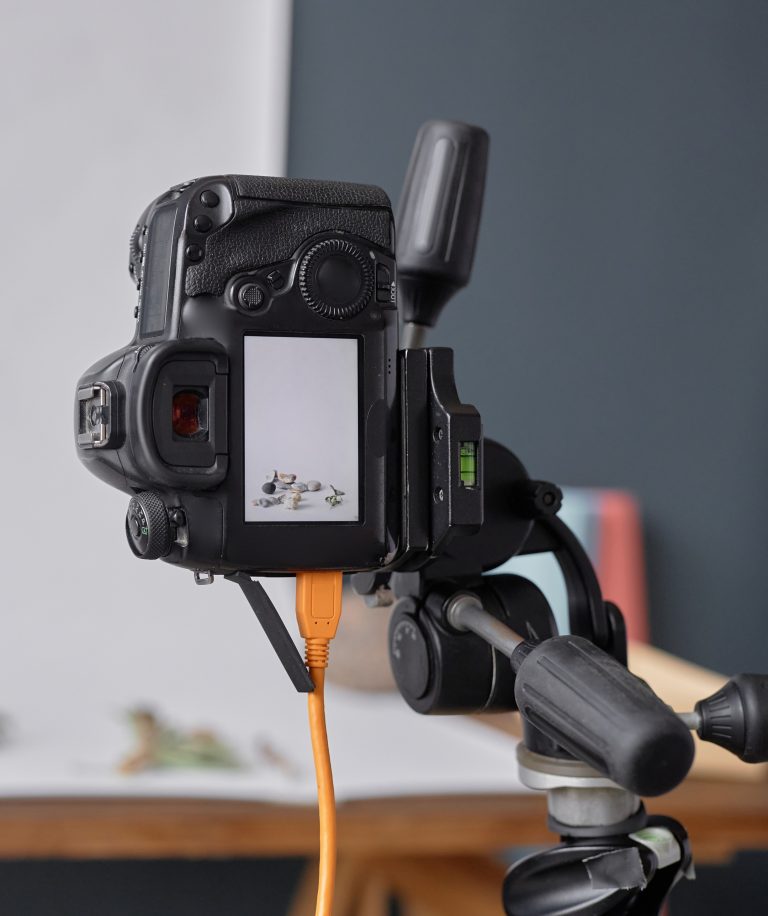
Balancing Aperture, Shutter Speed, and ISO takes practice — let’s dive in! First, switch your camera to Manual Mode (M). Locate the controls for each setting (check your camera manual, if needed).
Easing into Manual Mode
While Manual mode offers maximum technical and creative control, it can be a lot at first. Instead, start with these semi-manual modes to master one setting at a time:
- Aperture Priority (AV or A): This is where you choose the Aperture for creative depth of field effects. Your camera automatically sets the Shutter Speed, and you can use Auto ISO. Pay attention to how the Shutter Speed and ISO change with your Aperture settings.
- Shutter Priority (TV or S): This is where you can control Shutter Speed to freeze or blur motion, and set ISO to Auto. Again, observe how Aperture and ISO are adjusted as you change Shutter Speed.
Taking the Leap
Once you’re comfortable with these modes, feel confident switching to full Manual Mode! You will have a better understanding of how all three elements of the Exposure Triangle work together as you practice.
Key Points:
- Practice makes perfect! Experiment and take note of the settings your camera chooses to understand the relationships at play.
- Priority Modes are your stepping stones to full creative and technical control.
Underexposed or Overexposed Images? How to Fix it!
| Underexposed (Too Dark): Not enough light hit your sensor | Open your Aperture wider (lower f-number) to let in more light OR Slow your Shutter Speed to give the sensor more time to capture light OR Increase ISO (as a last resort), but beware as this may add noise to your image |
| Overexposed (Too Bright/Washed Out): Too much light reached your sensor | Close your Aperture (higher f-number) to let in less light OR Speed up your Shutter Speed to shorten the time your sensor is exposed to light OR Lower your ISO to make the sensor less sensitive |
Pro Tip
You can also use a histogram in food photography to quickly see whether your image is too dark or too bright.
Bringing It All Together
Now that we’ve dissected the components of the Exposure Triangle — Aperture, Shutter Speed, and ISO — it’s time to mix these ingredients together.
The beauty of the Exposure Triangle is in its flexibility. Each adjustment has a ripple effect, influencing the other settings. It’s a dance of light, where changing one setting necessitates adjustments in the others to maintain the right exposure.
Pro Tip
Always start with your vision for the shot
Do you envision a milky blurred background that creates a bokeh effect with your subject in sharp focus? Aperture takes the lead!
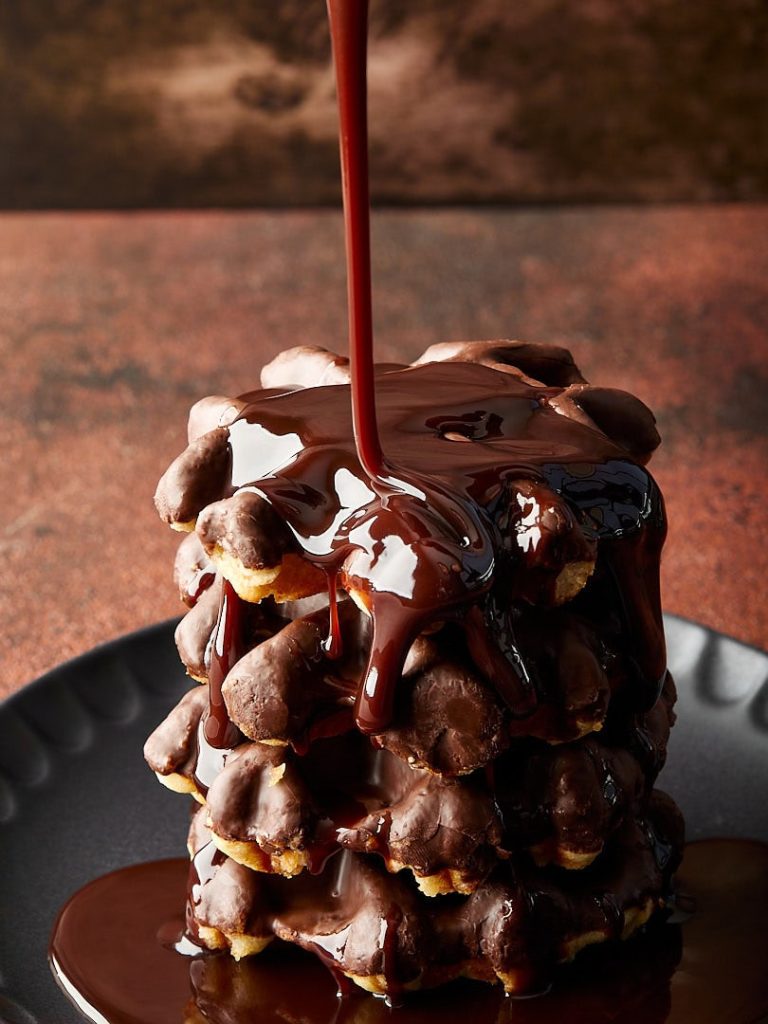
Capturing the dynamic drizzle of honey? Shutter Speed is your hero!
Battling dim lighting? ISO’s got your back!
Conclusion: Master Your Food Shots Like a Pro
There you have it! You’ve just unlocked the secret to elevating your food photography with the Exposure Triangle. Feel the satisfaction of knowing you’re on your way to capturing incredible food images.
Now, think of the Exposure Triangle not just as a technical necessity, but as your palette for painting with light. Each adjustment you make is a brushstroke that adds depth, emotion, and clarity to your compositions. Embrace it, experiment with it, and watch as your food photography transforms from ordinary to extraordinary.
Understanding the Exposure Triangle is key to controlling how your camera captures light. Each element — Aperture, Shutter Speed, and ISO affects your photos differently. Learn how changing one setting might require adjusting the others to maintain your desired look. Prioritize the setting that best expresses your creative vision for the shot. This choice depends on what you’re shooting, and the overall effect you want to achieve.
Ready to take your food photography to the next level? Don’t stop here. Step deeper into each element of the Exposure Triangle, practice with purpose, and share your progress. We love seeing your masterpieces come to life.
. . . . .


