Ever been stumped by white balance in your food images? You’re not alone. White balance might seem tricky, but mastering it makes a world of difference in food photography! It ensures your food’s colors look true to life, fresh and delicious. Learning to adjust white balance saves you time in the studio and editing room — perfect for capturing those mouthwatering shots quickly. White balance can seem like a fickle friend in food photography, but learning how to fix it is a game-changer.
Jump to:
The whole point of food photography is to make your food look irresistible! That’s why accurate colors are crucial — they ensure your images reflect the true, vibrant appearance of the food. If the colors in your food photos are a bit off, it can turn a scrumptious subject into something far less appealing. But fear not! I’ve learned a lot through my own experience, and in this guide I’ll walk you through 14 different ways to perfect white balance, so your food photos look natural and true to life.
If you’re new to this topic, start with white balance in food photography guide before applying these tips.
Why White Balance is Crucial

Incorrect White Balance throws off color reproduction, leaving unnatural tints and color cast, and ruining the overall mood of your food photo.
How Correct White Balance Impacts Your Food Photos:
- Accurate Food Colors: The key to making your food look delicious and realistic.
- Sets the Mood: A warm White Balance enhances cozy subjects, while a cool one might make them seem uninviting.
- Saves Editing Time: Get it right in-camera, and you’ll spend less time fixing colors later.
The Problem With Bad White Balance:
- Images that are too warm (yellow/orange) or too cool (blue/green).
- Unrealistic, unappealing, and unprofessional-looking results.


Finding Your White Balance Solution:
There’s no one-size-fits-all answer! I’ve explored different methods to help you find the best fit for your workflow. Let’s dive into the options for achieving perfect White Balance in your food photos.
1. Shoot in the RAW File Format
Ever caught wind of the RAW revolution in photography?
RAW files (like .CR2, .NEF, .ARW, or .DNG) are like your photo’s superpowers! Unlike JPEGs, they store all the image data your camera captures. This gives you incredible flexibility to adjust colors and exposure later for the perfect shot.
- JPEG vs. RAW: Imagine cooking a gourmet meal, then tossing half your ingredients before you even plate up. That’s a JPEG. It makes decisions for you, compressing photos and ditching valuable color data. RAW, on the other hand, is like having a fully stocked pantry. It keeps all the color data, giving you freedom in post-processing.
- Uncompressed: RAW files aren’t squeezed into a tight space, so every speck of color from your shoot stays put.
- Ultimate Flexibility: Adjust White Balance, exposure, and colors with zero quality loss.
Think of JPEG as a microwave dinner — quick, easy, but not quite chef’s kiss. RAW? It’s the full culinary experience. Fresh ingredients, your recipe, your adjustments. It hands you the chef’s hat, letting you season and taste until it’s just right.
Why RAW Wins:
- Control Over Colors: Essential for making your subjects leap off the screen.
- Higher Quality Edits: Fine-tune without fretting over fidelity.
- Bigger Files, Bigger Rewards: Yes, RAW files are heftier and editing takes longer. But the payoff? Stunning food photos!
2. Step Away from Auto White Balance (AWB)
Auto White Balance (AWB) is like a well-meaning friend who sometimes misses the mark. It aims to make life easier by adjusting your photo’s White Balance automatically, but it can sometimes backfire too, especially with food photography.
- The AWB Issue: While it’s convenient, Auto White Balance isn’t perfect. The camera tries to guess the overall light temperature by measuring reflections from your scene. This can lead to misinterpretations:
- Warm Food, Confused Camera: If your subject is yellow or brown, the camera might think the light itself is warm and overcorrect, making your food look cooler than it actually is.
- Cool Backgrounds, Cooler Photos: Similarly, a blue background or cool-toned props can trick the camera into a cooler White Balance, leaving your entire image looking a bit lifeless.
In short, Auto White Balance can be thrown off by the colors in your food setup.
How to Take Control
- Switch to Manual: By selecting your White Balance manually, you can match the lighting conditions accurately, ensuring your food looks as delicious in photos as it does in real life.
- Test and Learn: Experiment with different settings to find what best compliments your subject. It’s a learning curve, but one that pays off with mouth-watering results.
Remember
AWB isn’t the enemy, but knowing when to go Manual can elevate your food photography from good to great.
3. Calibrate Your Monitor
Ever edited a photo, thought it looked perfect, then saw it on another screen and wondered, ‘Who switched my beautiful photo with this?’. That’s where monitor calibration enters the scene. It’s about making sure what you see is what you get across all displays.
Why Calibration is Key
- Consistent Colors: Ensures your editing efforts translate well on any screen, from your smartphone to a billboard.
- Trust Your Eyes: Calibration aligns your monitor to a color standard, so you can edit with confidence, knowing your adjustments are spot-on.
Getting It Right
- Use a Calibration Tool: Devices like Spyder or ColorMunki make the process straightforward. Regular calibration sessions keep your monitor true to life, especially before big editing jobs.
Calibration ensures your monitor displays colors accurately. When your screen is properly calibrated, you can edit with confidence knowing your photos will look the way you intend.
4. Use a Grey Card or Color Checker
Getting your White Balance spot-on can sometimes feel like hitting a moving target. Enter the grey card and color checker: your secret weapons for precision. While they require a bit of practice, these tools offer incredible control, making them essential for high-quality photo shoots. These tools make sure your colors are true to life, in every single shot.
- Grey Card Magic: Place it in your scene, take a test shot, and use that to set your White Balance. Suddenly, what was once a guessing game becomes an exact science.
- Color Checker Charm: For those who take their color accuracy seriously, a color checker goes a step further, offering a palette to ensure every hue in your photo is correctly balanced.
In short, these tools transform your workflow from guesswork to guaranteed accuracy. Your subjects will look exactly as tasty as they are in real life.
5. Experiment with Different White Balance Presets
Your camera comes with a variety of White Balance presets designed to match common lighting scenarios. It’s like having a toolbox where each tool has a specific purpose. Tinkering with these settings can unveil which one illuminates your subject in its best light.
- Daylight, Cloudy, Tungsten: These are more than just options; they’re your palette for painting with light. Each setting adjusts the color temperature, adding warmth or coolness to fit the mood you’re aiming for.
- Be Bold, Try Them All: The best way to learn is by doing. Shoot the same subject with different presets to see the direct impact on your image.
This hands-on experiment isn’t just educational; it’s a pathway to discovering your own style and preference in food photography.
6. Dive Into Studying Light
At its heart, photography is about capturing light. Photography beautifully blends art and science. The term photography comes from the Greek words ‘photos’ (light) and ‘graphe’ (drawing) — a perfect description! Understanding the nuances of light, including its color, direction, and quality, can dramatically enhance your White Balance skills.
- Color of Light: Not all light is created equal. The warm glow of sunrise differs from the cool tones of a cloudy day. Recognizing these differences can help you adjust your White Balance for natural-looking photos.
- Play with Shadows and Highlights: See how different lighting angles and intensities affect your subject. It’s about finding that perfect balance where your food looks inviting and delicious.
Embrace light as your ally. With a bit of study and a lot of practice, you’ll find it transforms your food photography in ways you never imagined.
7. Shoot with a Strobe
Lighting can make or break your food photography. That’s where a strobe steps in, cutting through the clutter of inconsistent light sources. A strobe provides a steady, controllable light that can be a game changer for achieving that perfect White Balance.
- Consistency Is Key: With a strobe, you can maintain the same White Balance from shot to shot, ensuring your entire shoot has a cohesive look.
- Dial In Your White Balance: Set your camera to the Flash White Balance setting. This small adjustment ensures your strobe’s light is accurately represented in your images.
Using a strobe isn’t just about brightness; it’s about giving you the control to create the perfect ambiance for your subjects.
8. Compare to Correct Images

Learning from comparison can be incredibly powerful. By comparing your photos to those with the correct White Balance, you can train your eye to spot discrepancies.
- Match the Light: Ensure the photos you compare are shot under similar lighting conditions. Mixing light sources can lead to confusion and inaccurate assessments.
- Learn and Adjust: This process isn’t about getting discouraged by the differences, but about understanding how to adjust your settings to bridge the gap.
Seeing how your work stacks up can be a revelation, guiding you toward more accurate, appealing food photography.
9. Adjusting White Balance in Post-Production


Even with all the right preparations, sometimes you need to tweak your photos in post-production. Thankfully, software like Lightroom and Capture One offer robust tools to refine White Balance.
RAW files are your secret weapon for perfect White Balance! You get total flexibility to adjust and fine-tune colors in any editing program.
- The Right Tools for the Job: Utilize White Balance presets, the Eyedropper tool, and Temperature and Tint sliders in Lightroom to make precise adjustments.
- Experiment: Don’t be afraid to slide those controls back and forth. Sometimes, the perfect setting isn’t what you initially thought.
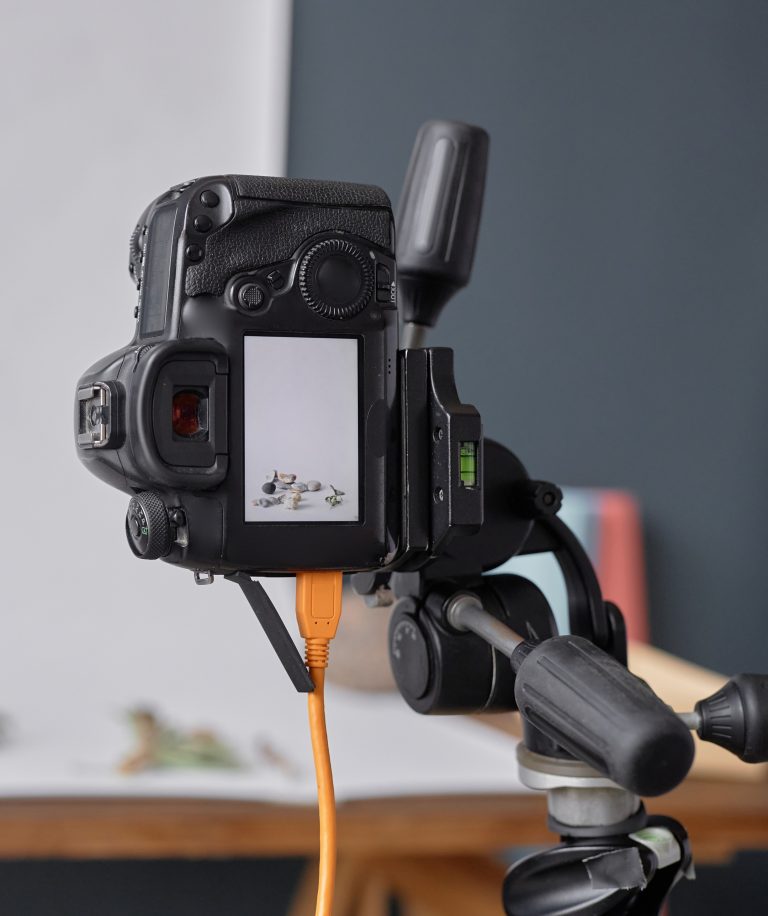
If you want to review white balance more accurately while shooting, tethering in food photography can make that process much easier.
White Balance Tools: Lightroom & Capture One
Both Lightroom and Capture One offer powerful ways to adjust white balance, let’s have a look at the White Balance tools available in Lightroom and Capture one.
Lightroom:
- White Balance Presets: Choose from common lighting conditions (daylight, cloudy, etc.)
- Eyedropper Tool: Click on a neutral grey or white area in the image for automatic white balance correction.
- Temperature & Tint Sliders: Manually fine-tune color balance by adjusting warmth (blue ↔ yellow) and tint (green ↔ magenta).
Capture One:
- White Balance Presets: Similar to Lightroom, offering Presets for common lighting conditions.
- Kelvin Slider (Temperature): Adjust the warmth/coolness of the image using Kelvin slider.
- Tint Slider: Fine-tune green ↔ magenta color balance.
- White Balance Picker Tool: Click a neutral area in the image to automatically correct the white balance (similar to Lightroom’s eyedropper).
Adjusting white balance during editing can rescue an image that initially looks unusable, often transforming it into a polished, color-accurate photograph.
10. Make Local Adjustments to Correct Color Locally
Not every part of your image will require the same White Balance correction. Sometimes, only a specific area needs tweaking.
- Selective Editing: Use local adjustment tools to dial in the White Balance for just the subject or a problematic area of the photo.
- Balance Is Everything: This technique is perfect when you love the overall balance but need to correct a small section to bring everything together.
Think of it as a spot treatment for your photos, refining them to perfection.
11. Control Your Lighting Environment
The environment you shoot and edit in can significantly impact your perception of color. Take control of your surroundings to ensure consistency and accuracy.
- Avoid Mixed Lighting: Mixed light sources can mislead your camera’s White Balance and your eyes.
- Neutral Surroundings: Edit in a space with neutral-colored walls and consistent lighting to prevent color casts.
By shaping your environment, you ensure that what you see is what you get, from capture to final edit. I’ve learned this the hard way — editing photos late at night can easily lead to color mistakes. Our eyes perceive colors differently under artificial lighting, so reviewing edits in natural daylight often reveals issues you didn’t notice before. Checking your images in daylight can save you from unnecessary re-edits later.
12. Manipulate Color Temperature
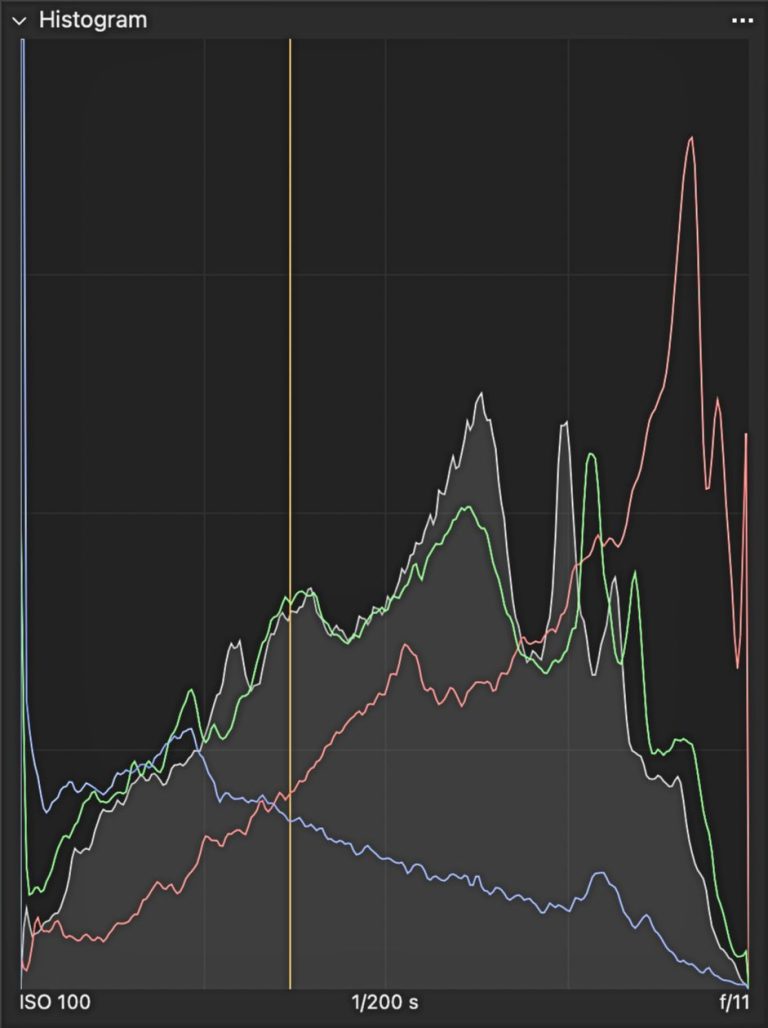
Understanding color temperature is like unlocking a secret level in your photography game. It’s all about the warmth or coolness of the light in your photos, measured in Kelvin (K). Think of Kelvin numbers like a thermometer for light color. Higher numbers (5000K and up) mean cooler (blue) tones, Lower numbers (below 5000K) give you warmer (yellow-orange) tones.
- Warm vs. Cool: Lower Kelvin numbers give your photos a warm, yellowish glow, perfect for cozy dishes. Higher numbers cool down the scene with a blue tone, great for fresh, crisp shots.
- Opposite Attraction: To counteract the light’s natural color, adjust your White Balance in the opposite direction. Warm light? Cool it down with your settings, and vice versa.
Mastering color temperature manipulation lets you paint your shots with the exact mood you’re aiming for, making your food photography even more delicious.
13. Don’t Shoot in Kitchen Lights
The lighting in your kitchen might make your food look good enough to eat, but it’s a different story when it comes to photography. Kitchen lights, often tungsten or fluorescent, can throw off your White Balance with their strong color casts.
- Unnatural Tones: Kitchen lights your food in yellow or green, colors that rarely do justice to any dish.
Remember
The goal is to make viewers want to reach through the screen and take a bite. Proper lighting is key to that irresistible appeal.
14. Reset Your Eyes
Sometimes, the issue isn’t with your camera or your lighting — it’s with your own vision. Staring at a screen for too long can skew your perception of colors.
- Take Breaks: Regularly step away from your work to give your eyes a rest. Just a few minutes can make a world of difference.
- Daylight Reset: Expose your eyes to natural daylight. It’s like hitting the reset button, helping you return to your editing with a fresh perspective and accurate color perception.
This simple yet effective tip can be the final touch in ensuring your food photography is as vibrant and true-to-life as possible.
Wrapping Up the Secret of White Balance in Food Photography
Discovering the magic of White Balance has been a game-changer for me. It’s like finding the golden key that turns your shots from good to ‘wow’. Whether you’re capturing in the warm hues of a sunset, or under the crisp light of a studio, mastering White Balance is your secret weapon to showcase the true beauty of your subjects.
Your Next Fun Challenge
- Grab Your Camera: Find a subject that’s screaming for a photoshoot.
- Spot the Perfect Light: Place your subject where the light feels just right.
- Evaluate Like a Pro:
- Notice any mixed color temperatures? Aim for a single light source.
- Snap a Test Photo:
- Set your camera to Auto White Balance. How do the colors turn out?
- Are the whites not quite white? Time to experiment with your White Balance Presets.
- Dial In the Kelvin:
- Feeling bold? Adjust the Kelvin setting, aiming for that 5,200K sweet spot in natural light.
Food photography isn’t just about capturing beautiful images — it’s about understanding and shaping light to your advantage. Experiment, adjust, and enjoy the process. From pressing the shutter to fine-tuning white balance, small changes can make a big difference.
. . . . .