Side lighting — it’s the rockstar of food photography lighting. Seriously, it’s the most popular choice, and for good reason. It’s flattering for almost any subject and surprisingly easy to work with. I’ve found it to be incredibly versatile in my own work.
Jump to:
Why the hype? Sidelight adds that perfect balance of contrast, creates tonal depth, and even softens textures. These are the exact qualities we strive for in mouthwatering, professional-looking food photos. Mastering sidelight is key to achieving that desirable three-dimensional look. Trust me, if you nail this technique, you’ll be creating stunning images in no time.
If you’re new to this lighting setup, start with this sidelight technique for food photography guide before applying these tips.
What is Sidelight, Anyway?

Sidelight. You hear photographers talk about it all the time. But what is it, really? Simply put, sidelight means positioning your main light source — whether it’s natural sunlight from a window or an artificial light (like a strobe or flash) — to the side of your subject. It can be on the left or the right. It’s that simple!
This technique is a game-changer for adding contrast and emphasizing details. Think of it like sculpting with light. The light grazes the subject from the side, creating highlights and shadows that reveal its form and texture.
When should you use sidelight in food photography? It’s your go-to when you want to:
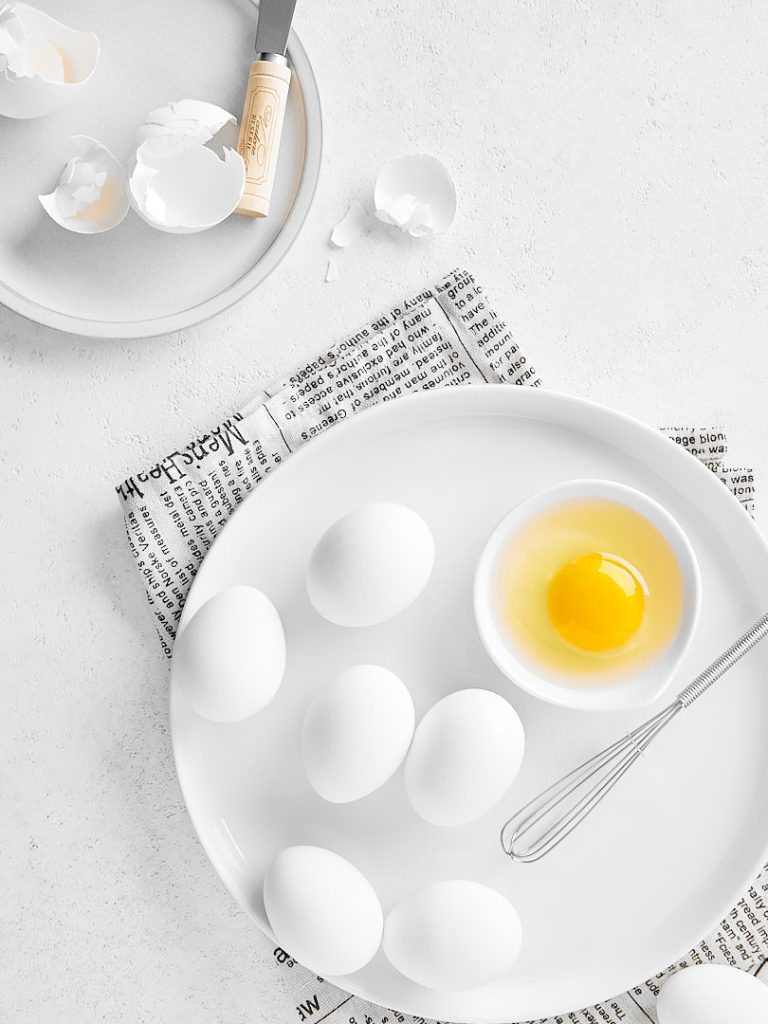
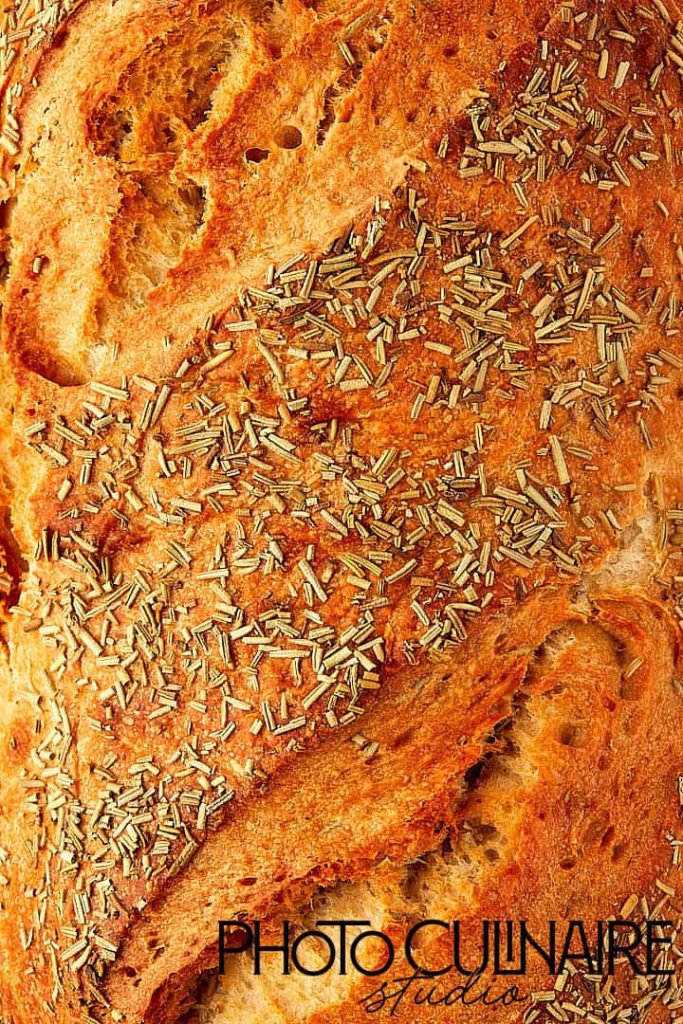
- Highlight textures (think the crust of a loaf of bread or the crumbles on a pie);
- Add depth and dimension, making your food look three-dimensional;
- Create visually appealing contrast with shadows.
It’s particularly effective for foods with textured surfaces, layers (like a lasagna), or taller structures (like a burger). I find it works wonders for showing off the details that make food so appealing.
Why Sidelight is So Special for Food


Let’s break down the key components that make it so special.
- Texture Pop: Sidelight is a texture’s best friend. It creates distinct shadows that accentuate every little detail — ridges in pasta, the flaky crust of a pie, the tiny seeds on a strawberry. Boom. Texture. It’s like turning up the sharpness in real life. This is something I always look for when setting up my shots.
- Depth, Dimension, and a Little Drama: Shadows aren’t just dark areas. They give your images depth and dimension. Sidelight uses shadows to create a sense of three-dimensionality, making your food jump off the screen. It also adds a touch of drama, creating a more compelling and visually interesting image. It’s the difference between a flat, uninteresting picture and one that has life.
- Versatility — It Plays Well With Everyone: One of the best things about sidelight? It’s incredibly versatile. It works wonders with almost any type of food. Smooth surfaces? Check. Textured foods? Double-check. Tall, layered subjects? Absolutely! From a glistening glaze to a crumbly topping, sidelight handles it all. It’s a true all-rounder.
- Textured Foods = It accentuates every little bump and crevice.
- Tall/Layered Subjects = It creates depth and visual interest.
- Smooth Surfaces = Sidelight can highlight the subtle curves and reflections
14 Pro Tips to Master Sidelight


Alright, now for the real meat of the matter: how to actually use sidelight like a pro. These tips will take your sidelight game to the next level.
1. Positioning is Everything
This is crucial. To get the most out of sidelight (in any kind of photography, really), you must control the position of your light and/or your subject. If you’re using artificial light, you can move the light source itself.
With natural light, you’ll need to move your subject to see how the light interacts with it. Even tiny adjustments can make a huge difference in the mood and overall look of your photo. I often find myself making micro-adjustments to get the light just right.
2. Tame Those Harsh Shadows with Reflectors
Shadows are key to powerful sidelight photos, but you need to manage them carefully. If the difference between the bright and shadowed sides is too extreme — what we call harsh shadows, a reflector is your best friend. It bounces light back into the shadows, softening them and creating a more balanced image without losing the dramatic effect of the sidelight. It’s like a little cheat code for perfect lighting.
3. Angle It Just So
The angle of your light source directly impacts the intensity of the shadows. A lower angle creates longer, more dramatic shadows. A higher angle produces softer, more subtle shadows. Experiment with different angles to find what works best for your subject. It’s all about finding that sweet spot.
Remember
Lower Angle = More dramatic, longer shadows.
Higher Angle = Softer, more subtle shadows.
4. Know When Not to Use Sidelight
Sidelight is fantastic for enhancing texture, dimension, and drama. But let’s be real — not every food photo needs these qualities. If your goal is to minimize shadows, sidelight isn’t your best bet. In those cases, backlighting is a much better choice. It’s all about using the right tool for the job.
5. Positioning Sidelight: Natural vs. Artificial
How you position your sidelight depends on whether you’re using natural or artificial light.
- Natural Light: Find a window and place your subject nearby, so the light comes from the side. It’s that simple. I often use sheer curtains when using natural light, to diffuse the light if it’s too harsh.
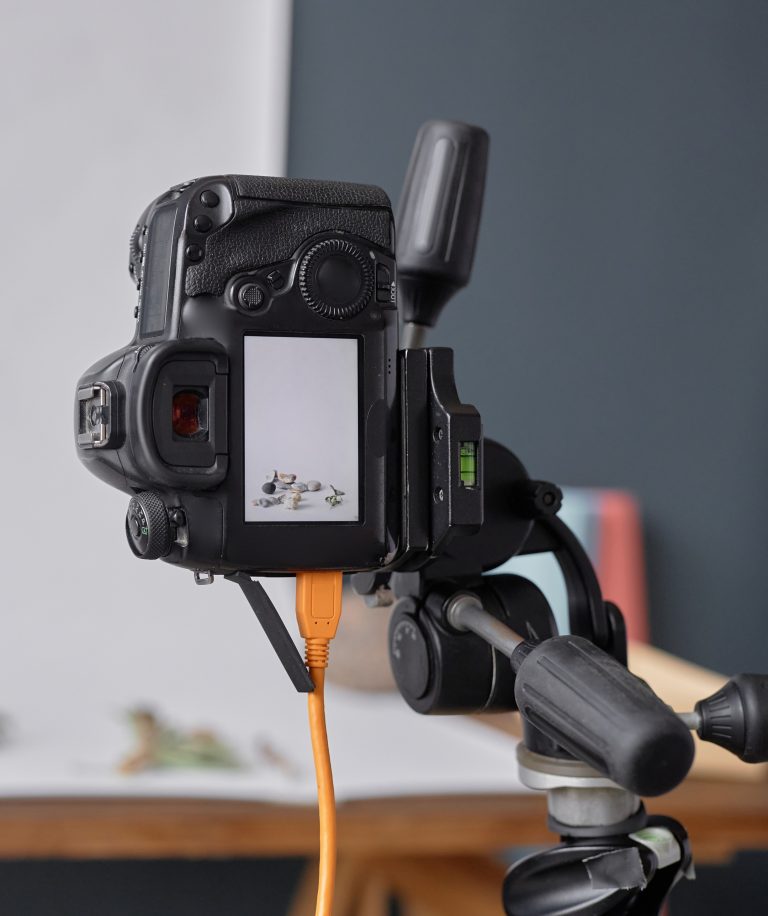
- Artificial Light: Set up a single light source to the side of your subject. You have more control here, so, experiment with different distances and angles.
Pro Tip
Regardless of your light source, always play with the angle. Small adjustments can drastically change the shadows and the overall feel of your image.
6. Keep the Focus on Your Star
Your subject is the hero of your photo. Make sure it’s the first thing the viewer’s eye is drawn to. Sharp focus is essential. Blurry backgrounds can be nice, but your main subject should always be crystal clear.
7. Props: Use Them Wisely!
Props can enhance your photo, but they can also be a nuisance if not used carefully. Be mindful of where you place them.
A large prop positioned too close to the light source can cast unwanted shadows on your main subject, killing its potential. I always do a quick check to make sure my props aren’t interfering with the light. It’s a small detail that makes a big difference.
8. Blur the Background with a Shallow Depth of Field
If your background is a bit chaotic or distracting, using a shallow depth of field (achieved with a low aperture number like f/2.8 or f/4) is a great way to blur it out. This keeps the focus squarely on your subject, preventing the viewer’s eye from wandering. It’s a classic technique for isolating your hero.
9. Hard or Soft Sidelight: Set the Mood
The quality of your sidelight — whether it’s hard or soft — plays a huge role in the mood of your image. This is a crucial decision you’ll need to make.
- Soft Sidelight: This is your go-to for flattering, airy, and vibrant photos — what we often call a “light and airy” mood. To achieve this, use indirect light and place a reflector opposite your light source to gently fill in the shadows. This creates a bright, even look. I often use this technique for brighter, more cheerful food photography.
- Hard Sidelight: This creates high-contrast images with dramatic, well-defined shadows — perfect for a “dark and moody” vibe. To achieve this, you can simply omit the reflector or even use a black fill card to increase the shadows. This technique is great for conveying drama and intensity.
Let’s break it down with natural light examples:
- Direct Sunlight (Hard Light): On a sunny day, direct sunlight creates crisp, well-defined shadows. This is hard light, and it results in high contrast between light and shadow. The stronger the sunlight, the harsher the shadows will be.
- Overcast/Cloudy Day (Soft Light): On a cloudy day, the light is diffused, creating faint, fuzzy shadows. This is soft light, and it produces a softer, low-contrast image. It’s perfect for a more gentle, even look.
10. Reflective Surfaces: Handle with Care
Be extra careful when using sidelight with highly reflective surfaces like glassware or metal. They tend to create distracting highlights and unwanted glare. It can be a real headache. I’ve learned this the hard way.
Pro Tip
Opt for crystal glassware or glassware with some texture or patterns. Smooth, clear wine glasses, in particular, can be tricky to photograph with sidelight. They often reflect the light in harsh, unflattering ways.
11. Side Backlight: A Cinematic Touch
When you light a subject from the side, the light naturally wraps around it, separating it from the background. This creates a sense of depth and makes your subject pop.
Now, if you add a touch of backlight to your sidelight setup, you can take your images to a whole new level. It adds a cinematic, almost ethereal quality. It’s like magic!
12. Food Styling: Don’t Forget the Details
Food styling is just as important as the lighting. Don’t neglect it. Carefully arrange your food to ensure that the textures and shadows are showcased effectively. It’s the finishing touch that brings everything together.
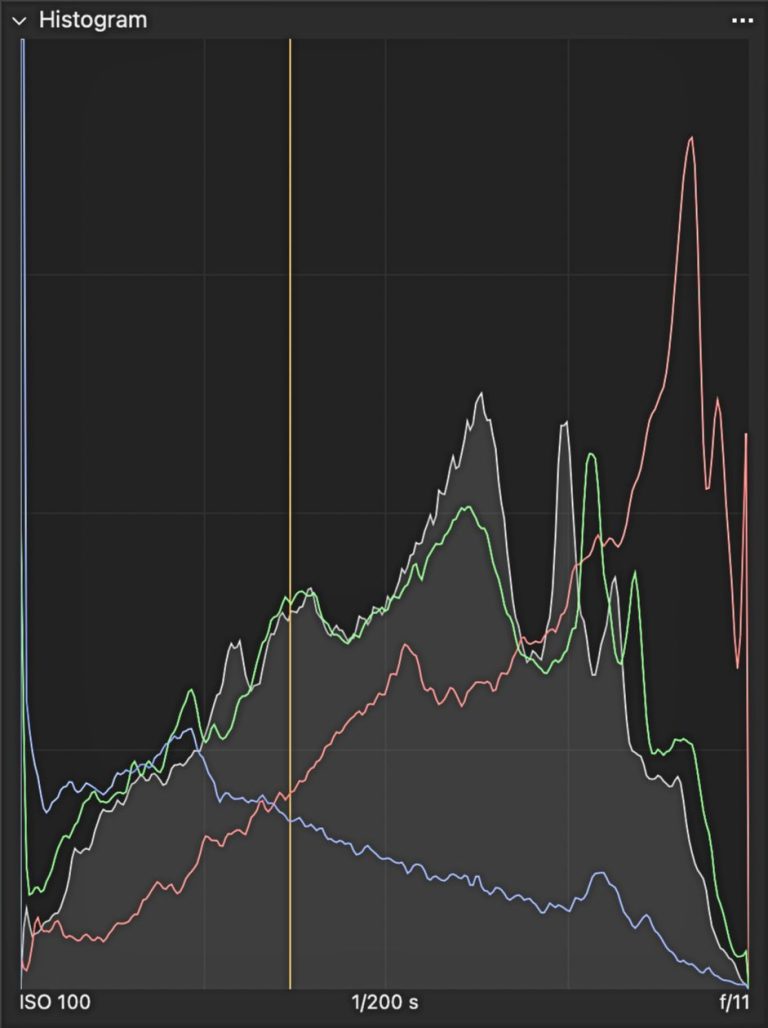
13. Nail Your Exposure
Proper exposure is essential. Make sure neither side of your subject is overexposed (too bright) or underexposed (too dark). You want a good balance. Take your time to adjust the strength of your main light in relation to any other lights or reflectors you’re using. It’s worth the extra effort.
14. Sidelight with Natural and Artificial Light: Extra Tips
Here are some additional tips specific to natural and artificial sidelight:
Natural Light
- Filter the Light: Use a diffuser or a sheer white curtain to soften harsh sunlight. This creates a more even, flattering light.
- Use a Reflector: Place a white reflector opposite the window to bounce light back into the shadows. This opens them up, and creates a more balanced image.
- Custom White Balance: Turn off any other lights in the room, and take a custom white balance reading for more accurate colors.
- Time of Day: The time of day is crucial when using direct sunlight. Midday sun is generally too high for effective sidelight. The golden hour (shortly after sunrise and before sunset) is the best time for sidelight because of the low angle of the sun. The light is warmer and softer.
Artificial Light
- Choose Your Light Source: A single, strong artificial light source, like a studio strobe or an LED panel, can mimic the directional quality of natural sidelight. For a softer effect, use a softbox or diffuser.
- Adjust Light Intensity: With artificial light, you have the advantage of controlling the light’s intensity. Experiment with different power settings to find the perfect balance of light and shadow.
Ready to Level Up Your Food Photography with Sidelight?
By understanding its nuances, and practicing these tips, you’ll gain a deeper understanding of light, and how it shapes your images. This will add compelling depth, and dimension to your food photography, making your subjects look even more irresistible.
Here are some key takeaways to remember:
- Sidelight enhances texture, depth, and drama.
- Positioning, and angle are crucial for controlling shadows.
- Reflectors soften harsh shadows, while black cards increase them.
- Soft light creates a light and airy mood; hard light creates a dark and moody mood.
- Be mindful of reflective surfaces, and props.
- Experiment with side backlight for a cinematic effect.
Now that you’re armed with these sidelight secrets, you’re ready to create truly stunning food photos. But what if you could easily visualize and experiment with different sidelight setups before even setting up your camera? Sidelight, our innovative lighting simulation tool, lets you do just that. You can virtually position light sources, adjust angles, and see the resulting shadows in real-time. It’s the perfect way to practice and refine your sidelight technique, taking your food photography to the next level.
. . . . .