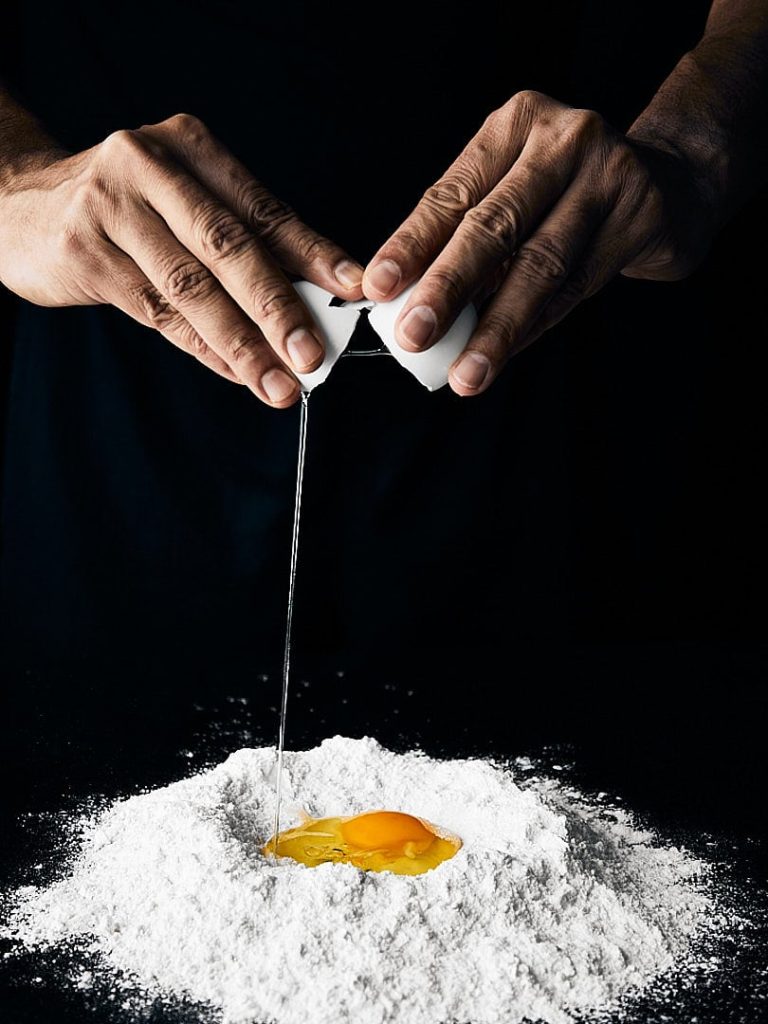
We’ve all scrolled past food photos that feel visually overwhelming — so many elements competing for attention that your eye doesn’t know where to land. Professional food photographers have a simple trick to solve this: negative space. It’s the art of intentionally leaving parts of the frame empty so the viewer’s attention naturally falls on the subject.
Jump to:
When effectively utilized, negative space can serve as a potent compositional tool in your food photography. Photographers frequently employ negative space to reduce distractions and guide the viewer’s focus directly to the subject. Its effectiveness for this purpose is undeniable.
Think your food photography could benefit from a touch of minimalism? This article is your guide. We’re about to explore how negative space can transform your images.
If you’re new to this concept, start with this negative space in food photography guide to understand the fundamentals before applying these tips.
What is Negative Space?

If you’re aiming for food photos that feel cluttered or chaotic, then negative space definitely isn’t for you. But if you’re craving images with elegance and a sense of breathing room, you’ve come to the right place.
Negative space — also called white space, empty space, or blank space — refers to the areas in your photograph that don’t contain your main subject. While that might sound counterintuitive, negative space is a powerful tool:
- Focus: Negative space helps guide the viewer’s eyes straight to your food, making it the star of the show.
- Balance: It adds visual balance, preventing your photo from feeling overwhelming.
- Mood: Negative space can shape the atmosphere of your image — creating a sense of calm minimalism, bold visual impact, or even a playful touch.
Negative space doesn’t always have to be literally white. It can be a simple background color, texture, or even a slightly blurred area. The key is that it gives your main subject room to stand out.
How Negative Space Creates Balance and Focus
Think of your food photos like a crowded room. Too much furniture, too many decor, and your eye doesn’t know where to rest. Negative space is like decluttering that room. By intentionally leaving empty areas, you achieve these benefits:
- Clarity: Negative space acts like a spotlight on your main subject. Your viewer’s eye isn’t distracted by competing elements.
- Visual Harmony: Think of your composition as a scale — your subject on one side and negative space on the other. When the two are balanced, the image feels calm, harmonious, and visually satisfying.
- Emphasis: It’s not just about the food itself, but how it’s presented. Negative space helps accentuate certain textures, colors, or shapes — making your food look even more mouthwatering.
Think of It This Way: Negative space is like a frame around a painting. It allows your food to be a masterpiece, giving it the attention it deserves.
Tips and Tricks for Using Negative Space Effectively

Let’s get practical. Here are easy-to-implement techniques to help you harness the power of negative space:
1. Shoot in RAW Format for Maximum Control
Shooting in RAW format gives you the ultimate flexibility in editing. You can perfectly adjust the brightness, contrast, and white balance later, ensuring that negative space areas remain clean and visually impactful. This is especially important when using negative space, as slight variations in exposure can make a big difference in how it reads in the final image.
2. Embrace Minimalist Backdrops
Simple is best. Here are some minimalist background options that create negative space, and enhance your food photography:
- Solid colors: A solid-colored backdrop is a versatile choice for highlighting your food. Black, white, and grey are popular options, but explore colors that complement your subject. For example, a vibrant blue background can make a yellow subject pop, while a rustic brown background can create a warm and earthy feel.
- Subtle textures: Not all textures are distracting. Subtle textures like weathered wood, linen fabric, or lightly painted concrete can add a touch of visual interest without overwhelming the viewer. Choose textures that complement the style and mood of your food photo.
When using textured backgrounds, make sure they don’t compete with your food for attention. Ensure the texture is soft and doesn’t have busy patterns that take away from the main subject. Test out different background options to see what works best for your specific subject and creative vision.
3. Minimize Distractions and Declutter Your Scene

Imagine a crowded kitchen counter versus a clean, pristine workspace. The same principle applies to your food photography. Here’s how to create a distraction-free zone for your food to shine:
- Prop Power: Choose props that support the food, not overpower it. Simple cutlery, complementary napkins, or even a few carefully chosen ingredients can enhance the subject, without demanding attention.
- Clean Surfaces: Crumbs, stray utensils, or even a distracting pattern on a tablecloth can throw off the clean look negative space provides. Make sure the area surrounding your food is immaculate.
- Less is More: If in doubt, take it out. This applies to props, background elements, even elements of the food itself. If something doesn’t absolutely contribute to the story your photo tells, consider removing it.
4. Use Contrasting, Complementary, and Monochromatic Color Pairings
Color choice dramatically impacts how the negative space feels. Get strategic with these options:
- Contrasting Colors: Make your food pop. The color wheel is your friend here — look for opposites for maximum impact.
- Complementary Colors: Think of pairings that naturally enhance each other, like a warm brown bread roll against a soft green background. These colors create harmony and visual balance within your image.
- Monochromatic Magic: Sometimes, going all-in on one color is the boldest move. Picture a chocolate cake on a textured chocolate-brown background. This emphasizes shape, texture, and creates a sophisticated, modern feel.
5. Experiment with Different Compositions
Negative space isn’t one-size-fits-all. Here’s how to play with your food placement for different effects:
- Center Stage: Placing your food directly in the center with ample negative space around it creates a classic, elegant feel. Great for highlighting the food’s form and color. Food brands love this!
- Rule of Thirds: Imagine dividing your frame into a 3×3 grid. Place your food along those lines, or where they intersect. This adds dynamic asymmetry, making the photo more visually interesting, while still harnessing negative space.
- Close Cropping: Zoom in tight on a particular section of your food, letting negative space fill the rest of the frame. This highlights textures and details that might be lost in a wider shot.
Don’t be afraid to experiment. Move your food around, try different angles and perspectives, and see how the negative space works to impact your image’s overall feel.
6. Understand Positive vs. Negative Space
Let’s get technical to make your choices more intentional:
- Subject vs. Surroundings: Positive space is your food — the star. Negative space is everything else in the photo, enhancing the positive without competing.
- Breathing Room: Negative space isn’t just about emptiness. It provides a visual break for the eye, and lets the positive space be fully appreciated.
7. Balance the Positive and Negative Space


When using negative space, achieving a balance with the positive space is crucial. The way these two elements interact is what makes negative space photography so compelling.
Finding the perfect balance is a bit of an art form. Here’s how to consider it:
- Purpose: What’s the feeling your image should convey? A dramatic image might use more negative space for emphasis, while a cozy shot could have a closer ratio between positive and negative.
- Contrast: Colors and textures play an important role. A light-colored subject on a dark background uses negative space very differently than a similarly colored subject against a plain backdrop.
- Tweak and Experiment: Take multiple shots with slight adjustments to subject placement and background elements. This helps refine your eye for what feels most balanced in the final image.
8. Keep it Simple and Minimal
The core principle of negative space thrives on simplicity and the motto of less is more. Here’s why it’s so effective:
- Eliminate the Unnecessary: Every element in the frame should serve a purpose. If something doesn’t add to the mood or understanding of your subject, consider it clutter and remove it.
- Focus on Form: With minimal distractions, negative space emphasizes the shape and unique details of your food. This can be especially striking for subjects with interesting textures or intricate plating.
- Impact over Quantity: One beautifully composed shot with negative space stands out more than a dozen busy photos.
9. Use Negative Space for Text Overlay
Leaving ample empty space is crucial for designs where text will be overlaid. This ensures easy readability in magazines, cookbooks, packaging, advertising, brochures, and similar materials. Here’s how it helps:
- Readability: Text overlaid on a busy background is a nightmare. Clean negative space ensures your message is clear and easily visible.
- Visual Hierarchy: Negative space helps the eye understand what’s most important. It naturally guides the viewer to the subject of the photo, and then to the text for additional information.
- Professional Look: Magazines, cookbooks and high-end advertisements utilize negative space for a reason. It adds sophistication, and lets the design speak for itself.
10. Learn to Use Negative Space by Cropping Your Photos
Sometimes, the best negative space compositions are hidden in your existing work. Here’s how to practice:
- Treasure Hunt: Go through your camera’s photo library. Look for images that could benefit from a tighter crop emphasizing a particular subject.
- Before and After: Make copies. Crop a photo in increasingly minimalist ways. Compare how the amount of negative space changes the entire image’s feel.
- Training Tool: This exercise sharpens your eye for framing while shooting. You’ll start to pre-visualize how much negative space might be ideal for your desired impact.
11. Experiment with Different Apertures to Achieve Your Desired Depth of Field
Aperture control is a powerful tool for manipulating negative space. Here’s the breakdown:
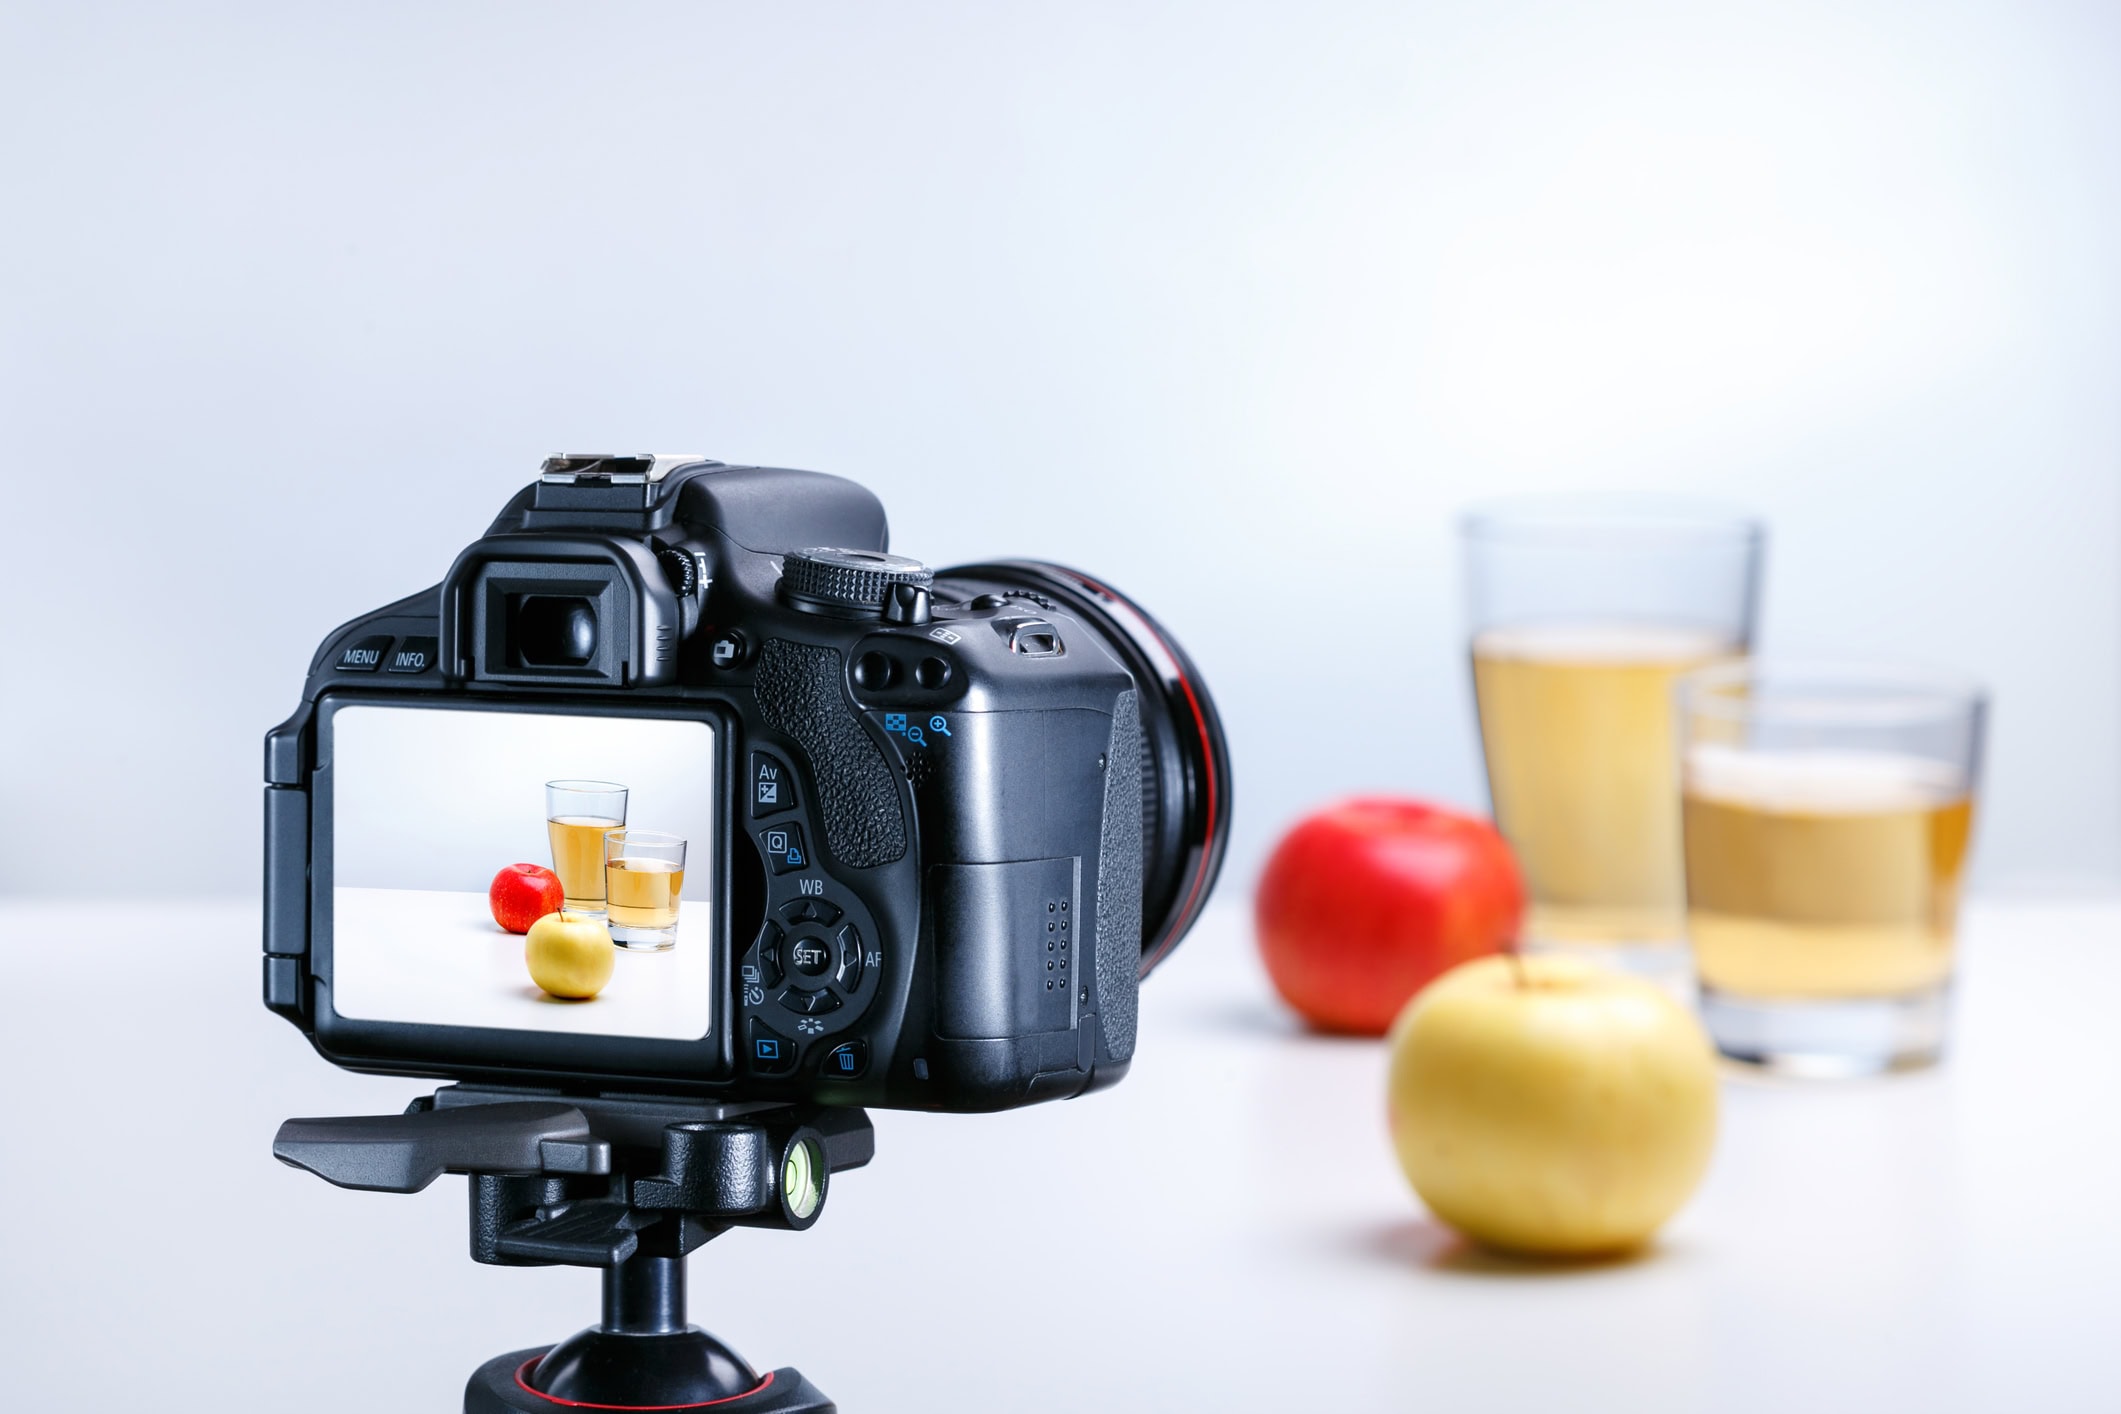
- Shallow Depth of Field: A wide aperture (low f-number) creates that dreamy background blur (known as bokeh) seen in many eye-catching photos. This helps separate the subject from its surroundings, emphasizing the negative space around it.
- Deep Depth of Field: A narrow aperture (high f-number) keeps more of the scene in focus. This works well if the background itself adds to the image, or for showcasing a food landscape with multiple elements.
Remember
Your Depth of Field will tell the viewer what in the image is most important. Use it wisely!
12. Experiment with Negative Space in Macro Food Photography
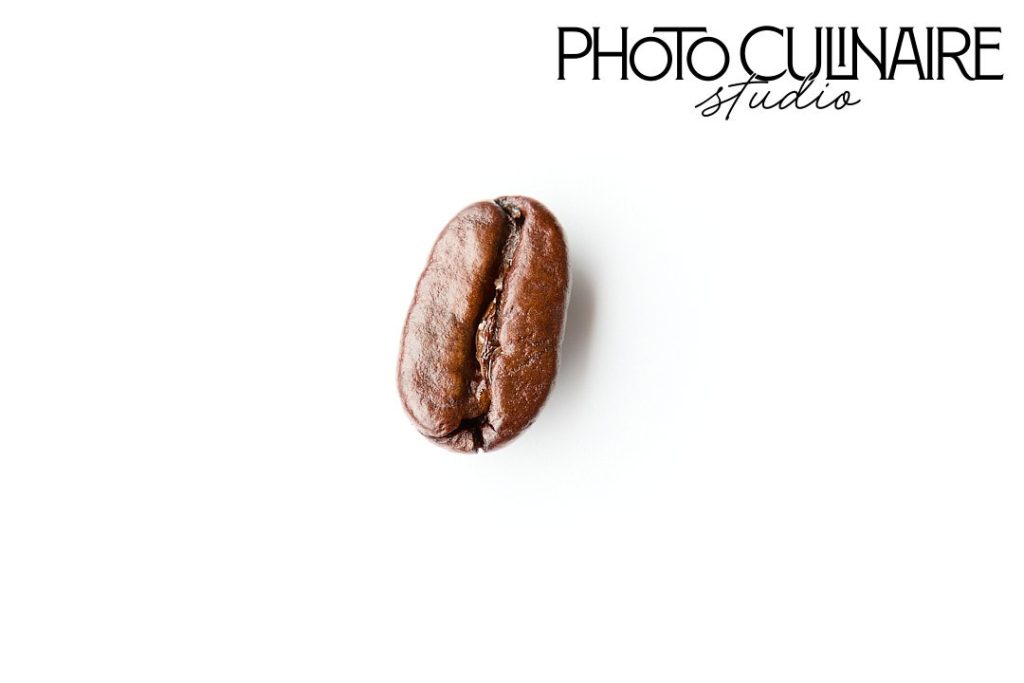

Macro photography gets its power from intimacy, and negative space controls that feeling:
- Minimalist Macros: A single raspberry on a plain background highlights the texture with almost scientific precision. That’s the power of vast negative space in macro food photography.
- Detailed but Spacious: Negative space doesn’t mean boring backgrounds. A zoomed-in shot of a cake can use negative space filled with gentle out-of-focus crumbs, hinting at the flavors without being distracting.
- Balance is Everything: With macro, it’s easy to get too close. Remember to leave breathing room for the eye, even when focusing on the tiniest details.
13. Experiment with Different Angles and Perspectives
Change your perspective and experiment with different camera angles to use negative space in more creative ways:
- Bird’s Eye View/Flatlay/Overhead Angle: Ideal for capturing the entirety of table spreads, wide scenes, or subjects with intricate details, shapes and patterns that are best viewed from above.
- Straight-On Angle: Ideal for showcasing the beauty of layered and tall subjects.
- Three-Quarter Angle: This angle emphasizes the three-dimensional qualities of your subject, and is ideal for subjects with multiple appealing sides, like a cheesecake.
- Low and Playful: Position your camera below the food and shoot upward. This angle makes the subject appear larger and more dramatic, especially when paired with bold, contrasting negative space.
14. Position Your Subject Near the Edges
Instead of always placing your subject dead-center, try positioning them boldly along the edge of your frame. This daring approach lets negative space dominate the image, creating a sense of intrigue and artistic flair. Here’s what to consider when you experiment:
- A Word of Caution: Don’t position your subject too close to the edges, as it may appear unbalanced.
15. Watch Out For Vignetting
Technical considerations are important too. Here’s what to keep in mind:
- Lens Distortion: Wide-angle lenses, especially on full-frame cameras, can cause vignetting. This can distract from the clean negative space you’re trying to achieve.
- Placement Matters: If you can’t avoid a vignetting lens, be extra mindful to keep your food out of the extreme corners to avoid vignetting.
- Editing Fix: Most photo editing software has vignetting correction tools. However, over-correcting can make your image look artificial, so use sparingly.
16. Utilize Post-Processing Software
Editing isn’t just about filters. It’s a tool for refining your negative space usage:
- Crop and Rotate: Fine-tune your composition for maximum impact. Even a slight rotation can change how the negative space feels.
- Brightness and Contrast: Make sure your food stands out against the background. Subtle tweaks can be more effective than drastic changes.
- Clean Up: Remove any minor crumbs or marks that might interrupt the clean look of your negative space. But don’t go overboard — some texture can be good.
17. Use Negative Space to Convey Emotion
Negative space is about more than just visuals. It creates feelings:
- Isolation: Vast negative space around a small subject can evoke a sense of being lost. Use with intention.
- Tranquility: A clean background and a simple subject can create an almost Zen-like calmness in a photo. Perfect for minimalist aesthetics.
- Boldness: Negative space can also be dramatic. A bright food item against a stark black background creates a feeling of power or intensity.
18. Be Intentional When Using Negative Space
Don’t just add negative space for the sake of it. Consider these questions:
- Purpose: What feeling do you want the image to convey? Choose your amount of negative space based on that desired mood.
- Subject: Does the subject itself suit minimalism, or would a slightly busier composition with props enhance it?
- Balance: Is the ratio of negative to positive space creating visual harmony, or does it feel unbalanced and awkward?
19. Experiment with Negative Space in Black and White

Black and white photography enhances a minimalist approach:
- Focus on Form: Without color, textures and the shape of your food become the stars. Negative space emphasizes these elements even further.
- Timeless Feel: Black and white food photography can feel vintage or artistic. Use negative space to enhance that sophisticated vibe.
- High Contrast: Play with light and shadow to create dramatic contrasts. Negative space is the perfect canvas for this technique.
20. There’s No Right or Wrong Way
Negative space is a flexible tool. Consider these points:
- Subject Matter: Complex foods might need slightly less negative space to be understood, while a simple subject can handle a vast amount.
- Feeling vs. Accuracy: Is the goal of your photo to show the food as realistically as possible, or to create a specific mood? This impacts your space usage.
- Break the Rules: Once you understand the principles of negative space, experiment with intentionally breaking them for unique artistic effects.
21. Above All, Follow the Golden Rule — Less is More!
Less is truly more when it comes to negative space photography. This doesn’t mean every photo needs to be completely devoid of elements, but rather that you should be intentional with what you include. Every item in the frame should contribute to the story you’re telling. If something doesn’t directly enhance the food or the mood you’re creating, consider removing it.
Here’s how to simplify for impact:
- Start with a Clean Slate: Begin by clearing your shooting area of anything unnecessary. This could be crumbs on the table, distracting background clutter, or even superfluous props.
- Focus on the Food: Let the food be the star. Arrange it in a way that highlights its form, texture, and color.
- Edit with Restraint: Cropping, slight adjustments to brightness and contrast, and minor blemish removal are all fine. But avoid going overboard with filters, effects, or heavy edits that take away from the natural beauty of the food.
Final Thoughts
Negative space isn’t about emptiness — it’s about intention. By giving your subject room to breathe, negative space guides the viewer’s eye and creates images that feel calm, balanced, and visually compelling. It allows the textures, colors, and form of your food to stand out.
Negative space is a hidden superpower in photography, especially when photographing food. Mastering it will open up exciting new ways to compose your photos, and express the essence of your subject.
Whether you’re just starting out or refining your skills, learning to balance positive and negative space opens up powerful new ways to compose your food photography.
Ready to elevate your food photography?
Now it’s your turn to experiment with negative space:
- Revisit old photos: Try cropping or reframing them with more breathing room. Notice how the mood changes.
- Try bold compositions: Experiment with off-center placement and unusual angles for more artistic results.
Remember, the beauty of negative space is its versatility — its power lies in how creatively you use it. Start experimenting, and see how it transforms your images.
. . . . .