Ever find yourself scrolling through images of food that just seem to leap off the screen, capturing every detail and hue of the subject? That’s the magic of flatlay food photography (also known as overhead food photography), a style I’ve come to truly love over the years. Flatlays have captured the hearts (and appetites!) of viewers everywhere. Their popularity spans websites, social media, cookbooks, advertising, magazines and packaging.
Jump to:
It’s not just about snapping a picture from above — it’s about crafting a visual feast that tells a story, where every element is meticulously placed, yet appears effortlessly beautiful.
In this guide, I’ll share my top 20 tips to perfect your flatlay food photography, from understanding what a flatlay really is — a bird’s eye view that turns ordinary subjects into extraordinary stories — to mastering the nuances that make these overhead shots truly stand out.
What Exactly Is Flatlay?
Ever stumbled upon those eye-catching images in magazines or your Instagram feed, where everything is so perfectly placed you can’t help but pause? That’s the power of a flatlay. Let’s break it down:
- Definition: A flatlay is a photography technique where items are arranged on a flat surface, and the photo is taken from directly above. This bird’s eye view offers a unique perspective, making every detail pop.
- Not Just a Photo: Think of a flatlay as your storytelling canvas. In food photography, it’s not just about placing your hero on a table. It’s about crafting a narrative, setting a scene, and stirring emotions. Every element, from the food to the supporting props, plays a part in this visual feast.
- The Perfect Angle: The magic happens at a 90-degree angle. This precise overhead view ensures every element gets its moment in the spotlight, perfect for showcasing the intricate details of your subject.
- Creativity Meets Precision: While it demands accuracy, flatlay photography is a playground for creativity. The way you arrange the elements can turn a simple subject into a stunning visual story.
Embrace the flat lay, and let your food photos tell stories that captivate, delight, and inspire. Ready to elevate your food photography into something truly special?
Tip 1: Background Matters!
When you set up your flatlay, think of the background as the stage for your food photography. It’s not merely a backdrop; it’s a crucial player in your photo’s story. Here’s how to make it work for you:
- Choose Wisely: The background you select sets the tone. It can either spotlight your subject or steal the show. Opt for colors and textures that complement, not compete with, your food.
- Texture and Color: A little texture can add depth, but too much can distract. Strike a balance. Go for a background that makes your primary subject pop. Think about colors that contrast, yet harmonize with your food.

- Keep It Relevant: Your background should match the mood of your subject. Shooting a rustic apple pie? A wooden surface might be perfect. Presenting a modern, minimalist dessert? Consider a sleek, solid-colored backdrop.
- It’s All About Balance: Remember, the background is your photo’s foundation. It should enhance, not overpower. Your main subject is the star; the background is its supporting cast.
Some of the backgrounds to consider:
- Whites
- Neutrals
- Grays
- Blacks
- Pastels
- Wooden
- Textured
- Corkboard
- Fabrics
- Even your walls can be your background
By putting thought into your background choice, you turn it from a mere surface into a storytelling tool, setting the stage for your food to shine.
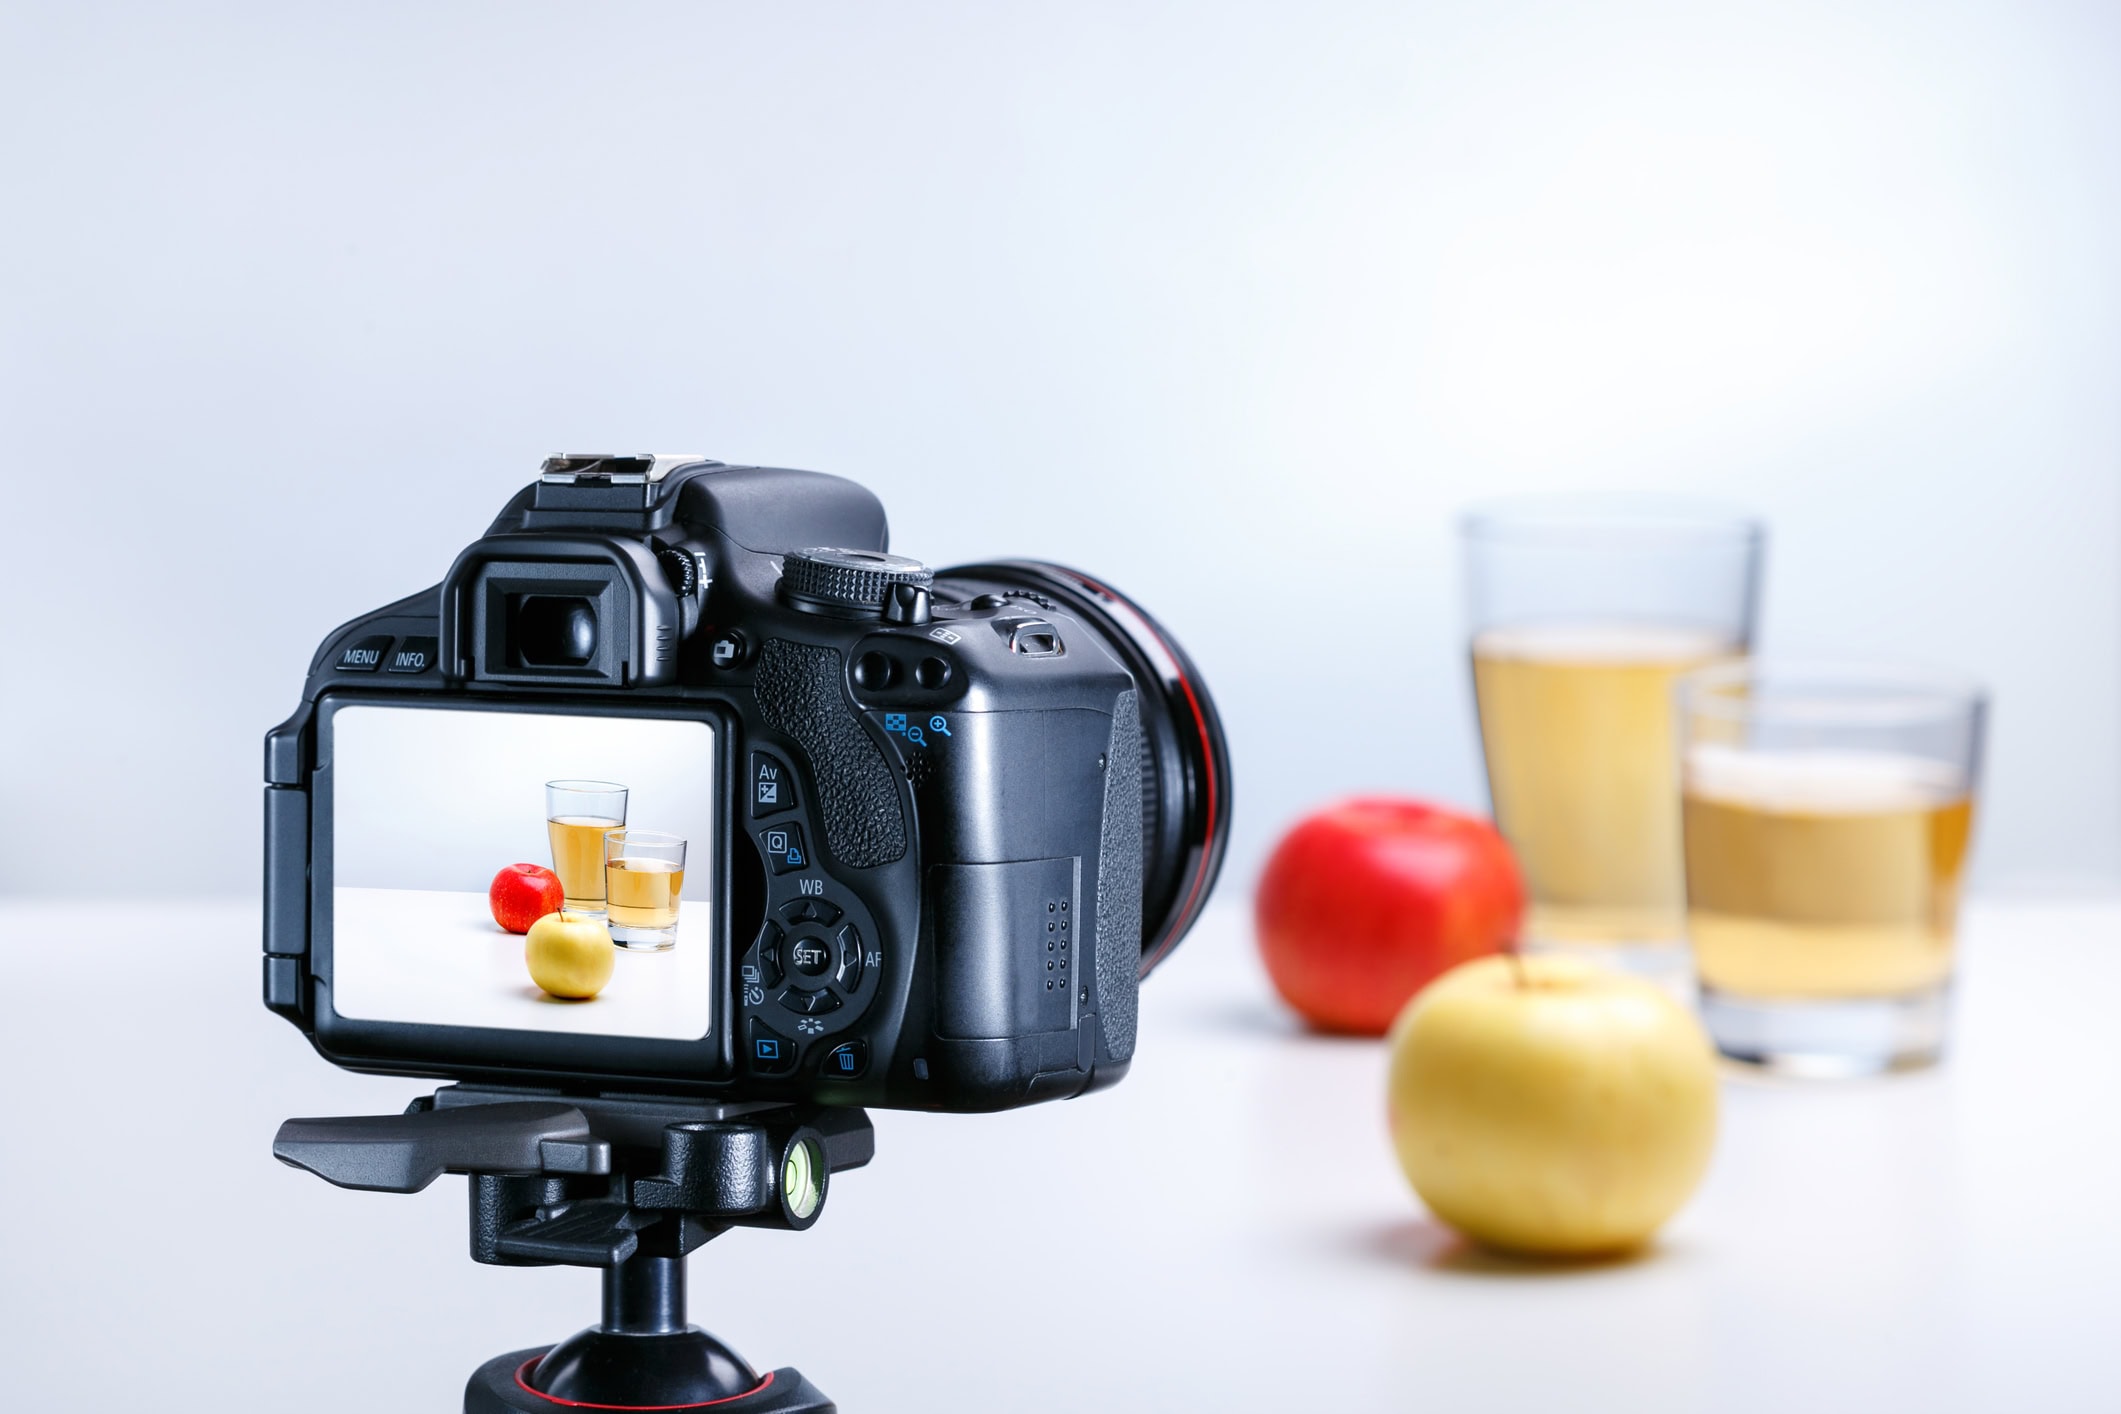
Tip 2: Keep your Camera High and Parallel to the Surface
Getting your camera high and keeping it parallel to your surface is key in flatlay photography. This isn’t just about capturing the layout — it’s about ensuring every detail is in sharp focus, telling a cohesive story.
- Height Matters: Elevate your camera to encompass the entire scene. Whether you’re using a tripod or improvising, find a way to secure that bird’s eye view.
- Parallel Lines: Ensure your camera is perfectly parallel to your surface. This alignment is crucial for keeping all elements in focus and maintaining the integrity of your flatlay’s design.
- Consistency Is Key: A consistent angle across your photos can become a signature style, making your work instantly recognizable.

Pro Tip
Keep your shots perfectly level with a simple trick! Get a double bubble level (as shown above) that slides into your camera’s hot shoe — it’ll help you spot and correct any tilt as you set up your camera.
Tip 3: Master Manual Mode for Ultimate Control

To truly capture the essence of your flatlay, stepping into Manual Mode on your camera is a game-changer. It puts you in the driver’s seat, allowing you to fine-tune settings for the perfect shot.
- Aperture Precision: Control your depth of field with the aperture setting. For flatlays, a smaller aperture (larger f-number) ensures everything is in focus, from the foreground to the background.
- Shutter Speed: Adjust the shutter speed to control the exposure. Ensure your photo is neither too bright nor too dark, capturing every detail just right.
- ISO Balance: Find the right ISO setting to avoid noise while ensuring your photo is well-lit. A lower ISO typically works best in well-lit settings, preserving the quality of your image.
Understanding the exposure triangle in food photography will make controlling these settings much easier.
Tip 4: Lens Selection — Choose Your Perspective
Selecting the right lens for food photography can transform your flatlay from good to great. It’s not about having the most expensive gear, but choosing the lens that complements your vision.
- For Crop Sensors: A 35mm lens is ideal, offering a broad view without distorting the edges of your flatlay.
- For Full Frames: Opt for a 50mm lens to capture a wider scene. If you’re aiming for a larger flatlay, a 35mm lens works, but watch out for potential distortion.
- Macro Moments: For those close-up details in your flatlay, a 100mm or 105mm lens allows you to capture the textures and nuances of your subjects.
Tip 5: Create Depth with Layers
Flat doesn’t mean boring. Adding layers to your flatlay introduces depth and interest, making your composition more dynamic.
- Elevate with Props: Use items like books, bowls, trays, or fabric to create levels in your flatlay, adding a three-dimensional feel.
- Texture Talks: Incorporate different textures through napkins, cutlery, or natural elements to give your flatlay a tactile quality.
- Focus on Foreground: Place some elements closer to the lens to create a sense of depth, making your flatlay more engaging.
Tip 6: Humanize Your Flatlay
Incorporating a human element can breathe life into your flatlay, making it more relatable and engaging.
- Hands in Frame: A hand picking up a donut, or garnishing a soup can add a dynamic touch.
- Tell a Story: Use human elements to suggest action or tell a story, like a spilled cup of coffee or a half-eaten cookie.

- Connect with Viewers: Seeing a human element in a flatlay can help viewers imagine themselves in the scene, creating a stronger connection with your image.
Tip 7: Composition and Props — Balance Your Elements
A well-composed flatlay is like a symphony, where every element plays its part in harmony.
- Lead the Eye: Use props and the arrangement of food to guide the viewer’s eye through the image.
- Maintain Focus: Ensure there’s a clear focal point in your flatlay. Props should complement, not overshadow, your main subject.
- Balance and Symmetry: Keep your composition balanced. If you have a vibrant color or a large item on one side, counterbalance it on the other side to maintain visual harmony.
Tip 8: Use Props to Tell a Story

Props are not just accessories; they’re storytelling tools that can set the mood and context of your flatlay.
- Contextual Props: Choose props that align with the theme of your food. Rustic bread looks at home on a wooden board, while a sleek dessert might call for minimalist, modern accessories.
- Color Coordination: Pick props with colors that complement your food, enhancing the overall aesthetic without causing distraction.
- Simplicity is Key: Sometimes, less is more. Don’t overcrowd your flatlay. Allow each element, including negative space, to contribute to the story you’re telling.
When it comes to flatlay color palettes, choose harmony and simplicity. Complementary and monochromatic colors work wonders, and remember — less is often more! Aim for a clean, visually pleasing composition within your chosen format. Use the rule of thirds to guide your placement, whether you choose square, portrait, or landscape.
Tip 9: Choose a Deep Depth of Field

A deep depth of field ensures that every part of your flatlay is in sharp focus — from the front to the back.
- Adjust Aperture: Opt for a smaller aperture (higher f-number) to get more of your scene in focus.
- Test and Adjust: Experiment with different settings to find the perfect balance for your specific setup.
- Clarity is Key: Ensure that every element, from the foreground to the background, is crisp and clear.
For crisp, detailed flatlays, a wider aperture between f/7 and f/11 is ideal. This ensures everything in your image — from foreground to background — is in sharp focus.
Tip 10: Steady Shots with a Tripod and 90-degree Arm
A tripod with a 90-degree arm is essential for achieving that perfect overhead shot without any camera shake or blur.
- Stability: Secure your camera on a tripod to eliminate any unwanted movement.
- Consistent Angle: The 90-degree arm ensures your camera is perfectly aligned for that true flatlay perspective. The tripod arm positions your camera parallel with your scene.
- Ease of Use: With a tripod, you can fine-tune your composition and settings without hand holding the camera, making adjustments and reshoots simpler.
Tip 11: Use a C-Stand
C-stands offer unparalleled control and versatility for your food photography setups.
- Precise Positioning: Position your camera parallely on a C-stand with C-stand’s adjustable arms and sturdy base. It is an incredible tool for those perfect food flatlays.
Tip 12: Embrace Negative Space

Negative space, when used effectively, can enhance your flatlay by creating a sense of balance and focus.
- Breathing Room: Allow some areas of your flatlay to be empty, giving the viewer’s eye a place to rest.
- Balance and Focus: Use negative space to draw attention to your main subject, creating a focal point.
- Strategic Placement: Consider the placement of negative space to create an intentional and impactful composition.
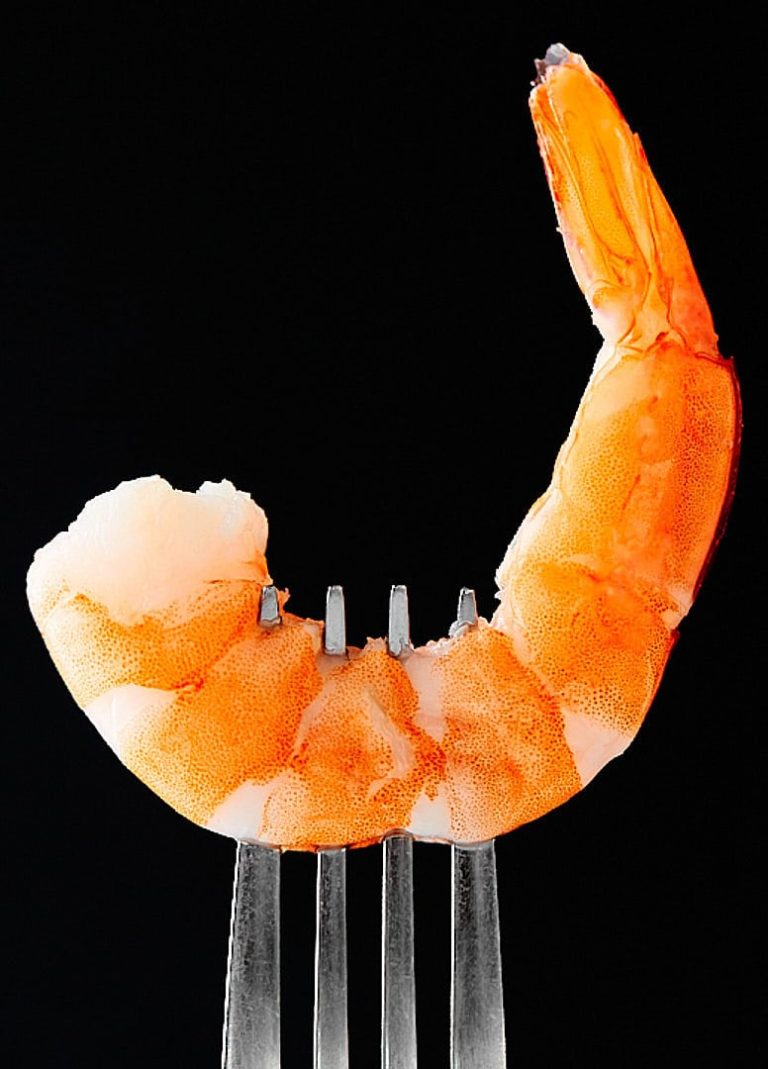
Tip 13: Select the Right Subject
Not every subject is well suited for a flatlay. Choose subjects that are visually appealing from above.
- Top-Down Appeal: Opt for subjects with interesting textures, colors, and shapes that look good from a bird’s eye view.
- Consider the Details: Foods with detailed toppings or interesting arrangements are ideal for flatlays.
- Storytelling: Select subjects that contribute to the narrative you want to convey through your flatlay.
Flatlays are the ultimate storytelling tool for certain foods. It is perfect for subjects where all the important details are on top, or when you want to showcase a full table scene. Soups, salads, pastas, pies, pizzas — they all shine in flatlays because their beauty is best seen from above.
Tip 14: Simple Color Schemes
A cohesive color palette can unify your flatlay and enhance its visual appeal.
- Harmonious Colors: Choose a color scheme that complements your subject and sets the desired mood.
- Limit Your Palette: Too many colors can be overwhelming. Stick to a few key hues for a more impactful image.
- Accent Colors: Use pops of color strategically to add interest and guide the viewer’s eye through the composition.
Tip 15: Lighting — Natural vs. Artificial
The right lighting can make or break your flatlay, highlighting textures and colors, and setting the mood. Many photographers use side lighting in food photography to create beautiful texture and depth in flatly images.
- Natural Light: Offers a soft, authentic look but requires timing and flexibility with the sun’s position.
- Artificial Light: Provides consistency and control, allowing you to shoot any time of day.
- Experiment: Try both to see which best complements your subject and style.
Both natural and artificial light have their place in photography. While some prefer the softness of natural light, I find that using a strobe gives me the control I need for consistent, professional-looking images. Plus, I never have to worry about changing daylight conditions.
Tip 16: Manage Shadows with Reflectors and Diffusers
Shadows add depth but can also distract. Use tools to shape and control them.
- Reflectors: Bounce light back onto your subject, softening shadows and highlighting details.
- Diffusers: Soften harsh light, reducing strong shadows and creating a more even illumination.
- Positioning: Adjust the angle and distance of light sources to fine-tune shadow intensity and direction.
Tip 17: Master Light for Great Flatlay Images

Understanding and manipulating light is crucial for creating impactful flatlay photography.
- Light Direction: Experiment with different angles to see how they affect the mood and depth of your flatlay.
- Intensity: Adjust the brightness to enhance textures and colors without washing out the scene.
- Color Temperature: White balance in food photography and color temperature can drastically change the feel of your image.
Tip 18: Harness the Power of Tethering
Tethering in food photography can significantly enhance your shooting process, providing instant feedback and precision.
- Immediate Review: Check your images in real-time on a larger screen for composition, focus, and exposure.
- Remote Control: For ultra crisp flatlay images, a remote trigger is your best friend. It ensures perfect focus and eliminates any blur from camera shake. Adjust settings and trigger your camera without disturbing the setup.
- Detail Check: Zoom in on your computer to ensure every aspect of your flatlay is perfect.
Take control of your photography! There are several reasons to tether your camera to your computer (using software like Capture One, Lightroom, or your camera’s own program) as it lets you see your photos instantly on the big screen. This means perfect focus and easier adjustments.
Tip 19: Use Caution with Steam and Smoke
While they can add drama, steam and smoke can also pose challenges.
- Lens Fogging: Be mindful of steam rising directly into your lens, which can blur your image.
- Timing: Capture steam or smoke quickly before it dissipates or alters the appearance of your food.
- Control: Use techniques to direct steam or smoke, ensuring it enhances rather than obscures your subject.
Tip 20: Consistency in Your Flatlay Series
Creating a series of flatlays? Consistency is key to a cohesive look.


- Theme: Maintain a consistent theme or style throughout your series for a unified appearance.
- Color Palette: Stick to a similar color scheme to tie your images together.
- Composition: While each flatlay can be unique, maintaining a consistent composition style helps unify the series.
Wrapping It Up
There you have it, my comprehensive dive into the world of flatlay food photography, packed with 20 tips to elevate your food images. From mastering your lighting, to choosing the right background, each tip is a stepping stone to creating those stunning, drool-worthy photos we all love to admire.
But remember, the real magic happens when you put these tips into practice. So, grab your camera, play with your subject, and start experimenting. Now, I’d love to hear if you have any flatlay tips to share! Drop a comment below, and send them my way. Let’s inspire each other with our photography stories, one flatlay at a time. Ready to create some flatlay magic? Let’s get shooting!
. . . . .