
Ever wondered why your food photos sometimes feel a little flat? The answer may lie in the lighting. Backlighting — a favorite technique among food photographers, can instantly transform your subjects from ordinary to eye-catching. It’s not just a technique — it’s a secret weapon that brings out the drama, texture, and depth in your photography work. Whether you’re a pro or just starting, mastering backlighting tachnique can elevate your food photography to irresistible art.
Jump to:
Ready to transform your food photography with some backlight magic? Let’s get started!
1. Magic of Details with Backlighting
You’ve set the scene: a vibrant salad with fresh ingredients, ready for their close-up. But when you snap the photo, something’s missing. The image feels flat, lifeless. What’s the secret ingredient you’re overlooking? Backlighting!
Backlighting isn’t just a technique — it’s a revelation. It’s about illuminating your subject from behind, casting a gentle yet powerful light that breathes life into every shot. This method isn’t about blasting your subject with harsh light. It’s about subtlety and nuance, about finding that perfect balance where your food doesn’t just look good — it looks mouthwatering.
Why Focus on Details?
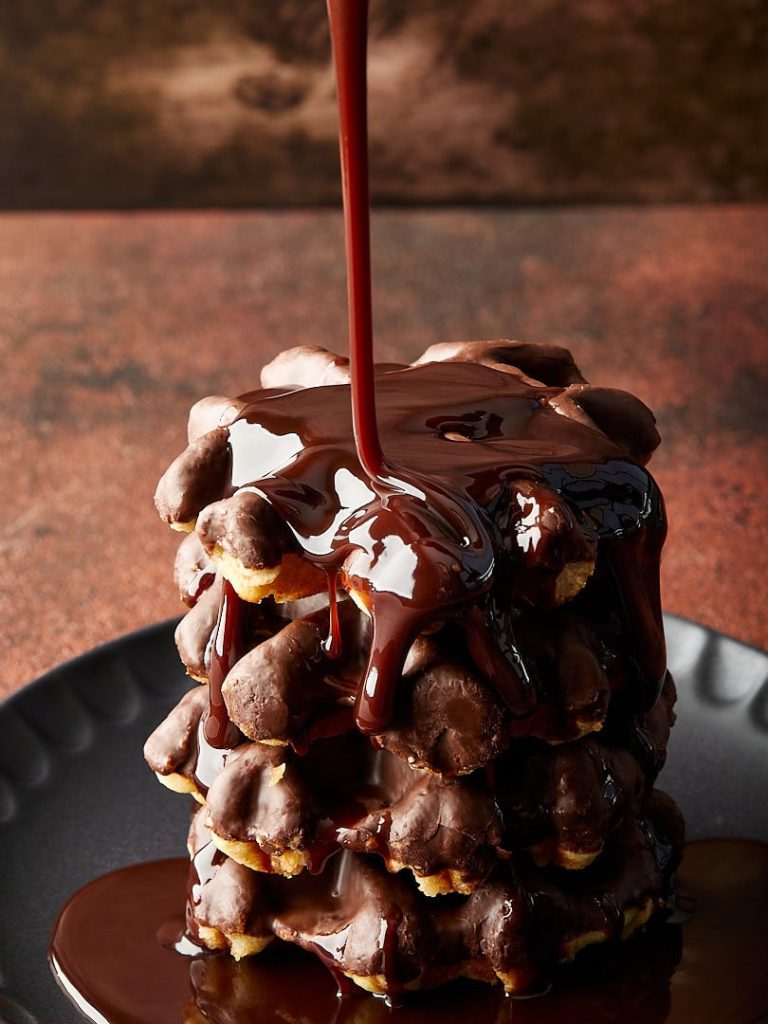
Details matter. They’re the difference between a good photo and a great one. With backlighting, you can capture the glisten of a fresh strawberry, or the steam rising from a hot bowl of soup. These details add visual interest; they evoke emotions, stimulate appetites, and tell a story.
- Highlighting Texture: Backlighting accentuates the textures of your food, making crusty bread look crunchier and smooth icing appear silkier.
- Enhancing Colors: It brings out the vibrant colors of your ingredients, making them pop and add depth to your photos.
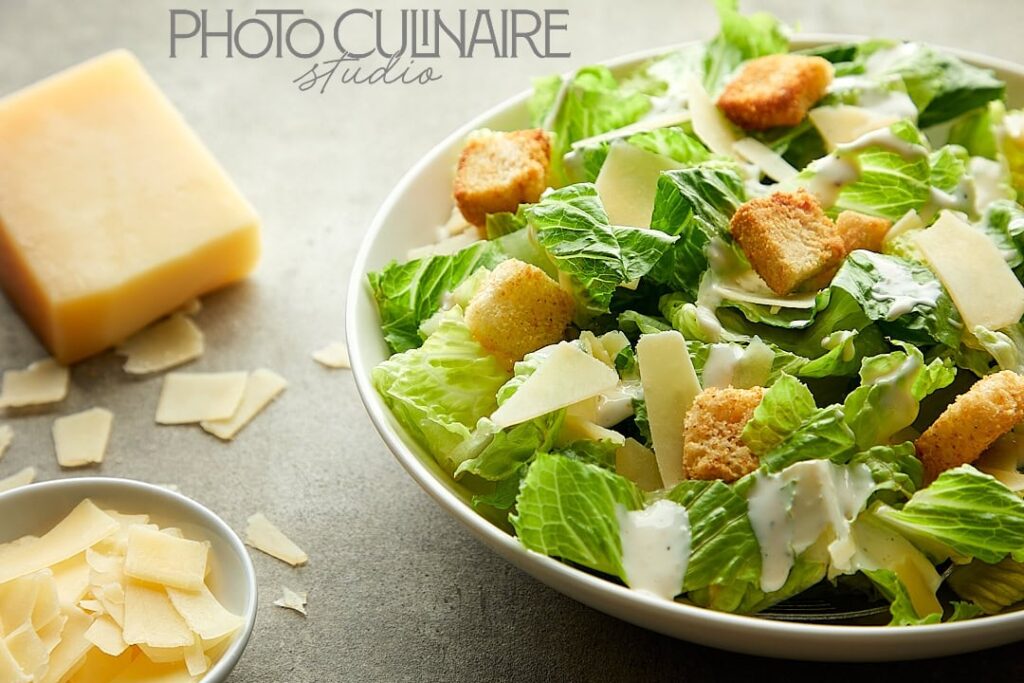
- Creating Mood: The way backlight sculpts the food can set the entire mood of the image — from warm and cozy to fresh and vibrant.
Practical Tips to Harness the Magic
- Position Your Light Source: Start by placing your light source behind the food. Experiment with different angles to see how the light wraps around your subject.
- Use Reflectors: Sometimes, backlighting can create too much contrast. Use reflectors to bounce some light back onto the front of your subject, ensuring it’s evenly lit.
- Adjust Intensity: Not all backlights are created equal. Adjust the intensity of your light source to avoid overpowering your subject, or creating unwanted shadows.
- Experiment with Diffusers: If the light is too harsh, use a diffuser. It softens the light, creating a more gentle and appealing effect on your food.
By focusing on these details, you’re not just taking a photo; you’re crafting an experience. You’re inviting your audience to lean in, to almost taste the food through their screen. That’s the power of backlighting in food photography — it transforms the ordinary into the extraordinary.
2. Dramatic Flair: Setting the Stage with Backlighting
When it comes to food photography, it’s not about capturing the food; it’s about telling a story. That’s where backlighting steps in, adding a layer of drama and emotion that can transform a simple photo into a captivating narrative.
The Role of Contrast in Storytelling
Backlighting creates a stunning contrast that naturally draws the eye to the subject. It separates your subject from the background, making it the undeniable star of the show. This contrast is more than visual — it’s emotional, adding a sense of depth and intrigue to your images.
- Separation: By illuminating the back edges of your subject, backlighting creates a luminous outline that separates your subject from the backdrop, adding a three-dimensional quality to your photos.
- Mood Enhancement: The intensity and angle of backlighting can dramatically alter the mood of your photo, from a bright, airy feel to a more intense, dramatic atmosphere.
Mastering the Art of Backlighting for Drama
- Angle is Everything: The angle of your backlight can change the entire mood of the photo. Experiment with different positions to find the perfect dramatic effect for your story.
- Control the Intensity: Too much backlight can overwhelm your subject, while too little can leave it looking flat. Adjust the intensity to strike the right balance, and enhance the drama.
- Play with Shadows: Backlighting naturally creates shadows. Use them to your advantage to add depth and interest to your composition.
- Mind the Background: A well-chosen background can complement the backlighting effect, enhancing the drama, and focusing attention on your subject.
By mastering these techniques, you can use backlighting to not just illuminate your food, but to elevate it, turning every subject into a scene-stealing masterpiece. Whether you’re aiming for subtle elegance or bold drama, backlighting is your key to visually compelling food photography that tells a story, and engages the viewer on an emotional level.
3. Capturing Specular Highlights: The Sparkle That Sells
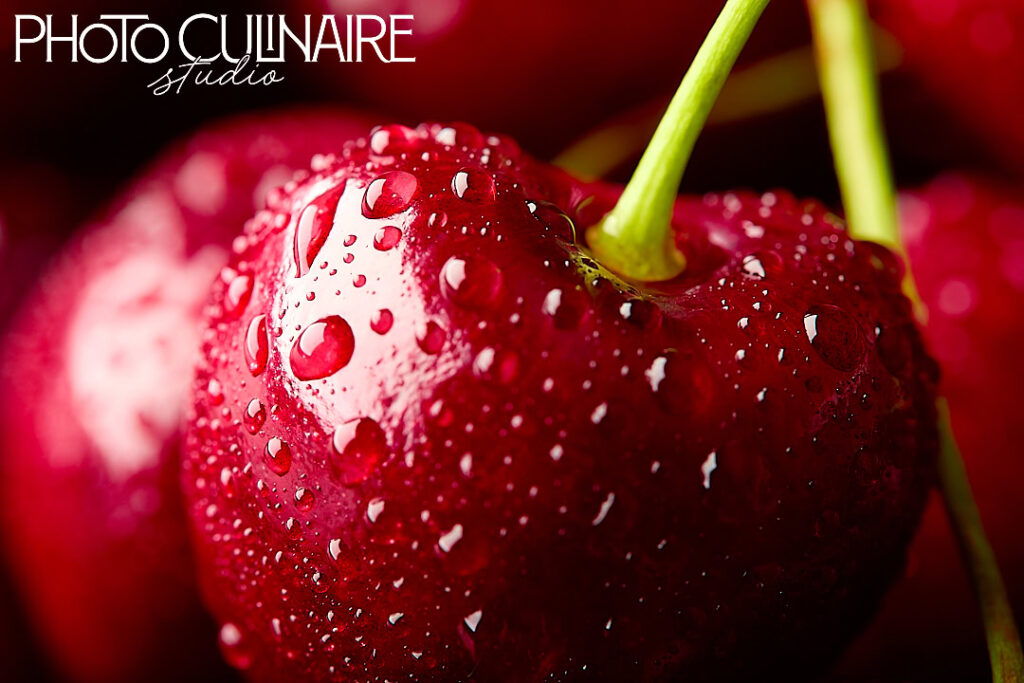
Specular highlights are those little glints of light that catch your eye, and make food look irresistibly appetizing. They’re the visual cues that convey freshness, juiciness, and texture. Backlighting is your best friend when it comes to capturing these enticing sparkles.
Why Specular Highlights Matter
- Realism: They add a layer of realism, making the food look tangible and inviting.
- Texture: Specular highlights accentuate texture, from the gloss of a sauce to the crispness of salad.
- Focus: They draw the viewer’s eye to key elements of the subject, guiding their gaze through the image.
Techniques for Perfect Specular Highlights
- Adjust Your Angle: Move around your subject, and adjust the angle of your light to catch the perfect specular highlight.
- Modify the Light: Use diffusers or reflectors to soften or intensify the highlights, depending on the effect you’re after.
- Experiment with Surfaces: Different surfaces reflect light uniquely. Experiment with various backdrops to enhance specular highlights.
4. Eliminating Unwanted Reflections: The Clarity You Crave
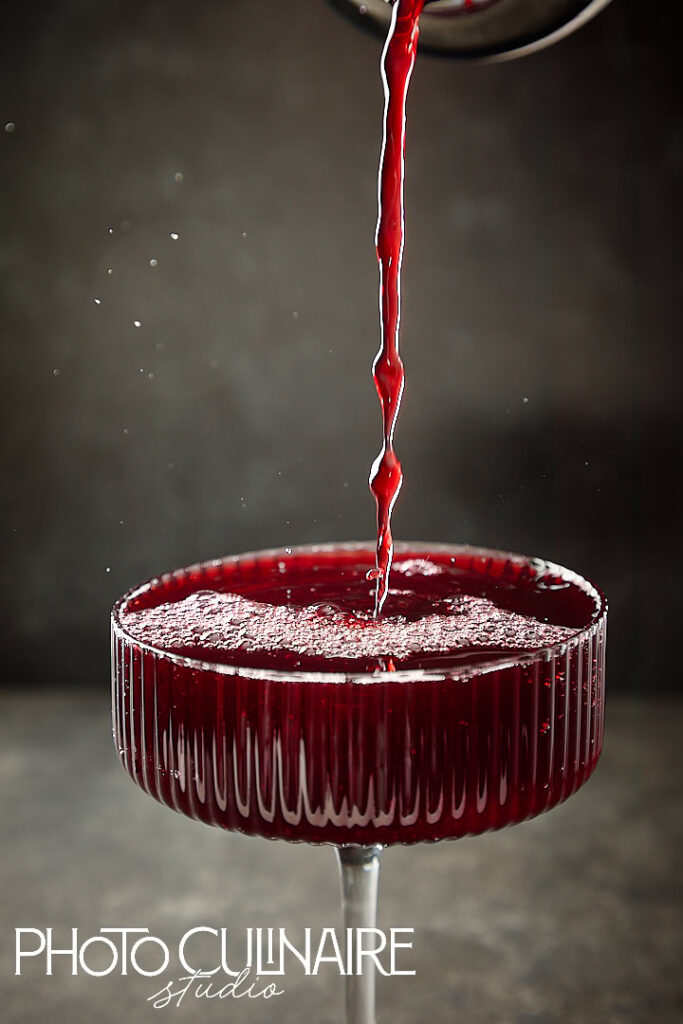
Backlighting isn’t about adding light; it’s also about controlling it. One of the biggest challenges in food photography is managing reflections — especially with glossy or transparent items. Backlighting offers a solution, minimizing reflections, and ensuring your food looks as good as it tastes.
- Clarity: Reduces visual noise, making your subject the focal point.
- Aesthetics: Enhances the overall aesthetic appeal of your image, making it cleaner and more professional.
- Detail: Preserves the details of your subject, ensuring that textures and colors shine through without distortion.
Strategies for Minimizing Reflections
The Impact of Controlled Reflections
- Positioning: Carefully position your light source behind the subject to minimize direct reflections that can distract from the subject.
- Polarizing Filters: Consider using a polarizing filter to reduce glare, and manage reflections on your camera.
- Matte Surfaces: Utilize matte surfaces or backdrops to reduce bounce-back, and keep the focus on your food.
5. Emphasizing Texture: The Touch of Realism
The texture is a critical element in food photography. It’s what makes bread look crusty, lettuce look crisp, and a steak look succulent. Backlighting can enhance these textures, giving your photos a tactile quality that almost lets viewers feel the food through their screens.
The Significance of Texture
- Appetite Appeal: Texture is a key factor in making food look appetizing and delicious.
- Depth: Adds depth to your images, making them more dynamic and engaging.
- Interest: Textural details keep the viewer’s interest, encouraging them to explore the image further.
Techniques for Highlighting Texture
- Low Angles: Use low backlighting angles to elongate shadows (if needed), and accentuate textures. Another lighting setup that beautifully enhances texture is side lighting in food photography.
- Diffusion: Soften your backlight to highlight texture without creating harsh shadows.
- Close-ups: Get close to your subject to capture the intricate details of its texture.
By focusing on these three aspects, you’ll illuminate your subjects and also imbue them with life, making your food photography truly stand out.
6. Adding Depth: Creating a Sense of Space
Backlighting doesn’t just illuminate — it adds a new dimension to your photographs, creating a sense of depth that draws viewers into the scene. It’s about layering light and shadow to give your images a three-dimensional feel.
Why Depth Matters
- Engagement: Depth makes your images more engaging, inviting viewers to explore every layer.
- Focus: Depth helps to separate the foreground from the background, focusing attention on the main subject.
Enhancing Depth with Backlighting
- Layering: Use backlighting to create layers of light and shadow, enhancing the three-dimensional feel.
- Contrast: Adjust the contrast between the light and dark areas to emphasize depth.
- Composition: Consider the composition of your shot, to maximize the depth-creating potential of backlighting.
7. Dimension in Food: Beyond Flat Images
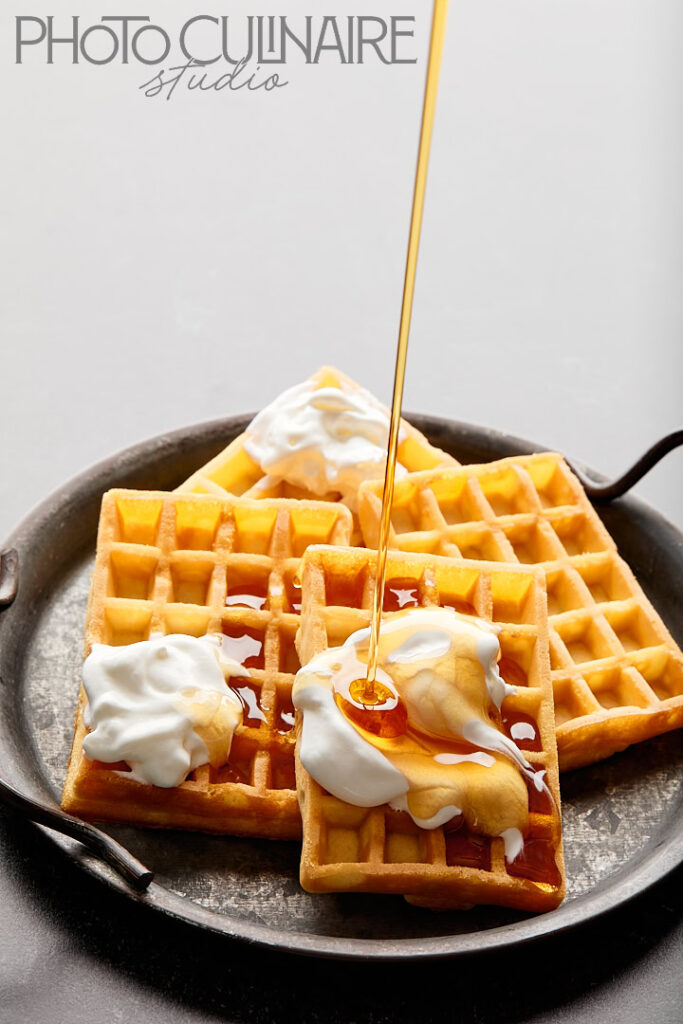
Backlighting gives your food images a sense of dimension, making them pop off the screen. It’s about highlighting the contours and curves, showing the food in all its three-dimensional glory.
The Importance of Dimension
- Texture: Dimension emphasizes texture, making the food more life-like.
- Interest: It adds interest to the image, preventing it from looking flat and unappealing.
Creating Dimension with Backlighting
- Angle and Position: Experiment with the angle, and position of your backlight to enhance the sense of dimension.
- Shadows: Use shadows strategically to highlight the contours and curves of the food.
- Highlighting: Ensure that the backlight highlights the edges and surfaces to enhance the dimensional effect.
8. Capturing Steam and Smoke: The Art of Ephemeral Beauty
Capturing steam or smoke can add a dynamic and atmospheric element to your food photography. Backlighting is key to accentuating these ephemeral qualities, making them visible and impactful.
Why Steam and Smoke Matter
- Atmosphere: They add atmosphere and mood to your images.
- Movement: Steam and smoke can introduce a sense of movement, making your photos more dynamic.
- Sensory Appeal: They can enhance the sensory appeal of the food, suggesting warmth and aroma.
Techniques for Capturing Steam and Smoke
- Backlight Placement: Position the backlight to shine through the steam or smoke, highlighting its form and movement.
- Timing: Capture the steam or smoke at the right moment for maximum visual impact.
- Background: Choose a dark background to enhance the visibility of the steam or smoke against the backlight.
9. Versatility in Lighting: Adapting to Natural and Artificial Sources
Backlighting is versatile, effective with both natural and artificial light sources. This adaptability allows you to achieve stunning backlighting effects in various settings, whether you’re in a studio or using natural light.
The Flexibility of Backlighting
- Consistency: Backlighting can provide consistent results, whether you’re using the sun or a studio light.
- Control: With artificial light, you have control over the intensity and angle, allowing for precise backlighting effects.
- Natural Appeal: Natural backlighting can add a soft, organic quality to your images.
Maximizing Versatility
- Experiment: Try backlighting with different light sources to understand their unique effects and compare the results as an experiment.
- Modifiers: Use light modifiers to shape and control your backlight, whether it’s natural or artificial.
- Adaptability: Learn to adapt your backlighting technique to the available light source, maximizing its potential.
10. Perfect for Macro Food Photography: Highlighting the Minute Details
In macro food photography, backlighting can illuminate the minute details, bringing out textures and features that might otherwise go unnoticed. It’s about showcasing the beauty in the details, making the small seem grand.
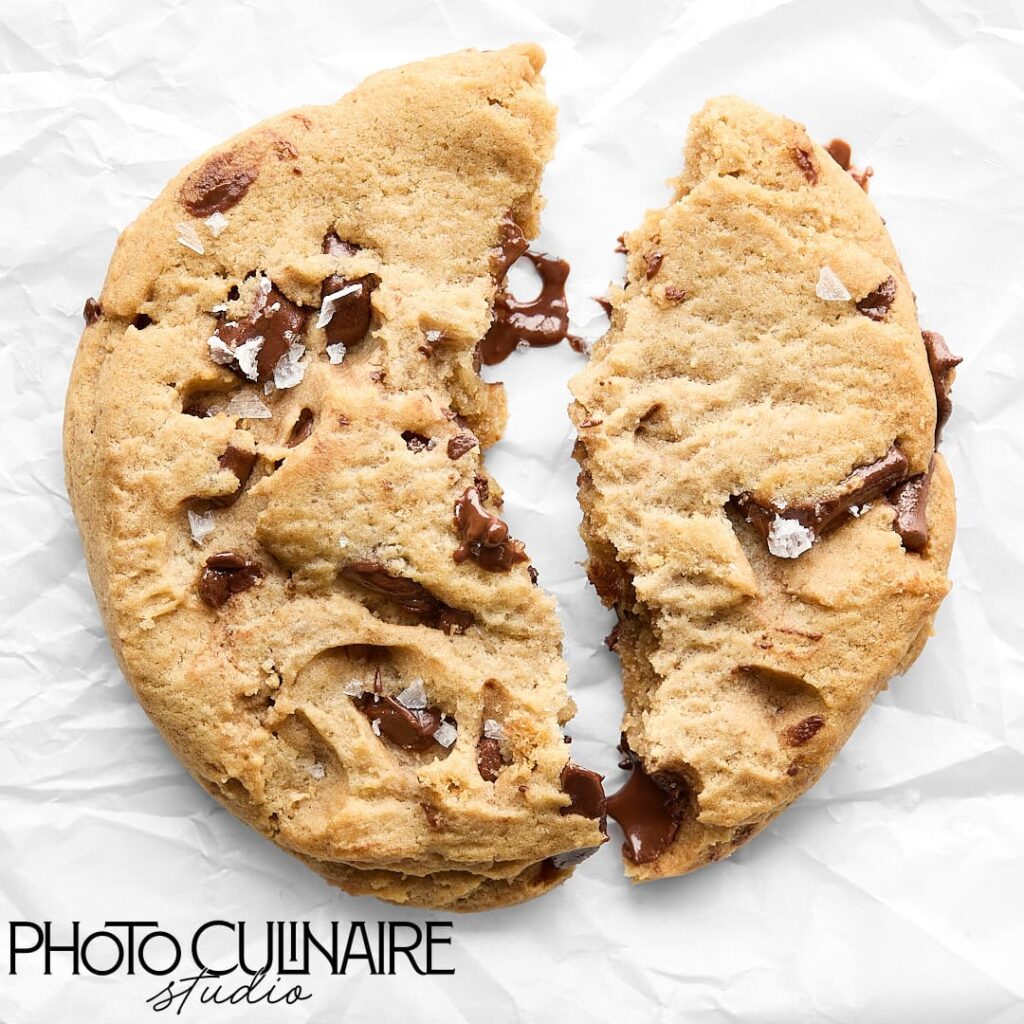
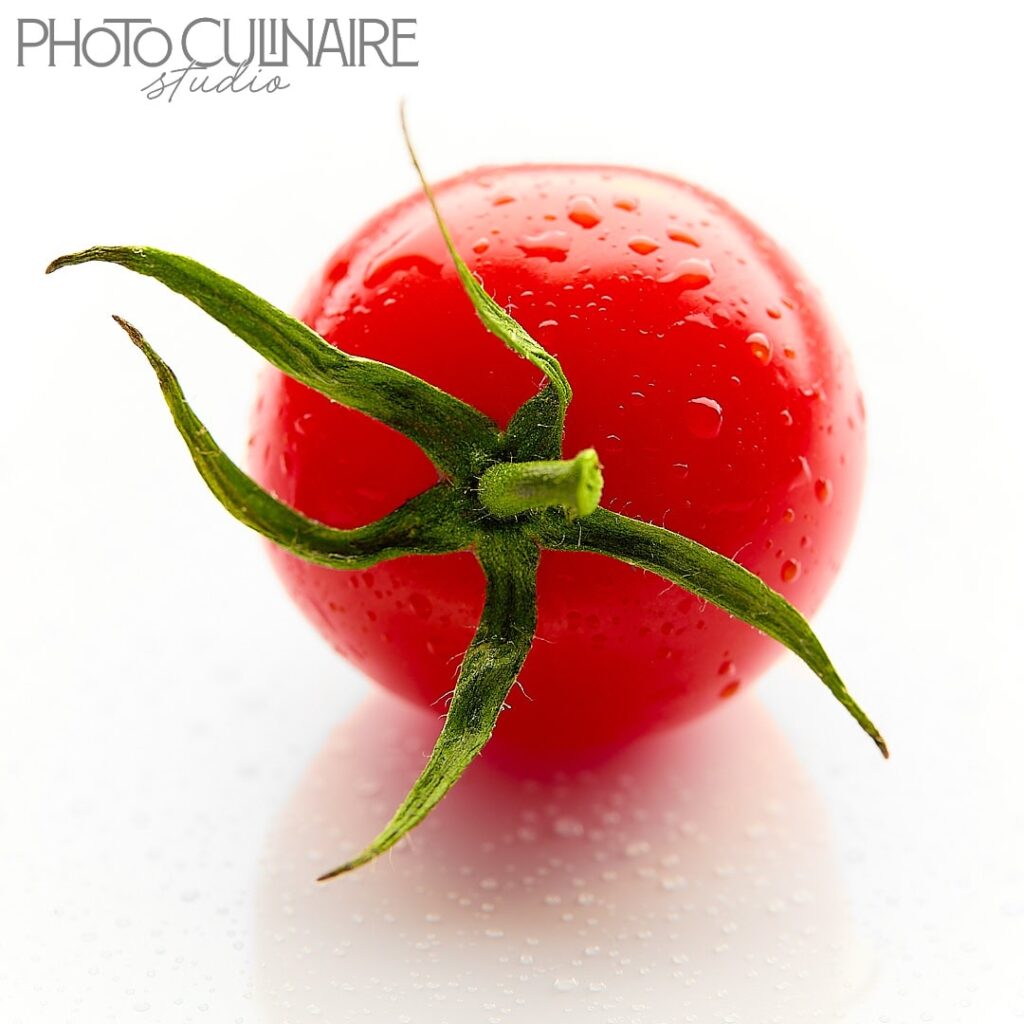
The Impact of Backlighting in Macro
- Detail: Backlighting can reveal intricate details, enhancing the viewer’s appreciation of the subject.
- Texture: It highlights textures, making the food’s surface more vivid and tactile.
- Focus: Backlighting in macro photography helps to isolate the subject, focusing attention on the smallest details.
Macro Backlighting Techniques
- Close-Up Lighting: Use a focused backlight to illuminate the details in close-up shots.
- Diffusion: Soften the backlight to avoid overpowering the delicate details in macro photography.
- Angle: Adjust the backlight angle to reveal the textures and features of your macro subject.
By integrating these techniques, you can leverage backlighting to enhance depth, dimension, atmosphere, versatility, and detail in your food photography, transforming ordinary shots into extraordinary visual stories.
Conclusion: Embrace the Art, Not Just the Technique
Let’s get real — backlighting isn’t a quest for perfection. It’s about embracing the playful side of photography, where rules are bent, and creativity reigns. Think of backlighting as your playground, a space where you’re free to experiment, make mistakes, and discover your unique style.
Perfection is Overrated: Sure, backlit photos might not always hit the correct exposure mark. But isn’t there a bit of thrill in that? It’s the imperfections that often lead to the most stunning, memorable shots. So, go ahead, let those highlights blow out just a bit. Let the shadows fall where they may. It’s all part of the dance.
Rule Breaker, I See You: There’s something liberating about tossing the rulebook out the window, isn’t there? Backlighting invites you to do just that. Play with angles, juggle with light intensity, and watch as your food photography transforms from mere images to stories told in light and shadow.
The Journey of Discovery: Every time you experiment with backlighting, you’re not just taking photos — you’re learning, growing, and evolving as a photographer. Each shot teaches you a little more about how light behaves, how your subjects respond, and how you can harness this knowledge to create atmospheric, eye-catching images.
So, what’s your backlighting story? Have you captured a shot that took your breath away? Or maybe you’re still on the fence, ready to dive in, but looking for a nudge? Share your experiences, your triumphs, and your oh-so-instructive oops moments in the comments below. And if you’ve got questions, throw them my way! Let’s demystify backlighting together and uncover the magic it can bring to your food photography.
. . . . .