Ever wondered why some food photographs make your mouth water, while others fall flat? The secret isn’t just in the recipe — it’s how the subject is captured. We’re diving into the world of food photography to reveal the best camera angles that will transform your shots from good to unforgettable.
Jump to:

Get ready to elevate your food photography game to a whole new level.
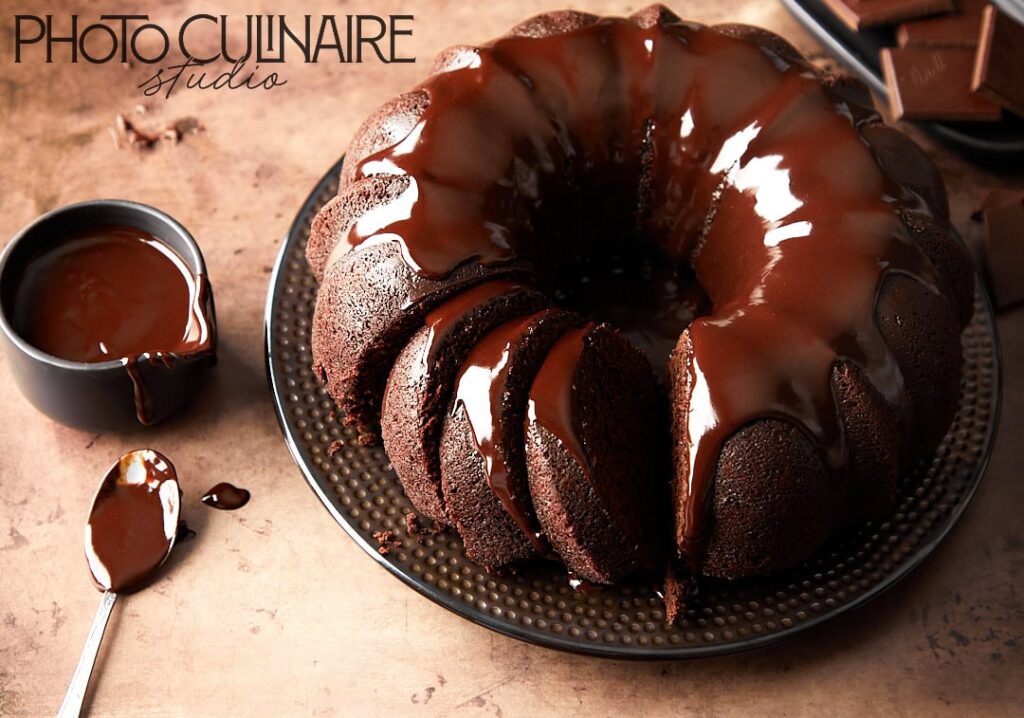
1. The Overhead Angle (90 Degrees)
Dive into the world of food photography with the overhead angle (also called flatlay) — your golden ticket to making every subject look like a masterpiece.
Here’s why this 90-degree angle is a game-changer, and how you can master it:
Why Overhead?
- Clarity and Focus: It cuts through the clutter, putting your hero subject in the spotlight.
- Storytelling Canvas: It lets you craft a visual story, incorporating elements and ingredients for added depth.
Use This Angle For:
- Showcasing the Whole Scene from Above: Perfect for capturing the entirety of table spreads, or subjects with intricate details that are best viewed from above.
- Pattern Recognition: Ideal for subjects or ingredients arranged in patterns, or for showcasing the symmetry in your composition. Plus, it’s ideal for foods with interesting patterns and shapes.
- Step-by-Step Guides: When creating a tutorial or a recipe guide, overhead shots clearly display the progression of steps or ingredients.
Mastering the Overhead Shot:
- Steady as She Goes: A tripod with a horizontal arm or C-Stand is non-negotiable. It keeps your shots sharp, and your framing consistent.
- Lighting is Key: Chase the natural/artificial light. Ensure that your choice of light brings out the best in your subject, casting soft shadows that add depth.
- Composition Matters: Every detail in your frame counts. A thoughtful arrangement of your subject, supporting elements and props can turn a good photo into a great one. Using negative space can also help draw attention to your subject and keep the composition clean.
- Play with Dimensions: Flat isn’t always fabulous. Introducing height and layers can elevate your shot, literally and figuratively.
The overhead angle isn’t just about following a trend; it’s about embracing a technique that can elevate a simple subject into a visually striking composition. Whether it’s a pizza that’s too good not to share, or a salad that’s as vibrant as it is tasty, this angle invites your viewers to take a closer look.
If you enjoy shooting from this perspective, you might also want to explore these flatlay food photography tips, which go deeper into styling and composition for overhead shots.
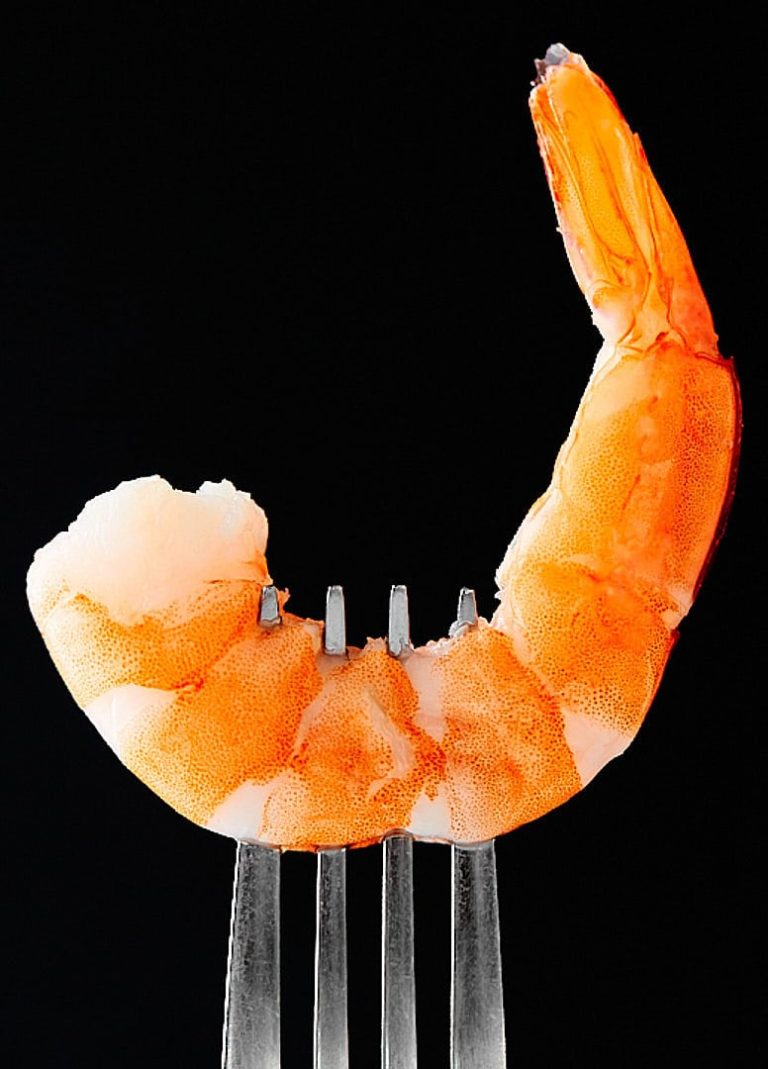
2. The Straight-On Angle (0-20 Degrees)
When you’re aiming to showcase the beauty of layered subjects, or the intricate details of a stacked burger, the straight-on shot (0- 20 degree angle) is your best friend. This angle brings a sense of intimacy and depth, making the viewer feel as if they’re about to take a bite.


Let’s dive into the allure of the straight-on shot, and how to make it work for you.
Why Go Straight-On?
- Depth Perception: It excels in showing off the layers and textures of your subject, like a stack of pancakes.
- Dramatic Effect: This angle can create a more dramatic and engaging photo, especially when paired with the right background and lighting.
Use This Angle For:
- Layered Subjects: Show off the intricate layers of cakes, burgers, pancakes or lasagnas, where the side view tells the story of texture and depth.
- Tall Drinks: Capture the layers and colors of cocktails or smoothies, where the height and the gradient are the main attractions.
Tips for Perfecting the Straight-On Shot:
- Choose Your Focal Point: Decide what part of the subject you want to highlight. This will determine your focus point.
- Mind the Background: A cluttered background can distract from your main subject. Opt for simplicity to let the food shine.
- Experiment with Lighting: Side lighting in food photography works wonders for this angle, casting shadows that emphasize texture and detail.
- Get on Level: Position your camera at the same level as your subject. This might mean getting down low to capture that perfect shot.
The straight-on angle is more than just a perspective; it’s a storytelling tool that brings your audience face-to-face with your client’s culinary creations. Whether it’s the intricate layers of a gourmet sandwich, or the simple elegance of a slice of pie, this angle invites a closer look, and a deeper appreciation.
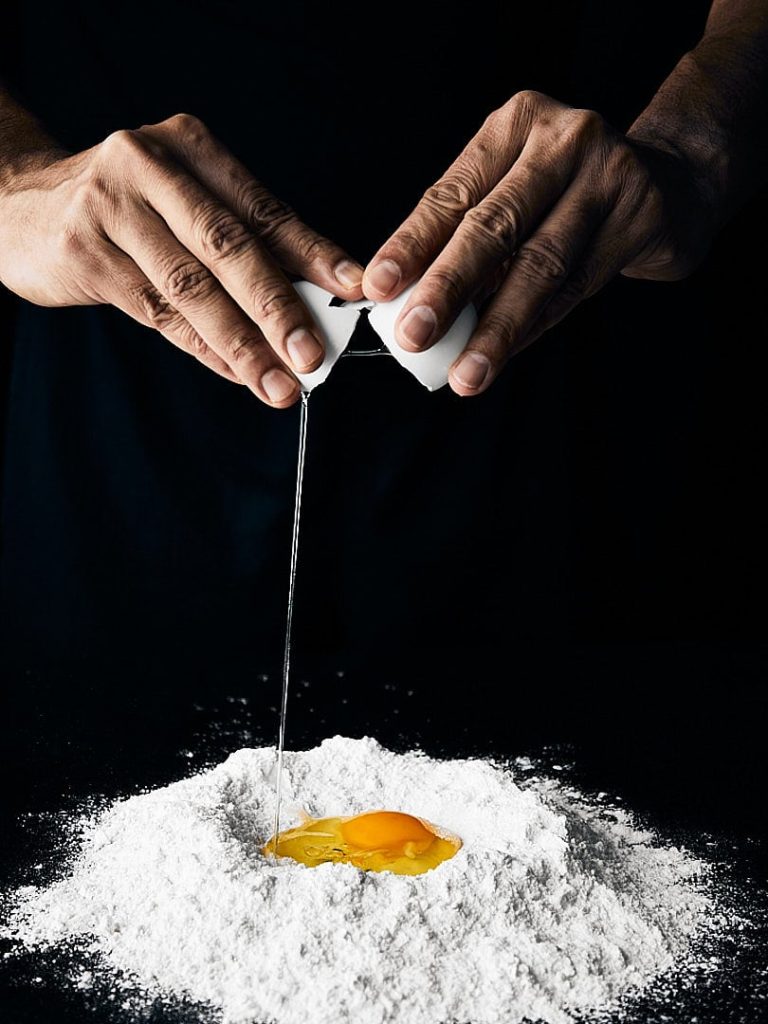
3. The Three-Quarter Angle (20-80 Degrees)
This angle is particularly effective for subjects with more than one fascinating side, like a layered cake — because it highlights the three-dimensional qualities of your subject.
Let’s explore how to harness the power of the three-quarter angle to make your food photos stand out.
Why the Three-Quarter Angle?
- Balanced Perspective: It offers a balanced view that captures the depth and the top and side view of the subject, making it look more inviting.
- Texture Highlight: This angle is perfect for showing off the textures of your food, from the crispiness of fried chicken to the smoothness of a cheesecake.
Use This Angle For:
- Foods with Contrasting Textures: Highlight subjects that boast a variety of textures, like a crispy salad topped with soft goat cheese and crunchy nuts.
- Warm, Inviting Comfort Foods: Capture the inviting warmth of subjects like soups, stews, or a plate of cookies, making them look ready to eat.
- Table Scenes: Ideal for capturing a subject within the context of a full table setting, giving a sense of invitation and ambiance.
Mastering the Three-Quarter Angle:
- Positioning is Key: Find the right spot where the light hits the food just right, enhancing its texture without creating harsh shadows. Techniques like backlighting in food photography can also enhance texture and depth at this angle.
- Background Matters: Choose a background that complements the food. A neutral or contrasting color can make the subject stand out even more.
- Focus on the Front: While capturing the top and side, make sure the front of the subject is in sharp focus. This draws the viewer’s eye into the photo.
- Play with Props: Use cutlery, napkins, or ingredients as props to add context and depth to your shot, making it more dynamic.
The three-quarter angle is a versatile tool in your food photography arsenal, ideal for making your audience feel like they could reach out and take a bite. It’s all about finding the right balance, and playing with elements to make the food pop.
Wrapping Up: Elevate Your Food Photography Game
As we wrap up this guide on the best camera angles for food photography, you’re now equipped with the knowledge to elevate your images. From the overhead shot to the three-quarter angle, each angle offers a unique perspective to tell your subject’s unique story.
Let’s recap the key takeaways:
- Overhead angle for capturing the full layout.
- Straight-on angle for depth and drama.
- 45-degree angle for a balanced view.
Now that you’re armed with the secrets to best camera angles for food photography, it’s time to put this knowledge into action. Remember, the right angle not only showcases your photography skills, but also conveys your passion and creativity. Grab your camera, try each perspective, and watch how your images begin to come to life. Then come back and tell us — which angle did you find most compelling?
. . . . .